Table of Contents
ToggleHow to Make Stickers
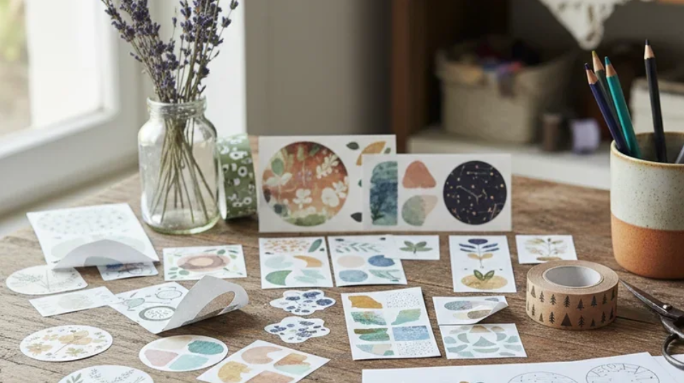
Stickers are everywhere, on laptops, water bottles, journals, car bumpers, and product packaging. But making your own? That’s where the real fun begins. Whether you’re after a quick DIY project with household items or a full Cricut setup with waterproof vinyl, this guide walks you through everything you need to know.
What Are Stickers Made Of?
At the core, most custom stickers are made of three layers: a face material, an adhesive, and a backing sheet. The face material determines how durable and waterproof a sticker will be. The most common sticker materials are:
- Paper: affordable, great for indoor labels and packaging, but not waterproof.
- Vinyl (PVC): the most popular material for outdoor stickers.
- BOPP (Polypropylene): a step between paper and vinyl. Resists moisture and oil.
- Polyester (PET): the most durable option. Heat-resistant and chemical-resistant.
- Specialty materials: holographic, glitter, magnetic, and eco-friendly films.
How to Print Stickers
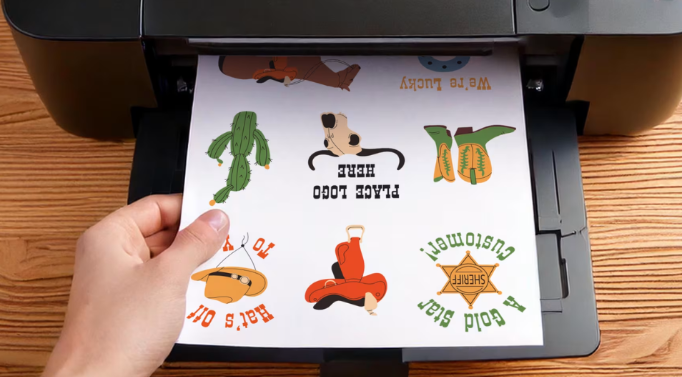
For custom printed stickers, all you’ll need is sticker paper or printable vinyl, a home printer, and design software. By following the simple steps below, you will be done in no time:
- Design your artwork using the design software
- Print your artwork on the sticker sheet
- Leave it to dry fully
- Then cut to shape by hand or with a cutting machine.
Always set your printer to its highest quality setting for vivid results.
How to Make Cricut Stickers
A Cricut machine takes sticker-making to the next level by cutting out your designs with precision. The process uses Cricut’s “Print Then Cut” feature, which lets you print on sticker paper with your home printer and then have the machine cut each shape perfectly. Here’s a simple workflow:
Open Cricut Design Space and create or upload your design. Use the Flatten tool to merge all layers into a single printable file.
- Use the Offset feature to add a clean border around your design.
- Arrange multiple designs on a single sheet, then click Make It.
- Print the sheet on printable vinyl or sticker paper using your home inkjet printer.
- Once dry, place the sheet on a Cricut mat and load it into the machine.
- Choose the matching material setting and let the machine cut your designs.
- Peel out your stickers and they’re ready to use.
How to Make Waterproof Stickers
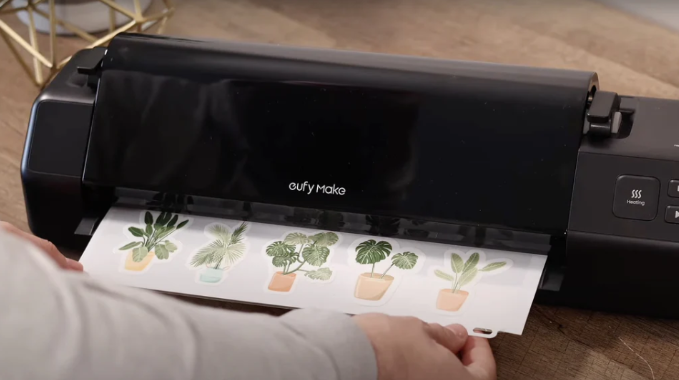
To make stickers that survive washes, rain, and outdoor conditions, lamination is the key step. Even high-quality printed vinyl can fade or peel without a proper protective layer. However, once you print your design on waterproof printable vinyl, you should allow the printed sheet to dry completely before you start laminating.
How to Laminate Stickers
Laminating stickers is simpler than it sounds and can be done at home without a laminating machine. Here’s how:
- Choose between self-adhesive laminating sheets or a thermal laminator. For home use, self-adhesive sheets work perfectly.
- Print and fully dry your sticker sheet before starting. Any moisture in the ink can cause cloudiness under the laminate.
- Slowly peel off the rest while pressing the laminate flat with a scraper or credit card. Never remove it all at once.
- Let it rest for 30 minutes before cutting, so the adhesive fully sets for clean edges.
The result is a scratch-resistant, water-repellent sticker that holds up on water bottles, lunchboxes, and outdoor surfaces.
How to Apply Vinyl Stickers
Applying vinyl stickers cleanly takes a bit of technique. The difference between a bubble-free result and a messy one usually comes down to a few simple steps. Here’s how to get it right every time:
- Clean the surface first. Wipe it down with a lint-free cloth and a 50/50 mix of water and isopropyl alcohol.
- Dry completely before touching the sticker. A damp surface weakens the bond.
- Position before peeling. Hold the sticker against the surface, backing still on, and confirm the placement.
- Peel slowly at an angle. Don’t rip the backing off all at once; peel it back gradually
- Press from the centre outward using your fingers or a squeegee.
- Always work from the middle to push air bubbles toward the edges, not inward.
- Let it rest for at least a few hours before heavy use. A full bond forms over time.
Where to Buy Stickers
At FastPrintStar, we make custom stickers simple, flexible, and accessible for everyone — with no minimum order required.
Whether you’re testing a new design or launching a full product line, every sticker is produced with durable vinyl and high-quality full-color printing to ensure sharp, professional results.
To support a smoother workflow, we also provide free mockup and design assistance. Our team will review your file, check resolution, and help ensure your artwork is print-ready before production.
From small batches to bulk orders, FastPrintStar helps bring your designs to life with reliable quality and consistent results.