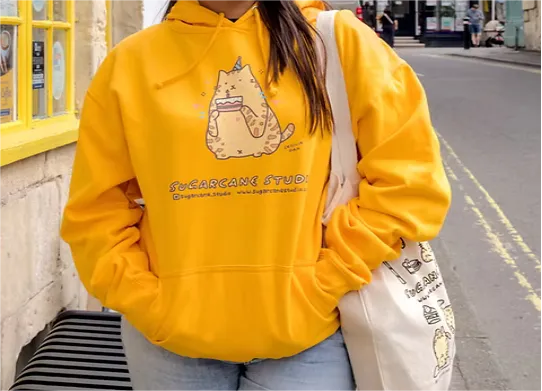
Hoodies are a staple in the world of casual wear, known for their comfort, versatility, and classic style. They typically feature long sleeves, a front pocket (often called a kangaroo pocket), and a hood with drawstrings for adjusting the fit.
Hoodies come in various styles, including pullover, zip-up, cropped, and oversized, making them a popular choice for people of all ages.
Aside from their cozy feel, hoodies work well in different settings, from lounging at home to hitting the gym or even layering for a stylish streetwear look.
Why Make Your Own Hoodie?
Making your own hoodie comes with a range of benefits. For starters, it gives you full control over the design, from fabric choice to fit and style.
You can also add custom prints, embroidery, or unique details, creating a truly customized hoodie that stands out from mass-produced options. This level of customization is perfect if you want to showcase your personal style, promote your brand, or create a thoughtful gift for someone special.
Making your hoodie can be surprisingly affordable, especially if you’re comfortable with a sewing machine. Plus, the sense of accomplishment that comes with creating something from scratch is hard to beat.
Choosing Fabric and Supplies
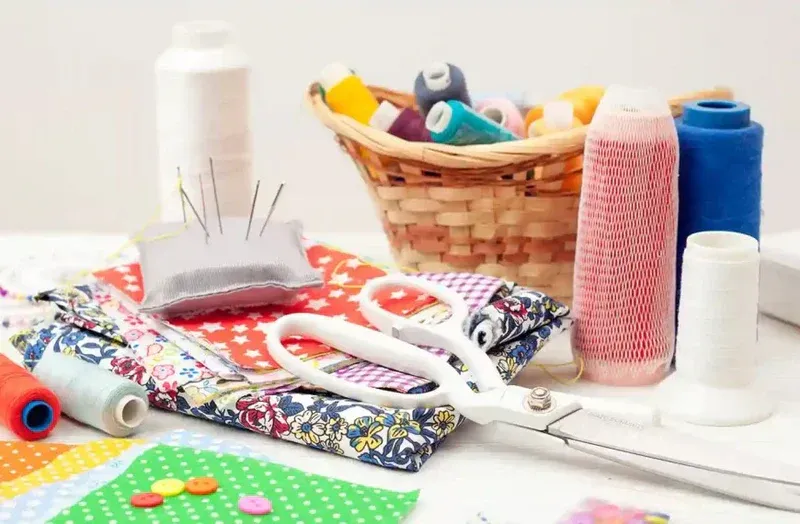
The first step in making your own custom hoodie is choosing the right fabric. The fabric you pick will determine the comfort, durability, and overall feel of your hoodie. Some popular fabric choices include cotton, fleece, French terry, and polyester blends.
When selecting supplies, you’ll need a few basics, including:
Fabric (about 1.5 to 2 yards, depending on your size)
Thread (color-matched or contrasting, depending on your design)
Sewing machine or serger (for clean, strong seams)
Fabric scissors and pins
Measuring tape and fabric chalk
Zippers or drawstrings, if needed for your zip up hoodies
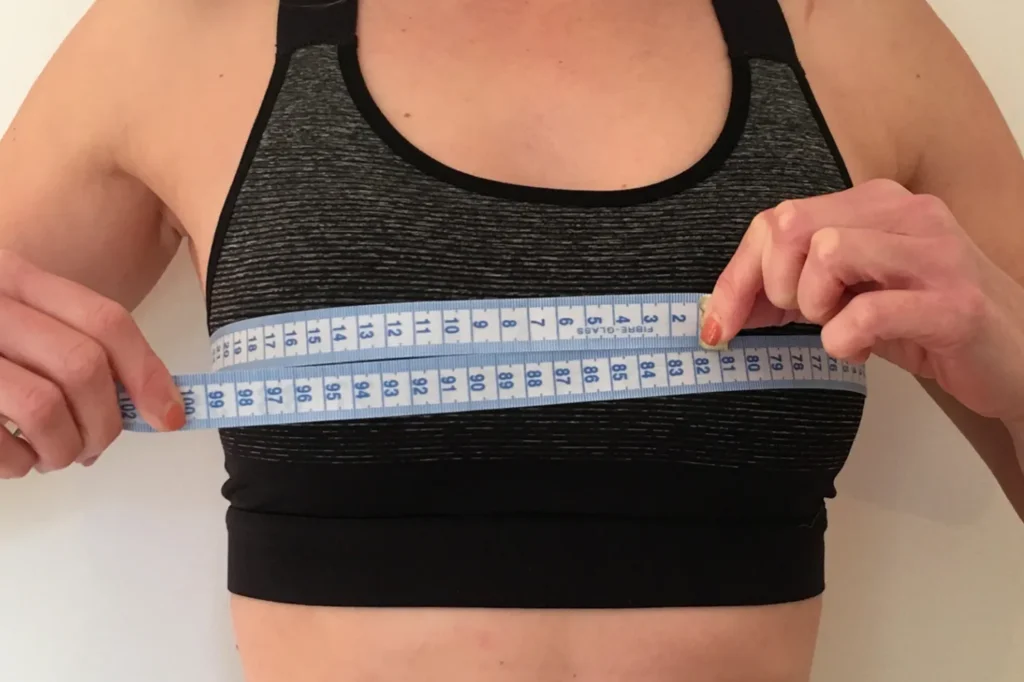
How to Measure Hoodies
To start, measure your chest, waist, and hip circumferences, as well as your arm length and shoulder width. These measurements will help you cut the fabric to the correct size, ensuring a comfortable, flattering fit.
Consider the style you want. For example, if you’re making a relaxed, oversized fit, you’ll need to add extra width and length. On the other hand, if you’re aiming for a more fitted look, keep the measurements closer to your actual body size.
Remember to factor in seam allowances, typically about ½ inch, to ensure your hoodie isn’t too tight once it’s sewn. This is especially important if you plan to add pockets or patches which can change the overall fit.
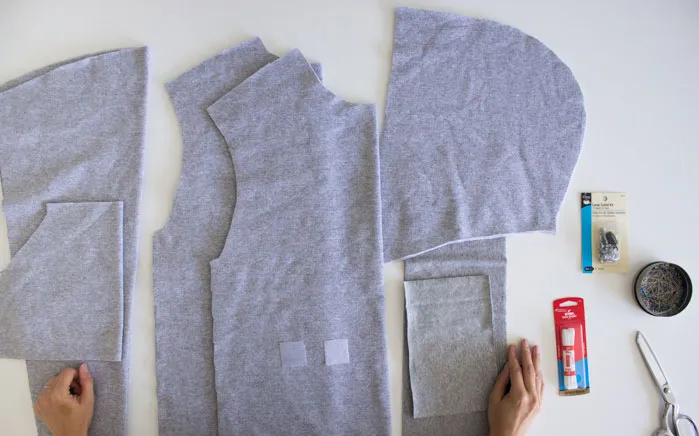
Cutting and Preparing your Hoodie
Once you have your fabric and measurements, it’s time to cut the pieces for your hoodie. This step is crucial, as accurate cutting sets the foundation for a high quality custom hoodie.
Start by cutting the main body panels (front and back), sleeves, and hood.
How to Cut a Hoodie Neck
If you want to add a personal touch, consider cutting a wide neckline for an off-the-shoulder look or a deeper V-neck for a more relaxed fit.
Use sharp fabric scissors and mark your cuts carefully to avoid uneven edges. If you’re making custom zip up hoodies, remember to cut the front panel in two for the zipper.
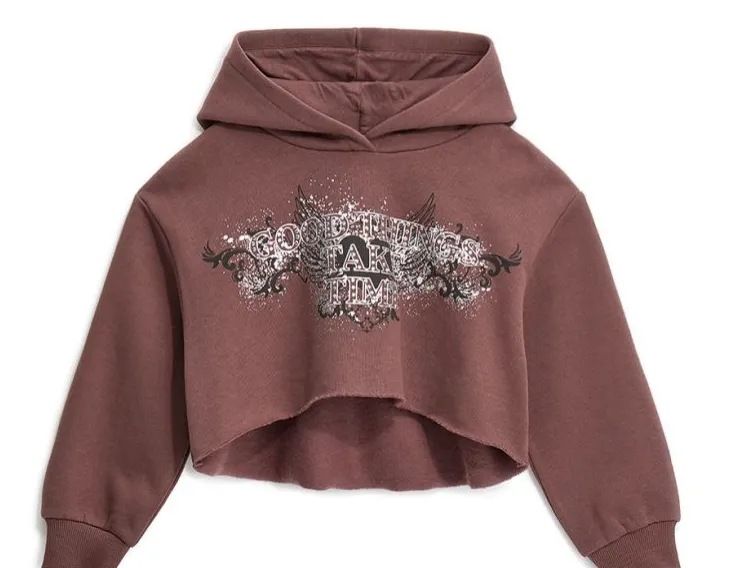
How to Crop a Hoodie
If you prefer a cropped style, measure the desired length and mark it with fabric chalk. Cut evenly across the bottom, and consider adding a hem or leaving it raw for a trendy, unfinished look.
Prepping these pieces carefully makes the sewing process much smoother and ensures your custom made hoodie turns out just the way you want.
How to Sew a Hoodie
Now for the fun part – sewing your hoodie together! This is where your custom hoodie starts to take shape. Follow these steps:
1. Assemble the Main Body
Start by sewing the shoulder seams of the front and back panels. Use a straight stitch for a clean, strong seam, or a serger if you want a professional finish.
2. Attach the Sleeves
With the right sides together, pin the sleeves around the armholes, and sew along the edges. Once the sleeves are attached, sew up the side seams from the armpit to the hem.
3. Attach the Hood
Line up the raw edges of the hood pieces, right sides together, and sew along the curved edge. Then, attach the hood to the neckline, pinning evenly to prevent puckering.
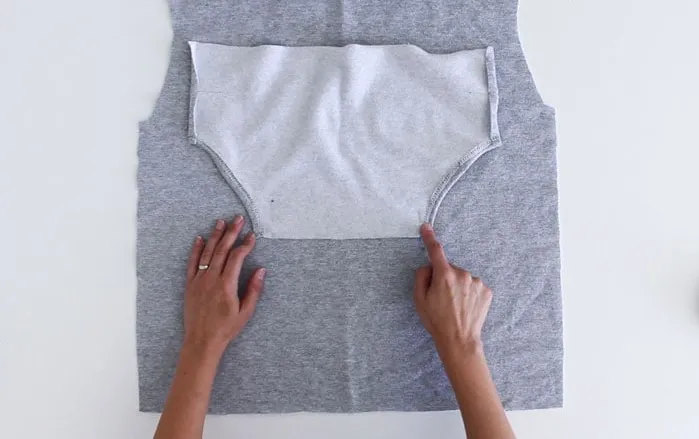
4. Adding Pockets and Finishing Seams
If you want a kangaroo pocket, stitch it to the front panel before assembling the body. Finish all seams with a zigzag stitch or serger to prevent fraying. This also adds strength to your hoodie and prevents the stitches from breaking when the fabric is stretched.
How to Fix Long Sleeves on a Hoodie
Sometimes, the sleeves on your hoodie can end up too long. To fix this, use the simple hemming technique by folding them under to the desired length and sew a new hem.
Or for a more finished look, add ribbed cuffs to the ends of the sleeves. Simply cut a piece of ribbed fabric, sew it into a loop, and attach it to the sleeve, stretching as you sew for a snug fit. This is a brilliant idea for women’s hoodies.
This small adjustment can make a big difference in comfort and style, helping your hoodie look more like a high-quality custom hoodie.
Personalizing Your Hoodie
One of the best things about making your own custom hoodie is the ability to add personal touches that reflect your style. Here are some fun ways to personalize your hoodie:
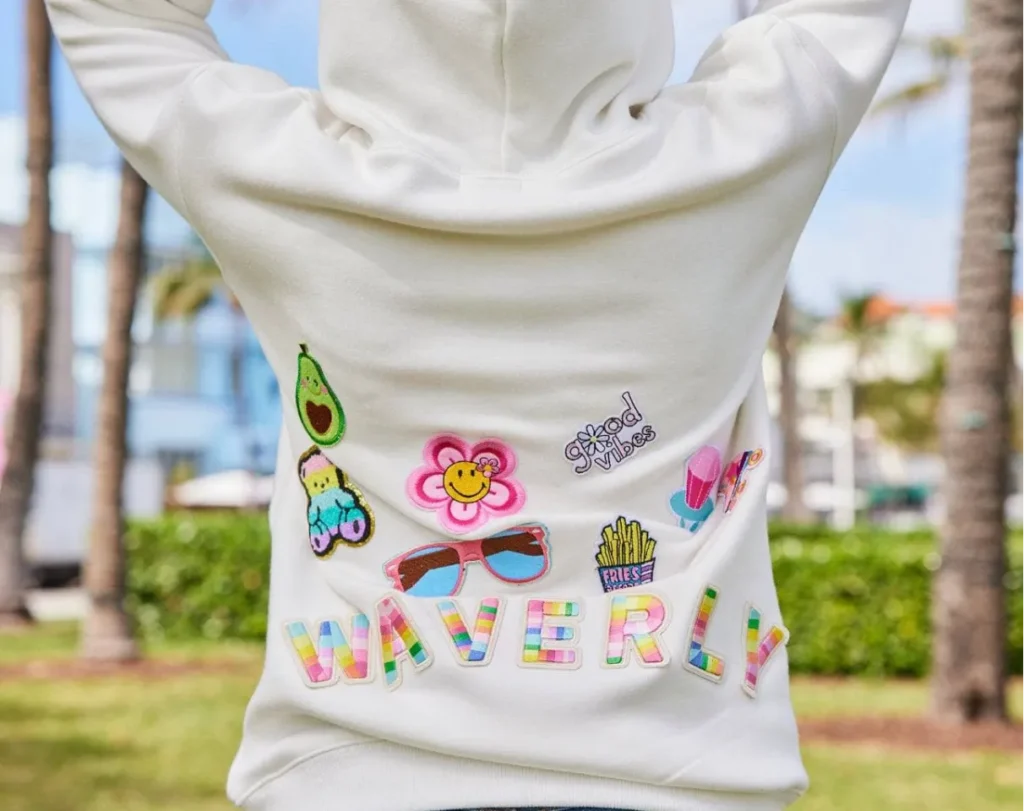
Add Patches or Embroidery
Consider adding embroidered designs, or iron-on patches that showcase your interests, hobbies, or favorite quotes. This is a great way to create custom hoodies for men, women, or even kids with unique designs that stand out.
Choose Drawstrings and Trims
Small details like colorful drawstrings, metal eyelets, or decorative trims can add a polished, professional touch to your customized hoodie. If you’re going for a streetwear vibe, try chunky drawstrings or reflective trims for an edgy look.
Custom Picture or Print Hoodies
If you want something truly unique, consider adding a custom picture to your hoodie. Many print shops can transfer high-quality images onto fabric, perfect for creating one-of-a-kind, custom made hoodies.
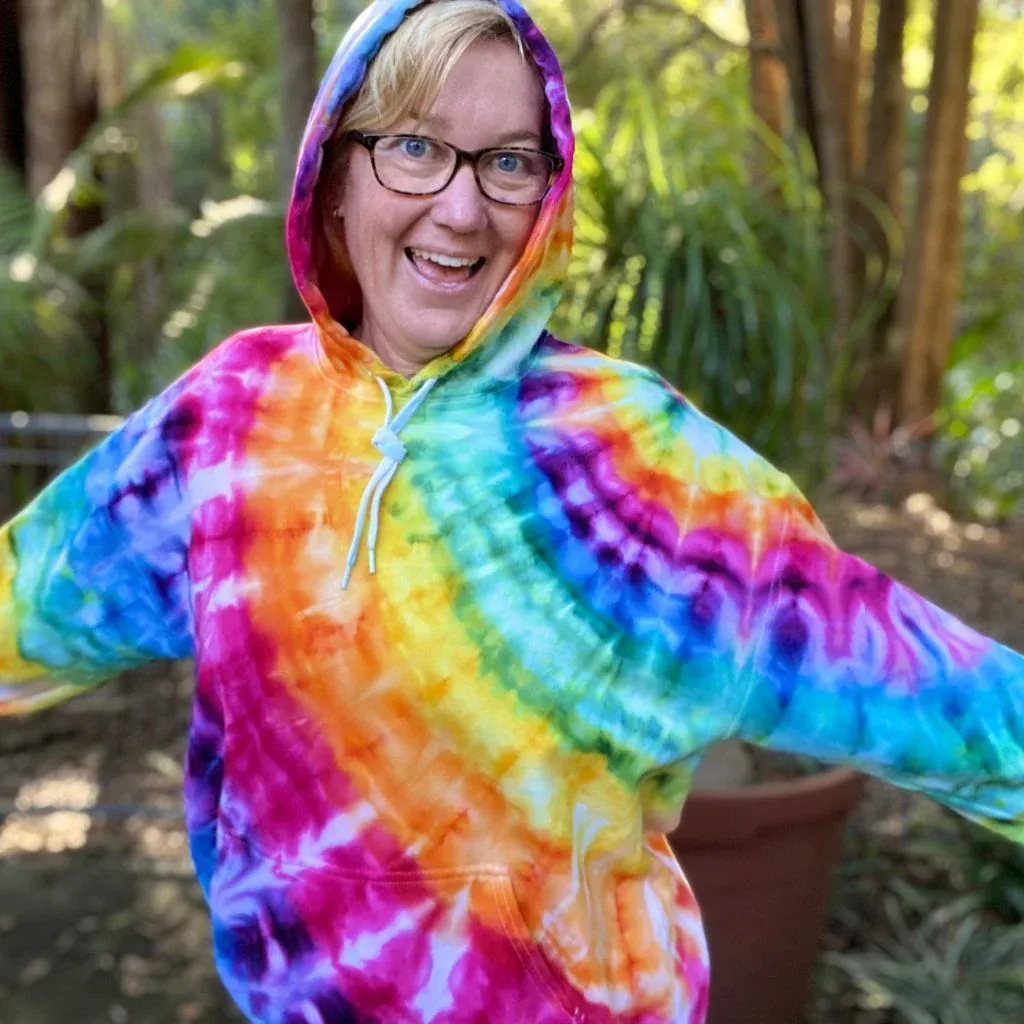
How to Tie Dye a Hoodie
Tie-dyeing is a creative way to add bold, colorful patterns to your hoodie. It’s also a fun, hands-on project. If you have kids, nieces or nephews, try tie-dyeing a kids hoodie with them.
To tie-dye your hoodie, follow this quick guide:
Choose the patterns and colors of your choice
Pre-wash your hoodie to remove any sizing or fabric treatments.
Twist or fold your hoodie into your chosen pattern and secure it with rubber bands.
Apply the dye using squeeze bottles, spray bottles, or a dipping method, making sure the fabric is fully saturated.
Let the dye set for at least 6 to 8 hours (or overnight for deeper colors).
Rinse the hoodie thoroughly and wash it separately to prevent color bleeding.
To ensure your design lasts, use a fixative or color set before the final rinse. This helps lock in the vibrant hues, keeping your custom print hoodies looking fresh and bright.
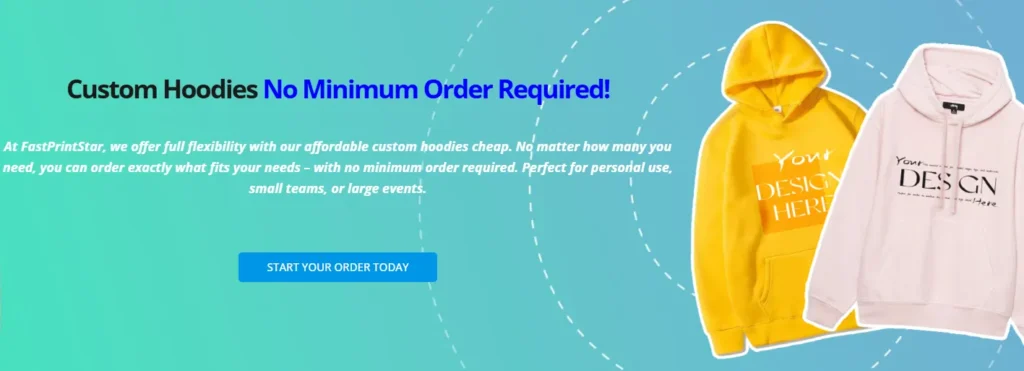
Where to Buy a Hoodie
If sewing is not your thing, don’t worry! You can still get a custom hoodie made to your preference. FastPrintStar makes hoodies for all— adults, kids and even custom hoodie for dogs!
They specialize in making exceptional custom made hoodies that bring your unique design to life. Each custom hoodie is backed by their commitment to quality and everything is done in-house. With this, precision and consistency is guaranteed always.
In three simple steps, you can order your customized hoodie today
Select your hoodie style and upload your design
Review and approve the digital mockup
FastPrintStar produces and deliver your custom hoodie
And as always, FastPrintStar will give you the best of both worlds— premium quality that fits your budget. You don’t have to break the bank to own a customized hoodie.
Conclusion
Making your own custom hoodie is a rewarding project that lets you express your creativity while crafting a high quality piece of clothing. Whether you’re adding custom prints, experimenting with tie-dye, or designing a unique fit, each step allows you to put your personal touch on a classic staple. Plus, you’ll gain the skills to create a well-made personalized piece.
So, gather your supplies, pick your favorite fabric, and start creating! The possibilities are endless, and the results are always worth it.