
How to Make Button Pins: A Simple Step-by-Step Guide
Table of Contents
ToggleHow to Make Button Pins?
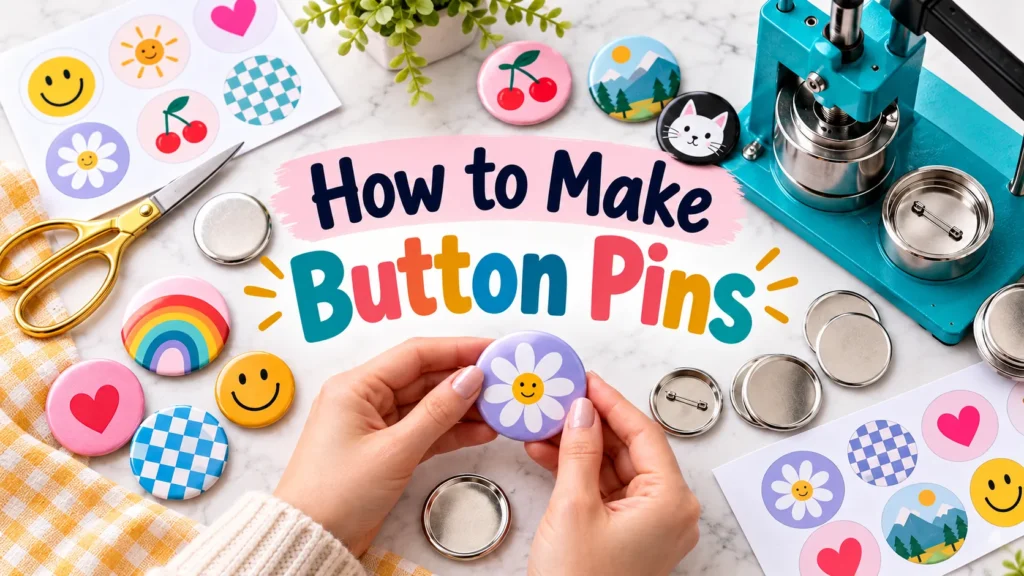
Button pins are one of the most versatile accessories you can make or own. They show up on backpacks, jackets, lanyards, event badges, and retail displays, carrying artwork, slogans, logos, and causes. Whether you want to make a batch at home or order professional ones for your brand, this guide covers everything you need to know about custom button pins.
What Are Button Pins Used For?
Button pins serve a wide range of purposes: brand giveaways, event staff identification, school fundraisers, personal expression, and many more. For a full breakdown of use cases and the occasions where button pins work best, see our dedicated guide on What Are Button Pins.
For events that need a complete identification setup, pairing button pins with custom badge reels creates a clean, professional look for staff and volunteers.
What Is a Pin Back Button?
A pin-back button is a small flat disc with a printed design on the front and a pin mechanism on the back. The front is covered with a clear mylar film to keep the design scratch-free. The back holds a pin clasp that fastens through fabric.
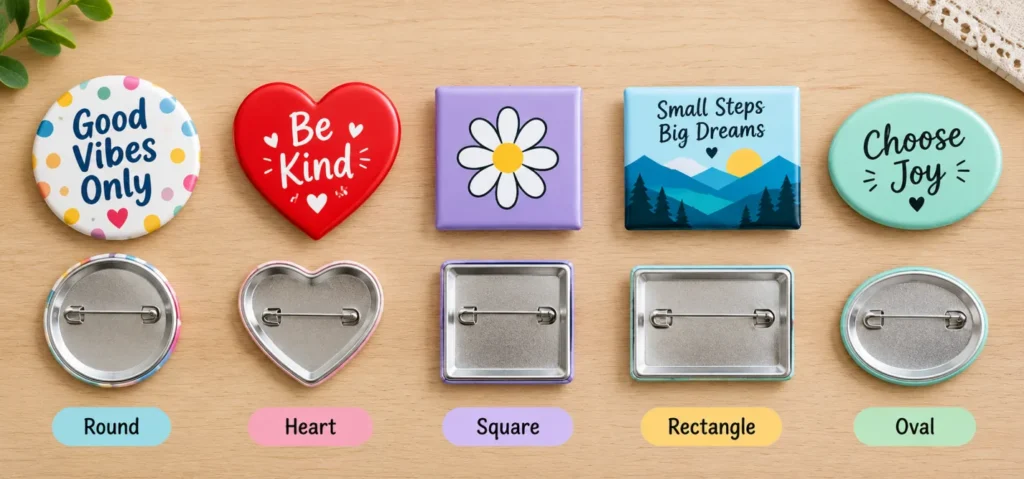
Button pins come in several shapes, such as the heart-shaped button pin, square button pin, rectangle button pin, and a distinctive oval button pin. Each is suited to different aesthetics and uses, with sizes ranging from one inch to three inches.
What Are Button Pins Made Of?
Most button pins share a three-layer construction. The face is a printed design pressed onto an iron or plastic shell. A clear mylar film sits on top to protect the design. The back disc carries the pin mechanism, either a coil spring clasp or a safety-pin style fastening. The front finish can vary: glossy, matte, frosted, linen, holographic spot, or holographic glass, each producing a different visual effect.
How to Make Button Pins Without a Machine?
You do not need a button-making machine to make pins at home. The simplest method uses snap-together clear button pin blanks from craft stores or online. Here is how:
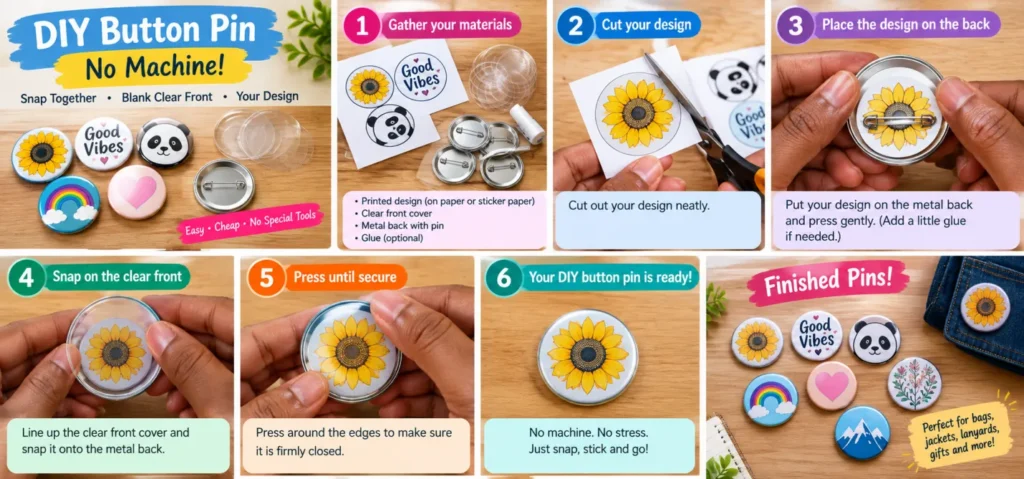
- Step 1: Create or print your design on glossy paper. Keep artwork centred with a small margin around the edge: anything too close to the border may be trimmed during assembly.
- Step 2: Cut your design to match the shape of your blank, circular, heart, square, or rectangle. Sharp scissors give the cleanest edges.
- Step 3: Open the snap-in blank. It comes in two pieces: a clear plastic front and a back with the pin already attached.
- Step 4: Place your design face down into the clear front, then snap the back on firmly. Press around the edges until the pieces lock together cleanly.
- Step 5: If the snap feels loose, apply a small dot of clear craft glue around the inner seam to secure it permanently.
How to Make Matte Button Pins
Standard button pin blanks produce a glossy finish by default. To make matte button pins, apply a clear matte contact paper or matte laminating sheet over your printed design before assembly. This replaces the standard glossy mylar and gives the pin a smooth, non-reflective finish once pressed. Use a laminating sheet around three microns thick so the blank still closes cleanly.
How to Design a Button Pin
Open any design software, Canva, Adobe Illustrator, or a basic photo editor, and create a canvas matching your pin size. For round button pins, work within a circle. For square and rectangle button pins, use the exact blank dimensions.
Keep text and logos at least three millimetres from the outer edge to avoid trimming. Save your file as a high-resolution JPEG or PNG at 300 DPI minimum for sharp print quality. If you would rather skip the design work entirely, our mockup request page lets you submit a rough idea and our team will turn it into a production-ready file for free.
How to Use a Button Pin
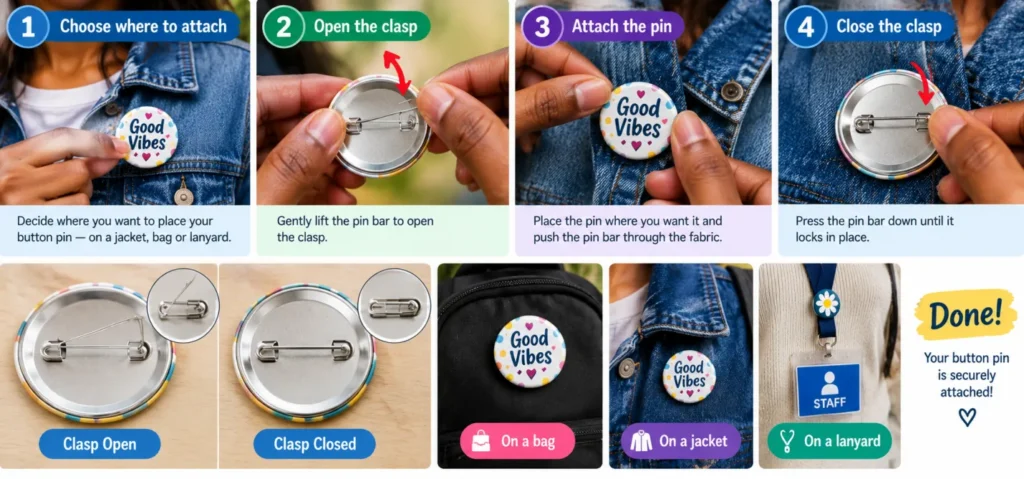
Attaching a button pin is simple. Open the clasp by sliding or pressing the fastener to release the tip. Push the sharp tip through the fabric; jackets, bags, and custom lanyards all work well. Re-close by pressing the tip back into its locking groove until it clicks. For delicate fabrics, place a small piece of felt or card behind the fabric before pinning to prevent snagging.
To remove a pin, open the clasp and slide the pin shaft out slowly. Never yank a pin free this can tear the fabric or bend the shaft.
How to Open Button Pins
Personalized button pins are a fun and affordable way to showcase your brand, but how do you open one to attach it to your clothing, bag, or backpack? Most button pins feature a simple safety pin-style backing that can be opened and closed by hand. Follow these steps to attach your pin safely:
- Hold the button pin securely. Keep the printed front facing away from you and locate the metal pin on the back.
- Find the clasp. Look for the small metal catch that holds the sharp pin tip in place. Depending on the pin design, you may need to gently lift or slide the clasp to release it.
- Open the pin. Carefully lift the pin tip out of the clasp and rotate the metal pin away from the backing until it is open enough to pass through your fabric.
- Attach it to your item. Push the pin through a suitable area of fabric, such as a jacket, tote bag, or backpack. Avoid thick seams or delicate materials that could be damaged.
- Close and secure it. Bring the pin tip back toward the clasp, place it into the catch, and make sure it is firmly locked before wearing or carrying the item.
For a coil spring clasp, press the two halves together to release tension, then slide the shaft free. Never force a stiff clasp; work it gently back and forth if it feels stuck.
Safety tip: Keep your fingers away from the sharp pin tip while opening and closing it. If the clasp feels stiff, don’t force it—check the backing design first, as some button pins use different fastening mechanisms.
How to Display Button Pins
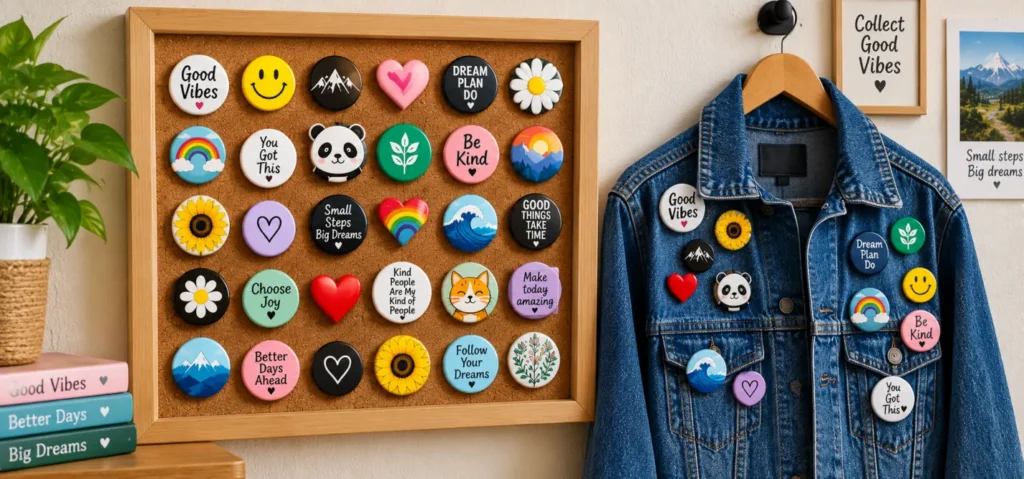
Once your pins are made, displaying them well is the next step. You can display them on cork boards, shadow boxes, denim jackets, backpacks, tiered stands, and rotating racks. For a full guide covering every display method, protective storage, and event presentation ideas, see our dedicated article on how to display button pins.
For event organisers displaying staff pins alongside other accessories, our Trade Shows and Events page has everything you need in one place.
Where to Make Button Pins
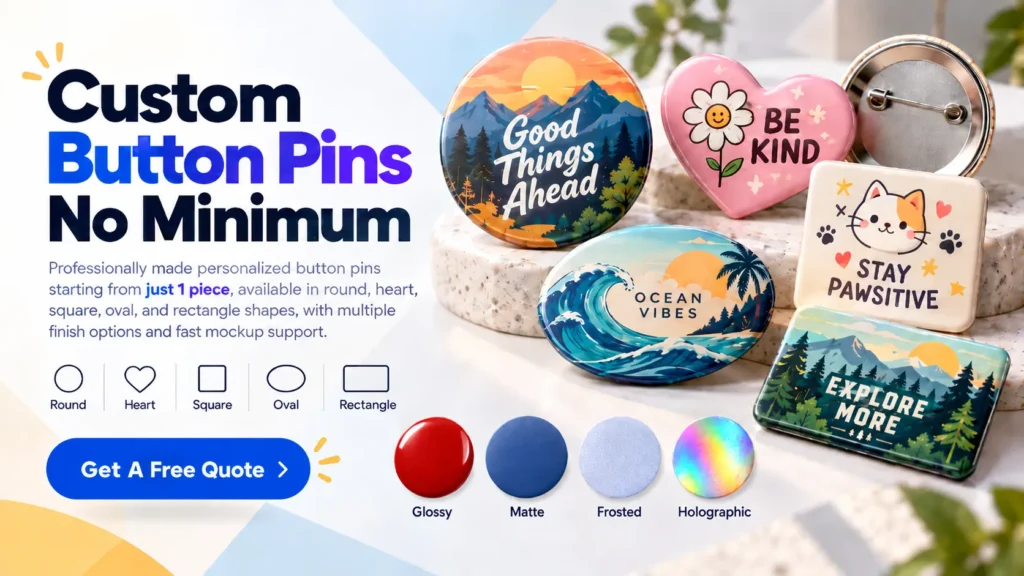
At FastPrintStar, we offer professionally made personalised button pins starting from just one piece, no minimum order required. Every pin is made from durable iron with your choice of glossy, matte, frosted, linen, holographic spot, or holographic glass finish. Printing is sharp and colour-rich, backed by a reliable pin-lock or safety pin fastening that stays secure through daily wear.
Submit your design, and our team confirms it before production begins. Every order ships via UPS or FedEx with no hidden fees.