
How to Display Button Pins: Creative Ideas & Tips
Table of Contents
ToggleHow to Display Button Pins
A button pin collection is only as good as the way you show it off. Whether you have ten pins or a thousand, the right display turns a scattered pile of accessories into something people notice and talk about. This guide covers every display method worth knowing for collectors, brands, event organisers, and anyone who wants their custom button pins to make a real impression.
What Is a Button Pin?
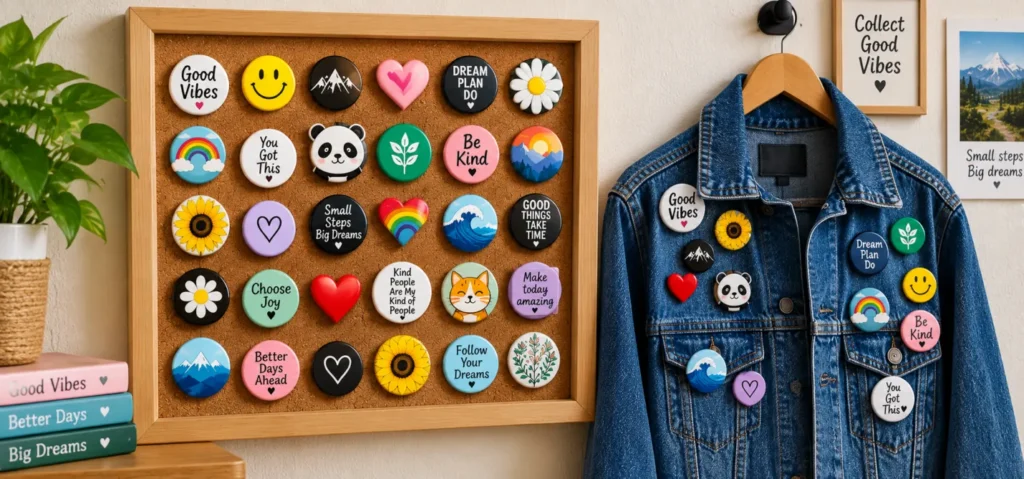
A button pin is a small disc with a printed design on the front, protected by a clear Mylar film, and a pin clasp on the back. The clasp is either a safety-pin style or a coil spring mechanism that opens to pierce through fabric and closes firmly to hold the pin in place. They come in round, heart-shaped, square, rectangular, and oval shapes, made from pressed iron with finishes ranging from glossy to matte to holographic.
Personalized button pins are used for self-expression, brand promotion, event identification, fundraising, and collecting. Their small size and low cost make them one of the most flexible accessories available, equally at home on a jacket lapel, a cork board, a trade show table, or a shadow box frame on a bedroom wall.
Want to learn more about button pins and their features? Check out our guide, What Are Button Pins?, for more details.
Where to Put Button Pins?
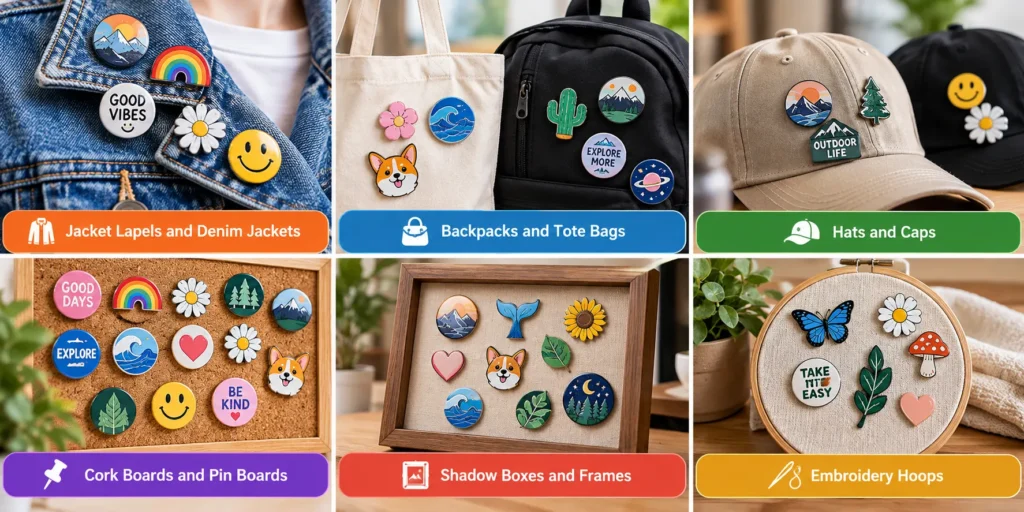
The right placement depends on your goal: wearable expression, wall display, or event presentation. Here are the most effective options:
- Jacket lapels and denim jackets: The most iconic placement. Thick fabric holds pins firmly and keeps them visible at eye level. Denim is especially popular because it can support dozens of pins without sagging or distorting. A round button pin or a square button pin is the most common shape worn this way.
- Backpacks and tote bags: Canvas and nylon outer panels are ideal. Pin near reinforced seams for the most secure hold. Avoid padded sections where internal filling can compress and loosen the clasp over time.
- Hats and caps: Pin through the structured front panel rather than the mesh or foam backing. This gives a clean look and a firm hold that does not shift during wear.
- Cork boards and pin boards: The most popular home display method. Pins press directly into cork and can be rearranged any time without damage. Organise by colour, theme, shape, or event for a display that tells a story at a glance.
- Shadow boxes and frames: Ideal for themed or sentimental collections. Remove the glass from a standard picture frame, add a cork or fabric backing, and arrange your heart-shaped button pins or round pins inside. The frame gives the display a finished, gallery-worthy look.
- Embroidery hoops: Stretch a piece of fabric tightly across an embroidery hoop and pin directly into the fabric. Inexpensive, portable, and easy to customise with different fabric colours and textures.
How to Use Pin-Back Buttons?
Hold the pin face forward with the clasp toward you. For a safety-pin style back, slide the clasp sideways along the shaft to release the tip. For a coil spring clasp, press both halves together to release tension. Push the tip through the fabric at a slight upward angle; this uses gravity to keep the pin flat rather than letting it droop forward.
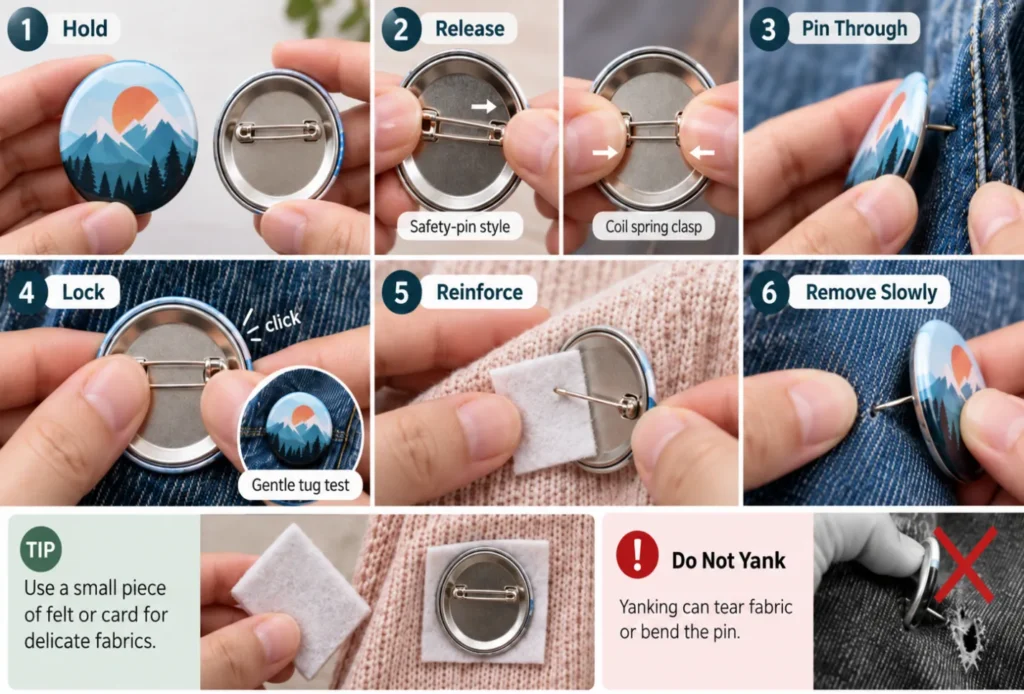
Re-close the clasp until it clicks into the locked position, then give the pin a gentle tug to confirm it is secure. For delicate fabrics, back the pinning point with a small square of felt or card to distribute pressure and prevent the clasp from pulling through. To remove, reverse the process slowly; never yank a pin free, as this can tear the fabric or bend the shaft.
How to Display Button Pins at Events and Retail?
Displaying button pins at events and retail settings requires a different approach to home display. The goal shifts from personal curation to accessibility and visual impact. Retail-ready tiered stands and rotating display racks make pins easy to browse and encourage impulse engagement, ideal for craft fairs, trade shows, and pop-up shops.
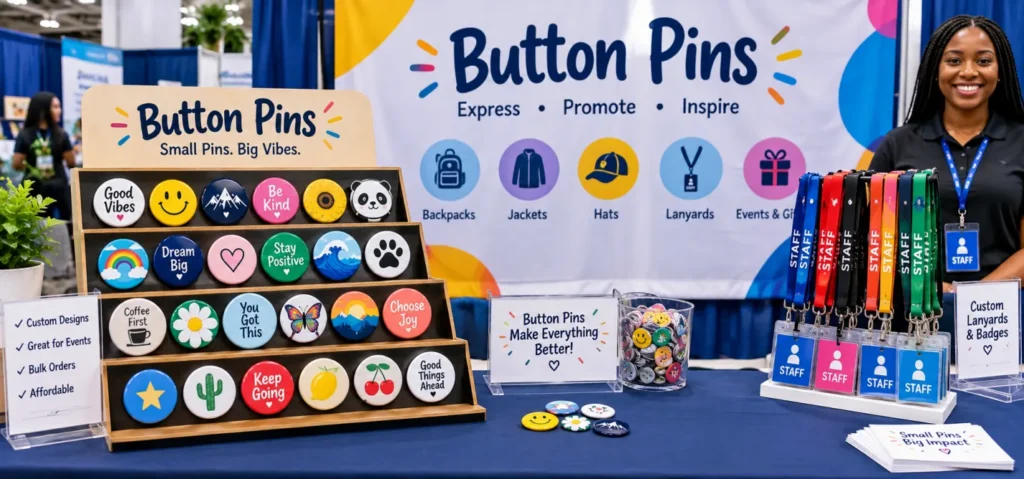
Fabric hanging banners are another strong option for events, lightweight, portable, and easy to set up and pack down. Staff wearing matching oval button pins or rectangle button pins on custom lanyards creates instant brand consistency across a team. For corporate events, explore our full range of event essentials on our Trade Shows and Events page, everything from button pins to badge reels in one place.
How to Protect Button Pins on Display?
Protecting pins on display keeps them looking sharp over time. Keep displays away from direct sunlight.UV exposure fades printed designs and dulls finish quality, particularly on glossy and holographic pins. In humid environments, a closed shadow box or display case provides a controlled atmosphere that prevents moisture from lifting the mylar film at the edges.
For valuable or limited-edition pins, locking display cases with UV-protective acrylic panels offer the best protection while keeping designs fully visible. Wipe the faces of displayed pins occasionally with a dry, soft cloth to remove dust. Avoid abrasive materials that can scratch the mylar surface.
If a pin is not on display, store it in a foam-page pin book or a divided hard case with the clasp closed to prevent scratching. Pairing stored pins with custom badge reels or custom wristbands in a single event kit keeps everything organised and protected in one place.
Where to Get Button Pins Made?
At FastPrintStar, we produce professionally made personalised button pins starting from just one piece with no minimum order. Our range covers all five shapes: round, heart-shaped, square, oval, and rectangle button pins — all printed on durable iron bodies with your choice of glossy, matte, frosted, linen, holographic spot, or holographic glass finish.
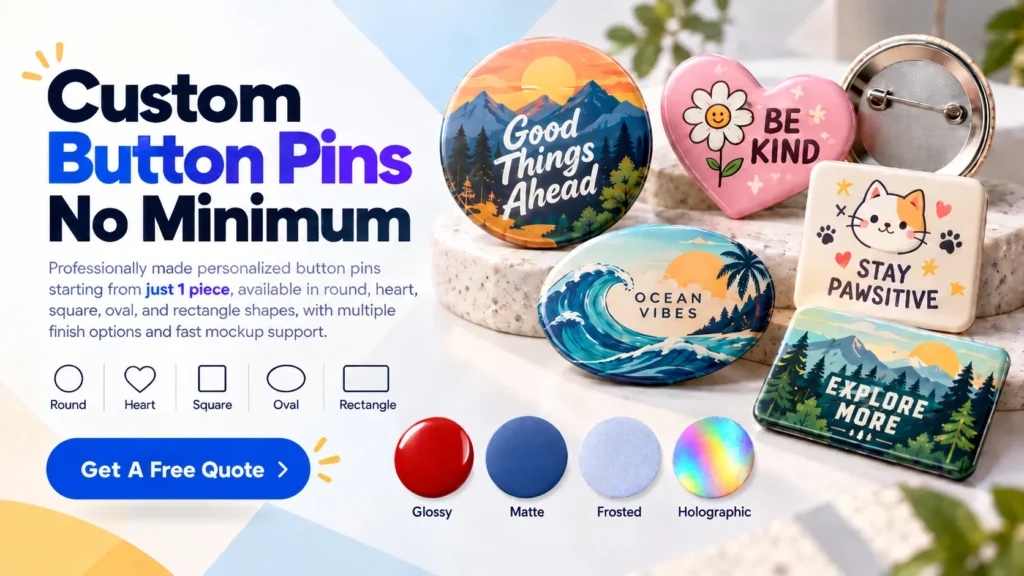
Our design team provides a free custom mockup within 12 hours of receiving your design, helping you preview your pins before production. Every order ships via UPS or FedEx with transparent pricing and no hidden fees. Get your free mockup today and bring your custom pin ideas to life!