
How to Make a Santa Hat: Step-by-Step DIY Guide
Table of Contents
ToggleHow to Make a Santa Hat?
Making a Santa hat at home is one of the most enjoyable Christmas crafts you can do, whether you are a skilled sewer or picking up scissors for the first time. From full fabric hats to quick paper versions, there is a method that works for every skill level and every occasion. This guide walks you through all of them, step by step. And if you want a professionally finished version with your own design, our custom Santa hats are ready to order with no minimum quantity.
How Do I Make a Santa Hat?
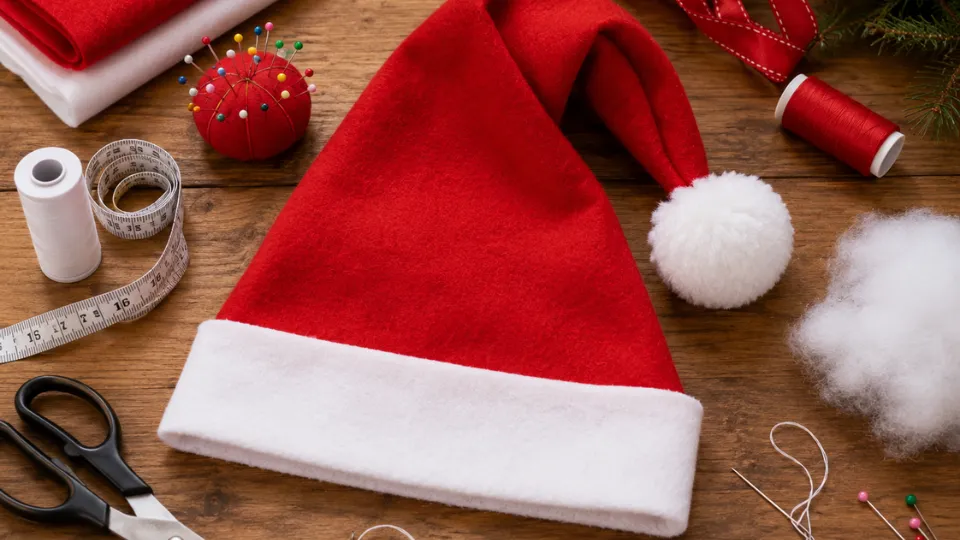
The basic shape of a Santa hat is a simple cone with a white cuff at the base and a pom-pom at the tip. Most DIY methods follow the same core pattern, just using different materials. You can sew one from fabric, glue one from felt, roll one from paper, or fold one from origami paper. Choose the method that fits your time, tools, and skill level
How to Sew a Santa Hat?
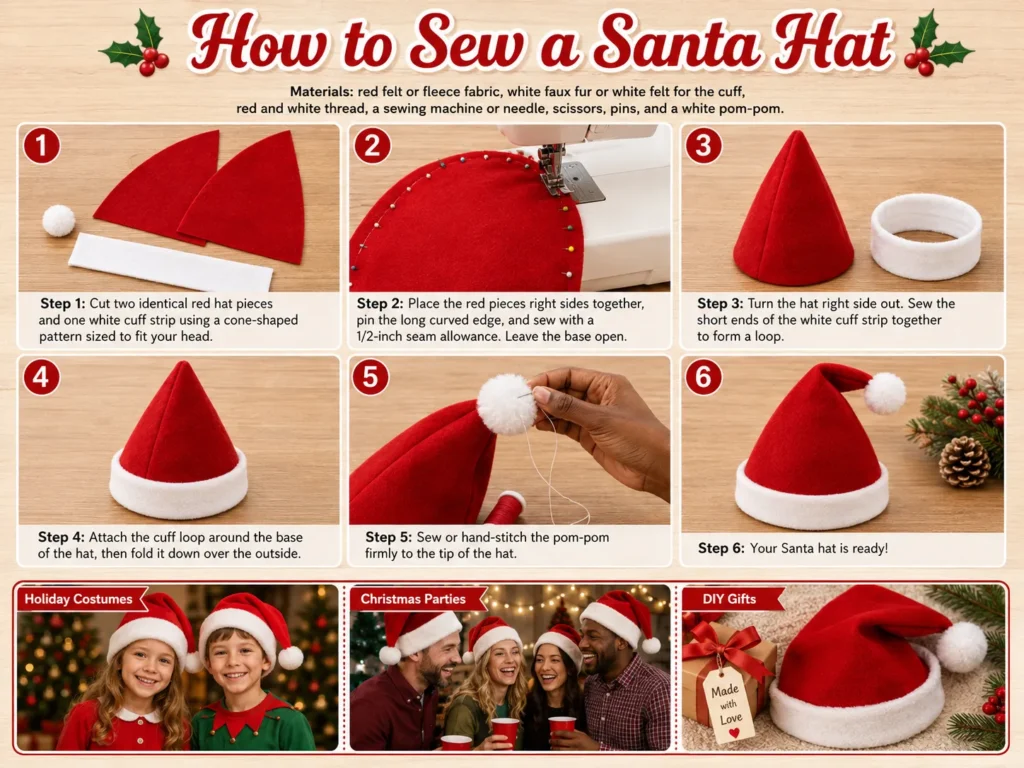
Sewing a Santa hat gives you the most durable and polished result. Here is what you need and how to do it:
Materials: red felt or fleece fabric, white faux fur or white felt for the cuff, red and white thread, a sewing machine or needle, scissors, pins, and a white pom-pom.
- Step 1:Download or draw a cone-shaped hat pattern sized to fit your head. Cut two identical red triangles and one white cuff strip from your fabric.
- Step 2:Place the two red triangles with right sides together and pin along the long curved edge. Sew along this edge with a half-inch seam allowance, leaving the base open.
- Step 3:Turn the hat right side out. Fold the white cuff piece in half lengthwise with right sides together, sew the short ends together to form a loop, then attach it around the base of the hat.
- Step 4:Fold the cuff down over the outside of the hat. Sew or hand-stitch the pom-pom firmly to the tip of the hat.
How to Decorate a Santa Hat?
Apart from pairing your Christmas hat with Custom Christmas stockings, decorating it is another fun way to elevate its look. Here are simple ways to add personality:
- Sequins and rhinestones:glue them on in patterns, borders, or scattered across the hat for a sparkly finish.
- Fabric or puffy paint:write names, paint snowflakes, Christmas trees, or simple patterns directly onto the hat surface.
- Tinsel or ribbon:wrap it around the cuff for an extra festive touch that catches the light.
- Upgraded pom-pom: swap the plain white pom-pom for a jingle bell, a star, or a battery-powered LED pom-pom that lights up.
How to Make a Miniature Santa Hat?
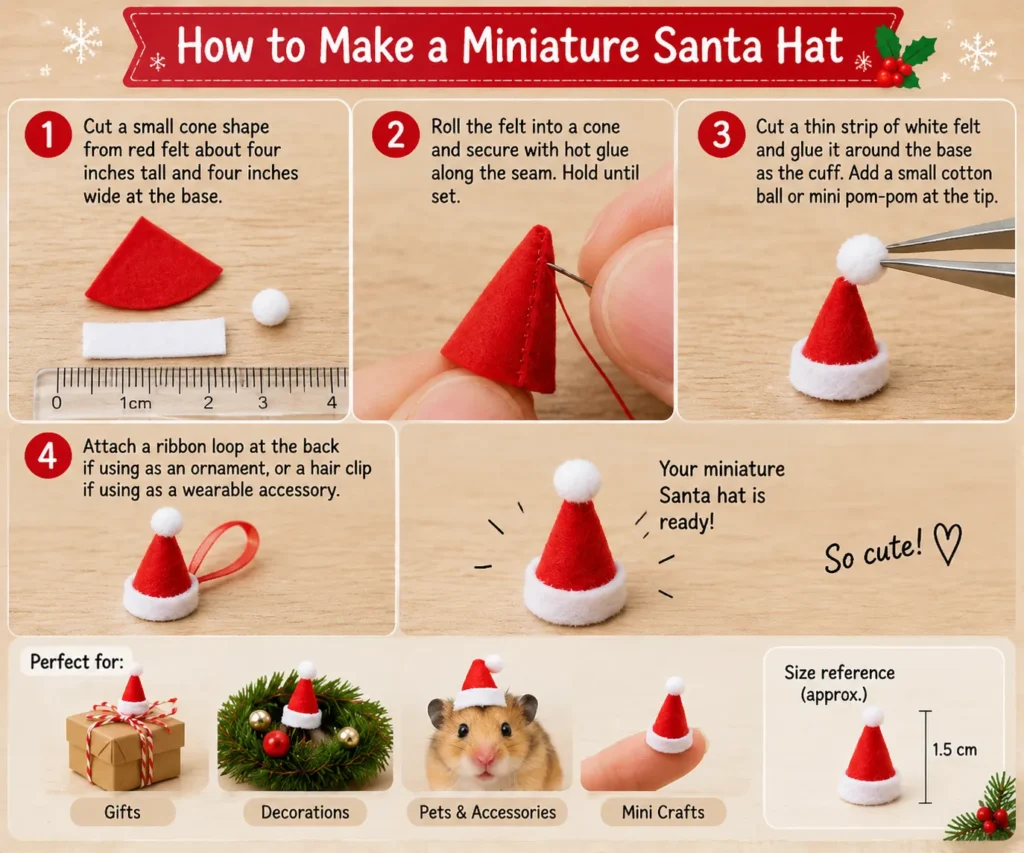
Miniature hats work beautifully alongside enamel pins or patches on gift bags and event displays. Here is how to make one:
- Step 1:Cut a small cone shape from red felt about four inches tall and four inches wide at the base.
- Step 2:Roll the felt into a cone and secure with hot glue along the seam. Hold until set.
- Step 3:Cut a thin strip of white felt and glue it around the base as the cuff. Add a small cotton ball or mini pom-pom at the tip.
- Step 4: Attach a ribbon loop at the back if using as an ornament, or a hair clip if using as a wearable accessory.
How to Make a No-Sew Santa Hat?
No sewing machine? No problem. Here is a simple no-sew method using felt and a hot glue gun:
- Step 1:Cut a large half-circle from red felt. A ten-inch radius gives a good adult size.
- Step 2:Roll the half-circle into a cone shape and test it for fit. Apply a line of hot glue along the straight edge and press firmly to seal the seam. Hold for thirty seconds.
- Step 3:Cut a strip of white felt about two inches wide and long enough to wrap around the base. Glue it in place as the cuff.
- Step 4:Glue a white pom-pom or a cotton ball to the tip. Leave to dry fully before wearing.
How to Make a Paper Santa Hat?
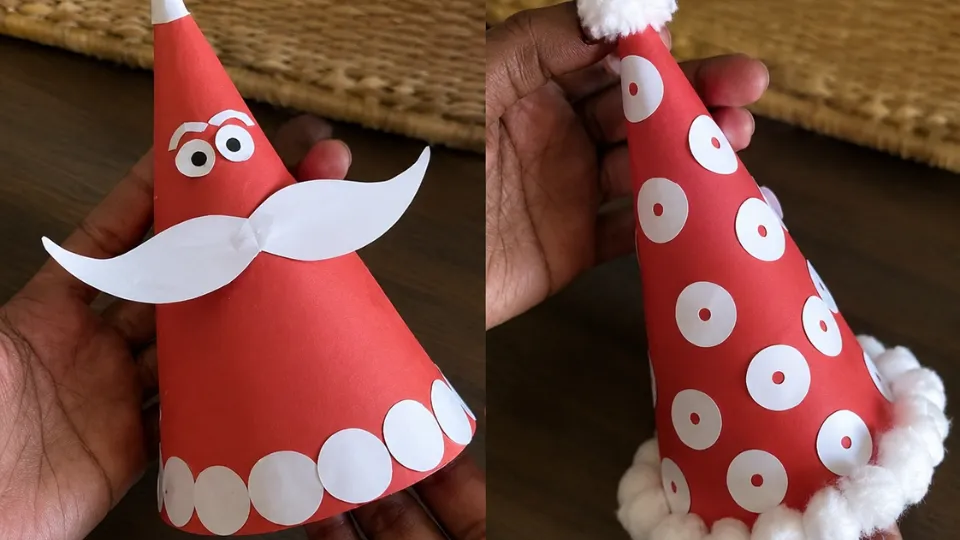
A paper Santa hat is the quickest option, great for parties, classrooms, and last-minute events. Here is how:
- Step 1:Draw a half-circle on red construction paper or cardstock with a radius of nine to ten inches. Cut it out.
- Step 2:Roll the half-circle into a cone shape. Adjust the base to fit the wearer’s head, then tape or staple the seam in place.
- Step 3:Glue a strip of cotton wool or white tissue paper around the base as the cuff.
- Step 4:Glue a small cotton ball to the tip and let it dry. For a sturdier hat, use thick cardstock instead of regular paper.
How to Wear a Santa Hat?
Wearing a Santa hat the right way keeps it looking festive and staying in place. Tilt the hat slightly to one side as you put it on; this gives it the classic floppy Santa look rather than sitting stiff and upright. Let the tip drape naturally to the side or front rather than forcing it upright.
For a secure fit, position the white cuff firmly around the widest part of the forehead, just above the eyebrows. If the hat keeps slipping, a thin strip of double-sided tape on the inside of the cuff works well on most hairstyles.
Where Can I Buy a Santa Hat?
Ready-made Santa hats are easy to find in party supply stores and online marketplaces. But if you want custom printed santa hats with your logo, team name, or custom design, we can help. At FastPrintStar, we offer personalized Santa hats with no minimum order, made from premium polyester plush fabric with full-color heat transfer print or embroidery options.

Our design team creates a free mockup within 12 hours of receiving your idea, so you can see exactly what your hat will look like before production begins. We ship globally through UPS and FedEx with no hidden fees. Explore our custom Santa hats and full range of event products at FastPrintStar.