People wear aprons while cooking, baking, painting, or gardening. They protect uniforms, prevent stains, and offer handy pockets for tools. Making your own apron can be fun and rewarding. Whether you are new to sewing or love crafting, an apron is one of the easiest and most useful DIY projects.
In this quick guide, you will learn how to sew and stitch an apron, the tools and materials you need, and the right way to wear one.
What is the Apron?
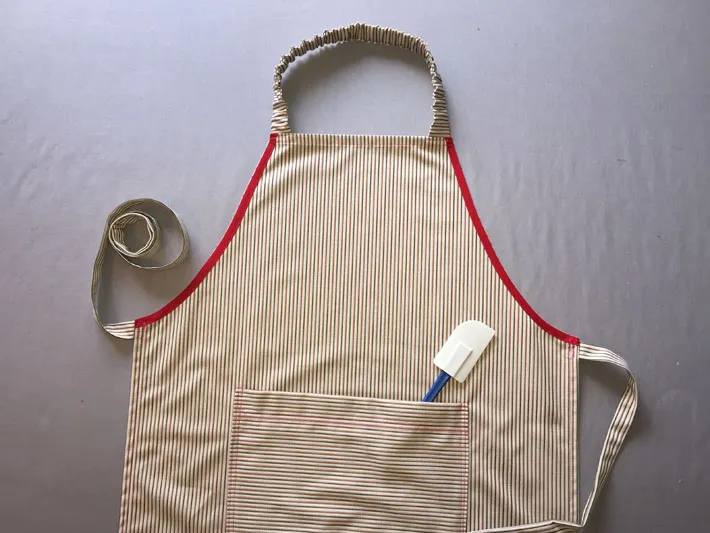
An apron is a piece of clothing worn over your outfit to keep it clean while you work. It usually covers the front of your body and ties at the neck or waist.
There are several types of aprons. The bib apron covers the chest down to the knees and is common in kitchens. The waist in apron protects only the lower body, while the half-apron is shorter and lighter. A full-length apron offers total coverage, making it perfect for chefs and craft workers. Some people choose custom aprons for a fit and design that match their personal style.
Tools and Materials You’ll Need
Before you start sewing, gather everything you will need. Begin with your fabric of choice. Choose one that is strong, washable, and comfortable.
Also, pick a fabric that matches your purpose. For example, a cotton apron is perfect for kitchen work, while a denim apron suits gardening or crafting.
You will also need:
a measuring tape to get accurate sizes
a sharp pair of scissors for cutting fabric
pins to hold pieces in place
thread that matches your fabric color
needle or a sewing machine (depending on what you have).
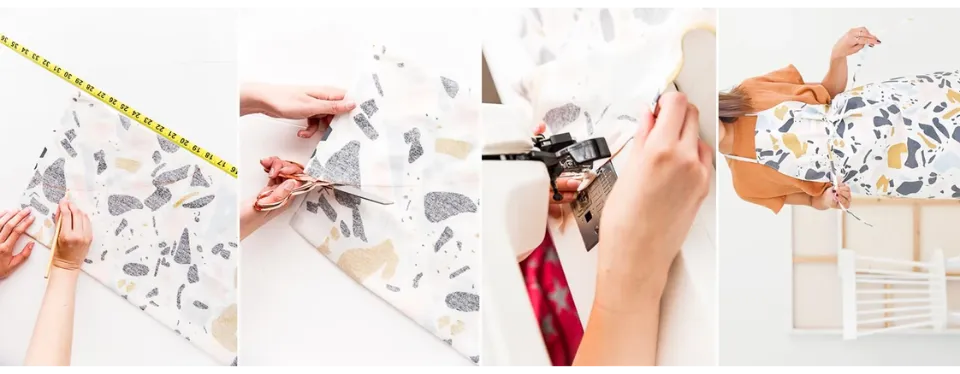
How to Sew an Apron
Now that you have your tools and fabric ready, it is time to start sewing your apron. The process is simple if you take it one step at a time.
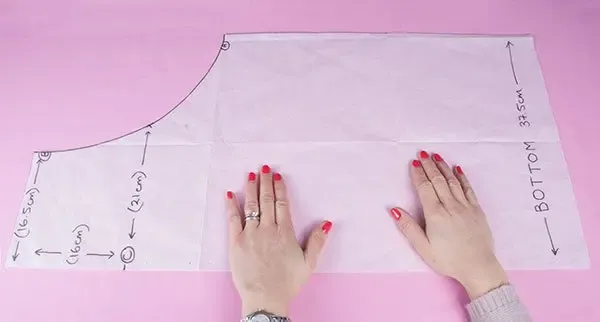
Step 1: Measure your body
Use a measuring tape to determine how long and wide your apron should be. Mark the shape on your fabric, adding a few extra inches at the sides for folding and stitching.
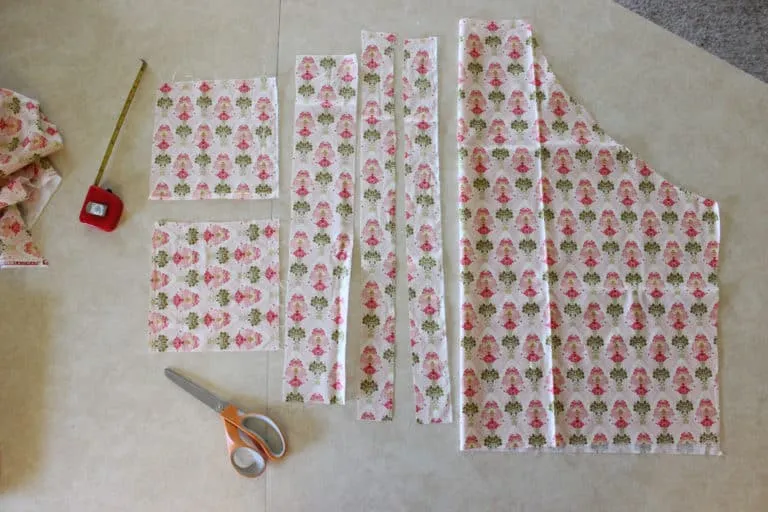
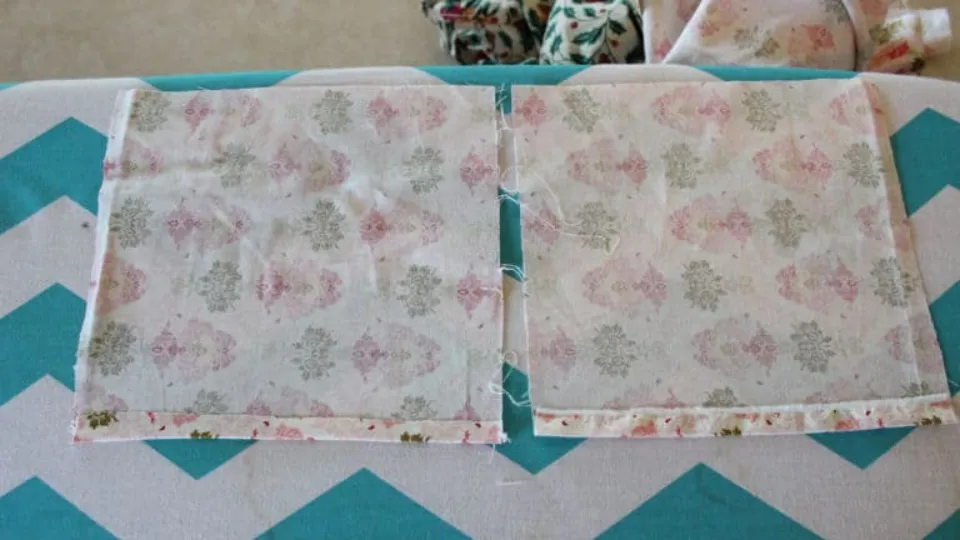
Step 2: Cut the fabric
Carefully cut along your markings. If you are new to sewing, you can trace and cut around an old apron as a pattern to guide you.
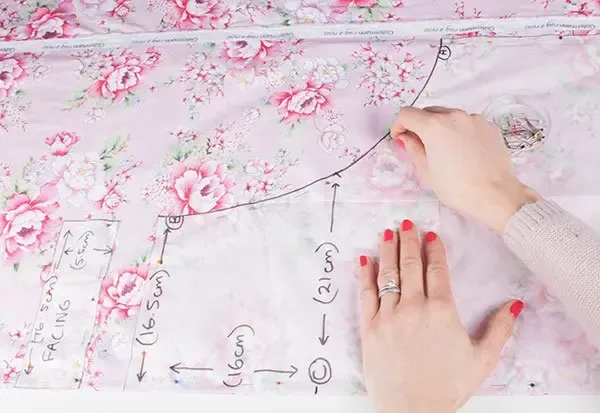
Step 3: Mark and shape the apron
Draw gentle curves for the neck area and straight lines for the sides. Pin the edges neatly, then sew them to hold the shape firmly in place.
Step 4: Add straps
Cut long strips of fabric for the neck and waist ties. Sew the straps to the upper and side edges of the apron.
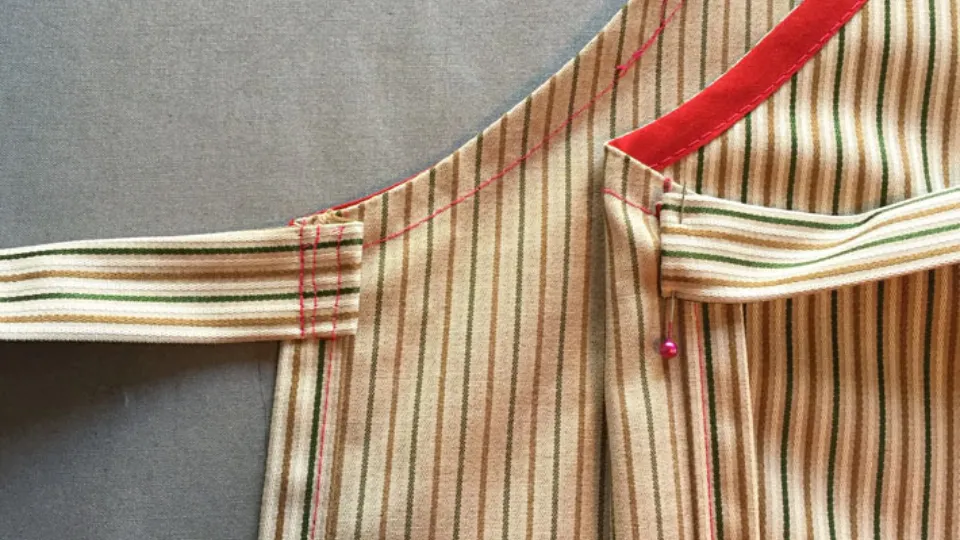
Step 5: Add pockets
Cut small rectangular pieces and stitch them neatly onto the front of your apron.
A pro tip: always pre-wash your fabric before sewing to prevent shrinkage.
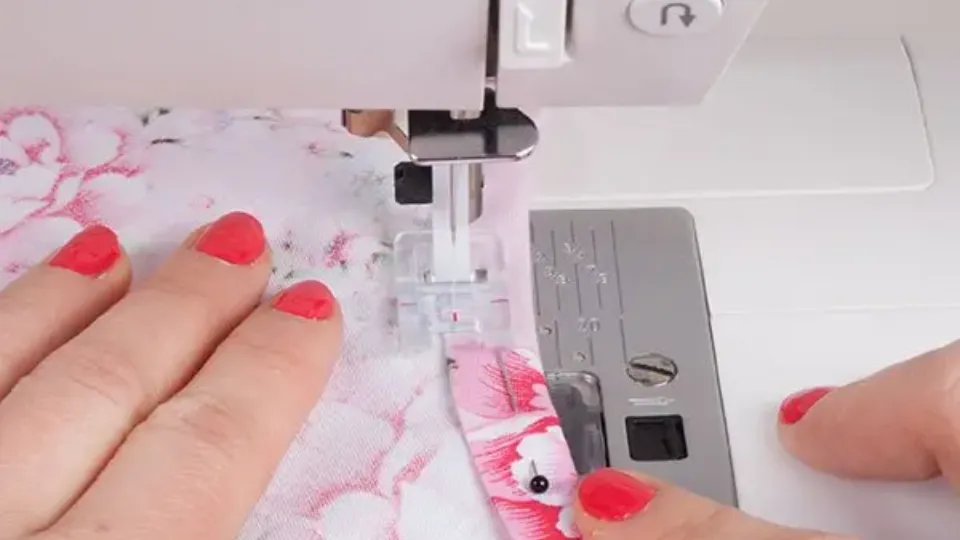
How to Stitch Apron
Stitching is what brings your apron to life; It holds the fabric together. You can stitch by hand or use a sewing machine. Hand-stitching is ideal for small details such as pockets, trims, or decorative edges, while a sewing machine helps you work faster and achieve smoother seams.
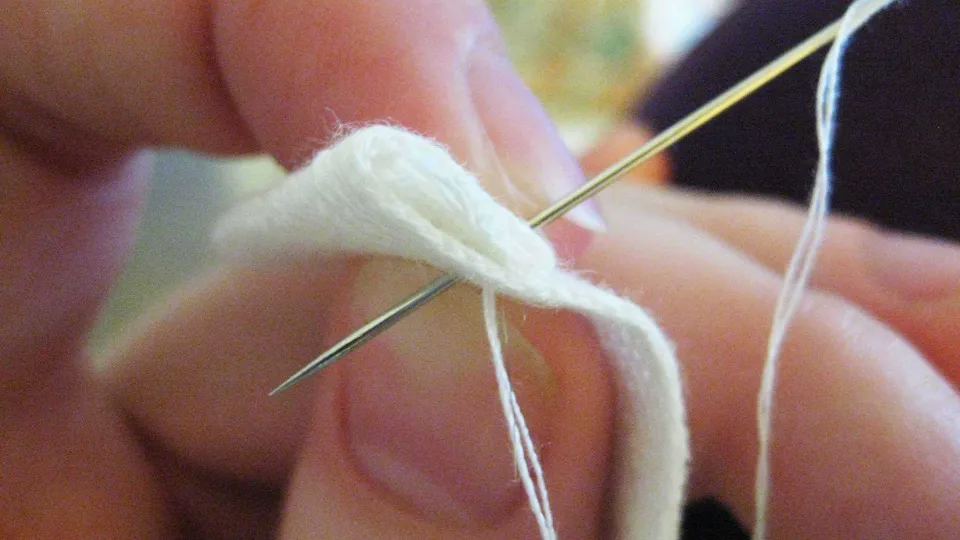
For hand-stitching
Use a strong needle and matching thread for neat results.
Keep your stitches small, even, and close together so they hold firmly.
For machine stitching
Start stitching from the top edges and work your way down, keeping the fabric straight and flat.
Use medium-length stitches for a clean, durable finish.
Reinforce key areas
Strengthen stress points like the neck straps, corners, and where the ties attach.
These areas experience the most tension and should have double stitching for extra durability.
Add personal touches
Try decorative stitches or embroidery to give your apron a custom look. You can create custom embroidered aprons with your initials or a small logo to make it uniquely yours.
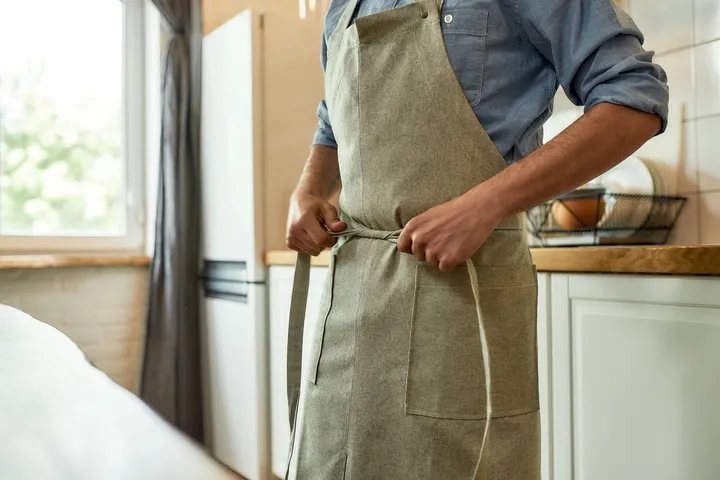
How to Wear an Apron
Wearing an apron the right way helps you stay comfortable and protected. To properly wear an apron, follow these steps;
Place the apron over the front of your body so it covers your clothes. Adjust it so the top sits comfortably on your chest and the bottom reaches your knees or mid-thigh.
Tie or adjust the neck strap so it fits snugly but not too tightly. You should be able to move, bend, and work easily without the strap pulling at your neck.
Wrap the waist ties around your back and bring them to the front. Knot them securely to keep the apron in place.
If you would rather buy than sew, FastPrintStar offers many ready-made and custom options. Their aprons use waterproof Oxford fabric that holds up to spills and heavy use. They also print full-color designs, and the prints stay bright even after washing.
FastPrintStar has no minimum order. You can buy just one apron or many for a team. With their easy online design tool, simple ordering steps, and free and fast shipping, you sure can get your own customized apron in no time.
Why pick a custom apron from them? Their custom aprons with pockets aim to be durable, easy to clean, and adjustable for comfort. They offer chef and kitchen styles, work aprons, and options for men, women, and kids.
Final Thoughts on Aprons
Aprons are more than just cloth tied around your waist. They help you stay neat and even show off your style. Whether you cook, craft, or work in a busy shop, having an apron that fits well and looks good makes every task easier and more enjoyable.
Making your own apron can be a fun project. It teaches you basic sewing skills and lets you add personal touches. However, if sewing isn’t your thing, getting a customized apron is the next best option.