DIY Tutorial: How to Make a Hand Fan?
Understanding how to make a custom hand fan is a timeless and important skill set that applies to everyday lifestyles. A hand fan is an important cooling implement that is beneficial and useful on special occasions, during the summer, and even while you are home. Despite the wide range of usage of hand fans, most people lack the basics of fixing one for themselves, let alone adding some touch of personalization. Custom made hand fans are made with different materials like fabrics, paper, etc., and require high-level technicalities, which, if care is not taken, might not be easy to achieve for beginners. In this regard, you have nothing to worry about because this guide will help you navigate the process of making your custom hand fan.
Table of Contents
ToggleTypes of Hand Fan
Customized hand fan is a practical piece of equipment that has been around for centuries. Besides being an important cooling component, most people have carved out a way to personalize hand fans with intricate designs and beautiful materials. This ingenuity has brought various hand-fan designs, including those tailored for specific uses like parties, official gatherings, etc. The following are the types of custom hand fans.
1. Fixed Hand Fan
Fixed hand fans have existed since time immemorial. As the name implies, custom fixed hand fans are fused with no immovable joint or hidden compartment. The most popular example of this type of hand fan is the paddle hand fan, or Uchiwa, commonly found in Asian countries. There are also feather fans, straw fans, and others in this category.
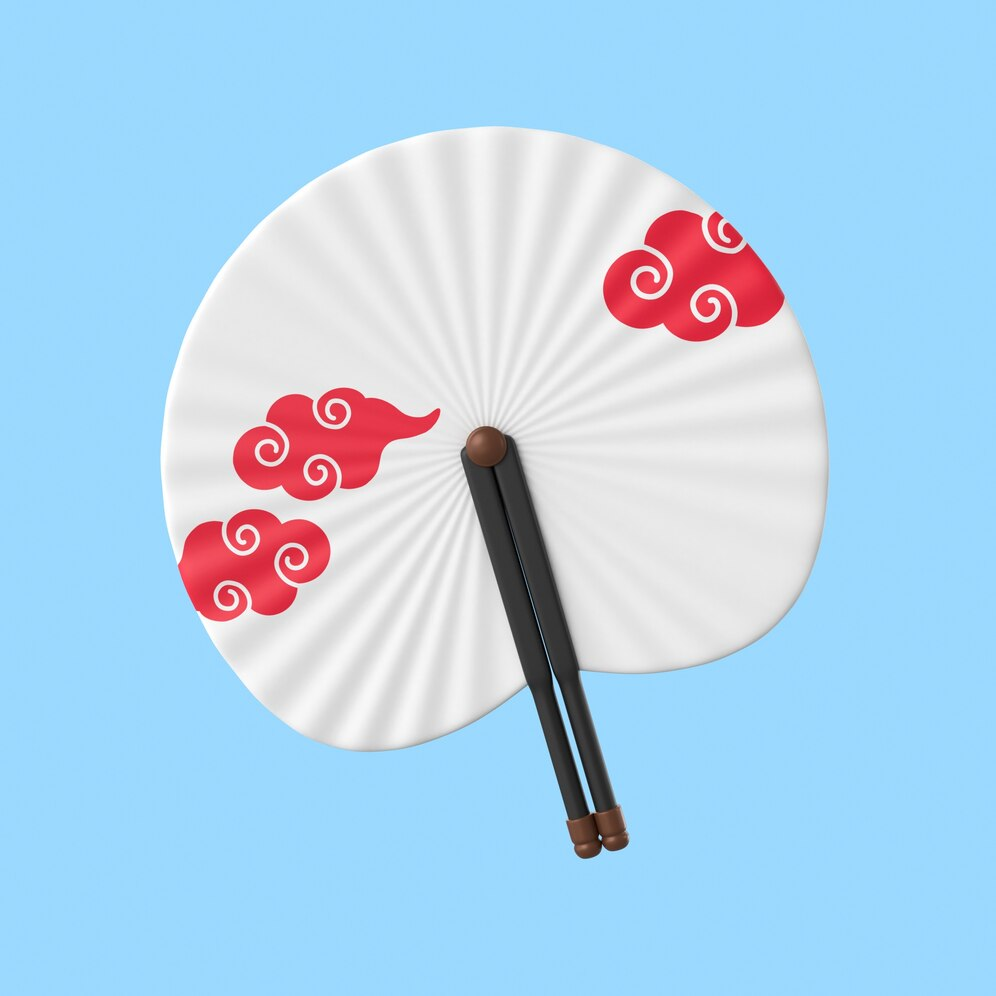
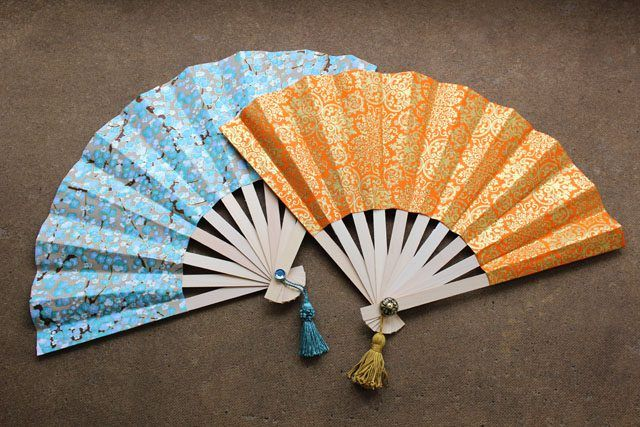
2. Folding Fan
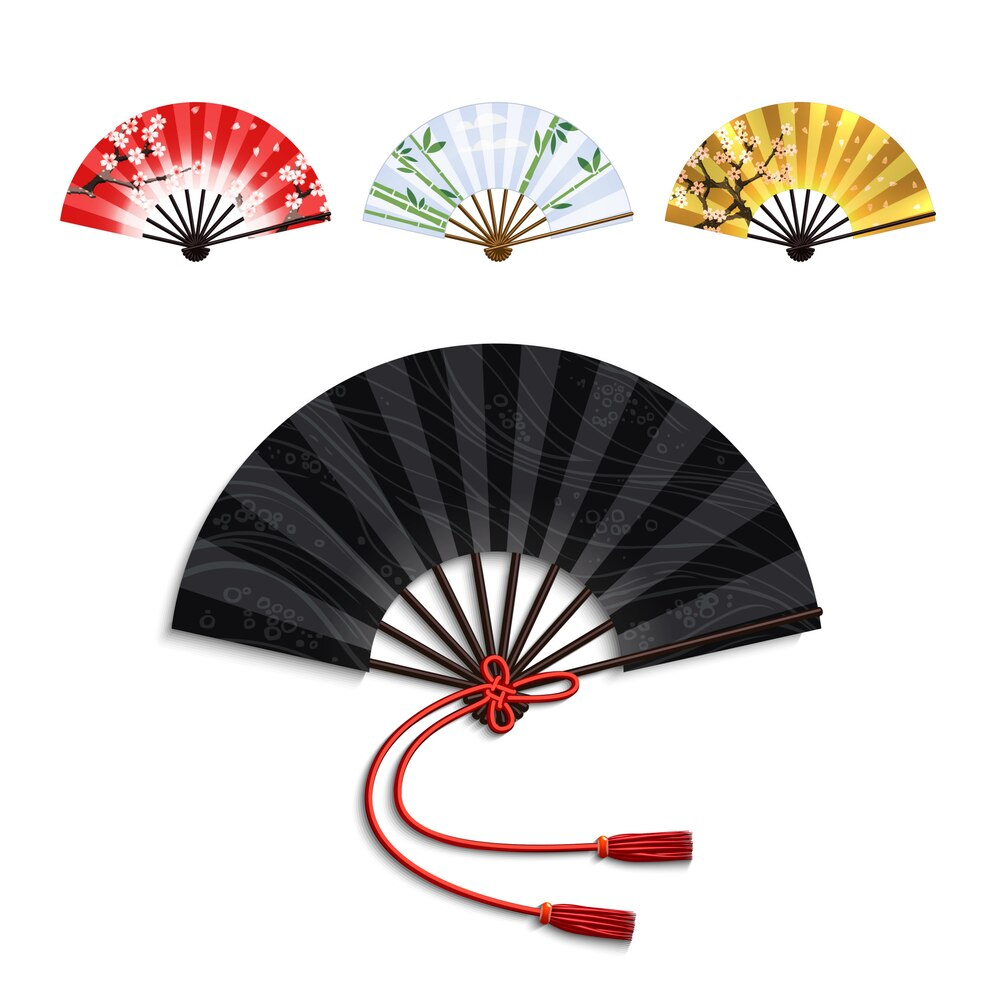
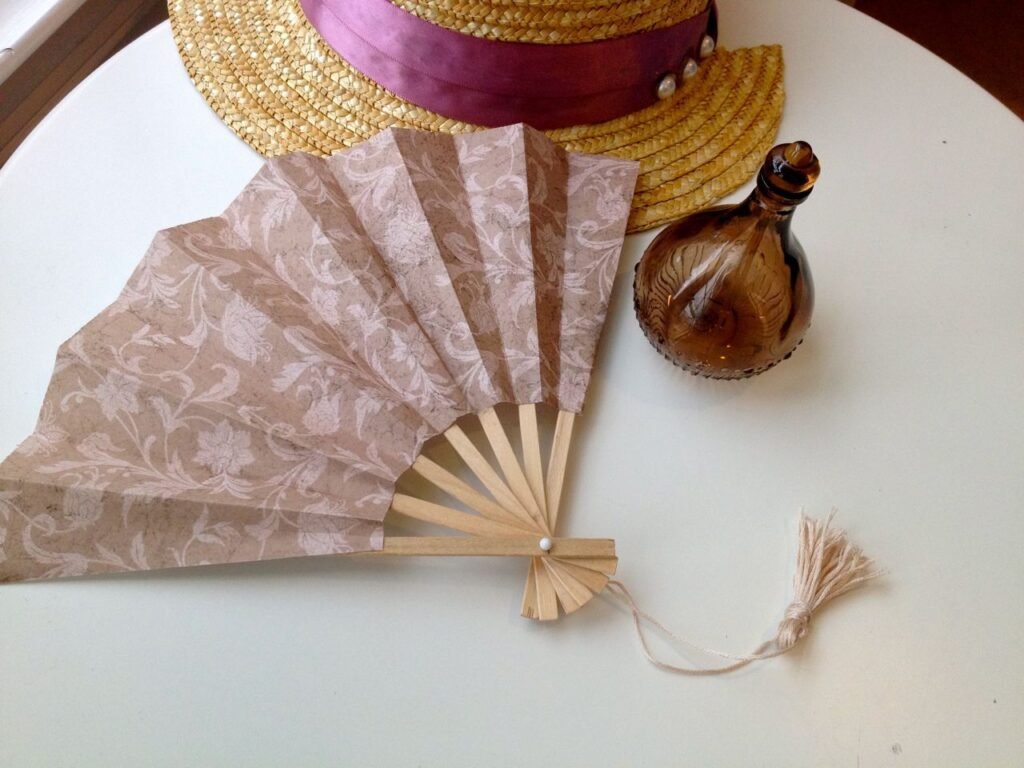
Customized folding fans are the beacon of styling and the most aesthetically pleasing category of hand fans. This type of hand fan includes paper hand fans, fabric-made hand fans, and others made with customizable materials. Custom paper hand fans are the most recognizable type of hand fan due to their lightweight and portability. Also, fabric hand fans fall into the illustrious category of exquisite hand fans that are easy to carry around and fit on all occasions.
Where Did the Hand Fan Originate?
The history of hand fans predates modern civilization. We can say it has been used for religious and practical purposes. The first idea of the hand fan was traced back to the Egyptian era over 4000 years ago. Custom made hand fans were viewed as more of a religious item placed at Tutankhamun’s tomb. Also, there’s another raging story about the usage of hand fans in China, which some people believe to be an invention of Emperor Shun. However, the widespread adoption of hand gan in this modern era can be attributed to the Europeans who saw it as a status symbol and coined various ways and designs to make it attain its status.

There was no sight of the hand fan in middle-European societies, not until the 13th and 14th centuries when Crusaders came back from their conquest and told the tales of what they saw and the usefulness of the custom hand fan. The gospel of customized hand fan being spread around European society coincides with the time of much interest in China, which brought many revolutionary changes to the custom hand fan design we see today. Over the past centuries, the hand fan has transcended from a mere religious piece to an important part of our society. The material and designs reflect a significant piece used for its cooling and as a form of communication among the aristocratic society.
Materials Needed to Make Hand Fan
There’s no better feeling than making your cooling components. However, you must have a basic understanding of the needed tools and equipment. Hence, this section breaks down the common materials and the necessary tools to make yourself a custom-made hand fan.
Essential Materials:
- Fan base (For fixed fans):Choose from sturdy options like wood, bamboo, cardboard, or a recycled plastic lid.
- Fan surface (For fixed and folding fans):At this point, I advise you to let your creativity run wild. You can use paper, fabric (think lace, linen, or patterned cotton), feathers, or even leaves (for a natural touch).
- Glue (For fixed and folding fans):Use a fast-drying, all-purpose glue for a strong bond. Fabric glue might be necessary for specific fabrics.
- Embellishments (Optional):You can choose from buttons, ribbons, sequins, and glitter—the possibilities are endless for whatever your mind goes for.
Tools for Paper Fans:
- Scissors:It is important to have sharp, precise cuts that are key for a clean-looking hand fan.
- Ruler:Use a ruler for some measuring to get an even fold and spacing.
- Pencil or marking tool:To plan your hand fan design before committing to cuts, this is required.
Tools for Fabric Fans:
- Scissors:As with paper fans, sharp cuts are essential to prevent uneven cuts.
- Fabric shears:You need a fabric shear to get cleaner cuts on fabric.
- Needle and thread (Optional):You’ll need a needle and thread to sew the fabric onto the frame.
- Fabric stiffener (Optional):This can add structure to your fabric, especially for lightweight materials.
- Iron (Optional):Iron is used for pressing seams and smoothing wrinkles in your fabric.
How to Make a Hand Fan with Paper
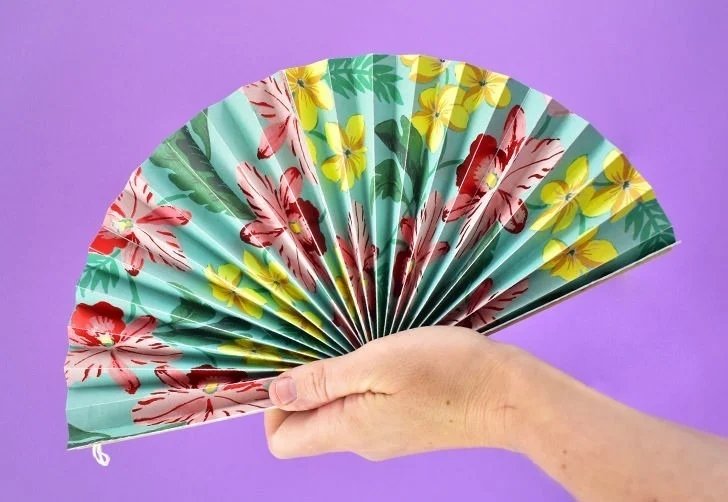
Making your custom paper hand fan is undeniably a delightful experience. With a simple dash of aesthetics and straightforward technique, you can make a paper hand fan that applies to all occasions and gatherings. The following are all you need for creating a paper hand fan.
Materials:
- Colorful construction paper (or any decorative paper of your choice)
- Scissors
- Ruler
- Pencil
- Glue stick (or any fast-drying glue)
- Craft sticks (or popsicle sticks) – 2 per fan
- Optional: Ribbon, buttons, glitter, markers, stickers – for decorating!
Step by Step instructions
- Fold the Paper:
Get a 12×12 plain paper or card stock. Lay it down on its decorative side (if there’s any) while the non-decorative side faces you. Now, fold the top edge as if you are making an accordion pleat.
- Create a Fan Shape:
You’ve finished folding the paper. The next step is to unfold the entire thing and rotate the paper so that it sits vertically on the table. Now, fold the paper again to the previous accordion-like folding position.
- Attach the Handle:
In that accordion-like folding position, use clips to attach them together and drill a hole at the paper edge. Thread a needle through the hole you drilled about 8 times. After the glue has dried, use glue to grip the down part together with the thread, really for about 3 times.
- Unleash your hand fan:
Once the glue has dried, carefully remove the band or binder clip around the customized hand fan and open it up to let some fresh air circulate around your face.
How to Make a Hand Fan with Fabric
Fabric hand fan is another delightful blend of practicality and personal style. This type of hand fan is quite simple to make and allows you to enjoy the full breeze of your creation. The following is the step-by-step process of making a fabric hand fan.
Materials:
- Fabric of your choice:Cotton, linen, or lace all work well. Consider the fabric’s weight and drape for optimal results.
- Scissors:Get sharp fabric shears for clean cuts.
- Ruler:You need a ruler to make straight lines for a polished look.
- Pencil or fabric marker:It is good to Mark your fabric precisely.
- Glue:select a fabric glue for a strong, lasting bond. You need a glue stick that can be helpful for temporary holding.
- Craft sticks:Two popsicle sticks will form the sturdy base of your fan.
- Optional:Sewing needle and thread if you prefer a stitched finish.
- Optional:Fabric stiffener to add body to lightweight fabrics.
- Optional:Iron to press seams and smooth wrinkles (depending on the fabric).
- Embellishments:It’s important to add more designs to your hand fan. You can use lace, ribbon, buttons, beads, or embroidery floss.
Step-by-step instructions.
- Cutting the Fabric:
Cut a piece of fabric to about 44 inches long and 5 inches wide. Fold the fabric over and Iron it to the seam. Seal the raw edge of the fabric with glue.
- Work on the Hand Fan Handle:
Take two popsicle sticks and join them to make one stick long enough to hold the hand fan.
- Attach the Popsicle stick to the fabric:
Ensure the tip of the end of the stick is attached perpendicular to the raw edge of the fabric. Apply the glue to the sticks and place them at the edge of the fabric. Apply the glue to the fabric and fold it over onto the sticks. To prevent the fold from coming off, you should use a thread to hold them together.
- Making the Hand Fan Pleat:
To make the hand fan pleat, pass a needle, thread through the edge of each fold, and join them together. Ensure the two folds are tight enough not to fall off or break the thread.
- Adding the Embellishment:
Use glue to attach the button or any other decorative piece to the middle of the fan.
Where to Buy Hand Fans

Whenever you intend to get a customized hand fan that exudes your personality without dropping a sweat, FastPrintStar is your best choice. With FastPrintStar custom hand fan, you can choose to be in charge of your customization with our one-click custom design uploading. We also offer you the choice of picking from our wide range of fan materials and fan handles with an option for a free plastic handle and a choice of your delivery date. To cap it off, we offer you the best possible tier option prices that ensure every increment in your number of purchases comes with a price reduction.
Conclusion
Making your customized hand fan is more than just a way to beat the heat; it’s a journey of creativity and self-expression. You’ve explored different materials, folding techniques, and embellishment ideas. Whether you choose the simplicity of a paper fan or the elegance of fabric, creating your own cooling companion will surely be rewarding.