How to Sew on a Patch
Table of Contents
ToggleHow to Sew on a Patch
Sewing patches onto clothes is a useful skill that helps you fix damaged items, express your personality, and create one-of-a-kind fashion pieces. This guide will teach you everything about sewing patches, whether you want to do it by hand or use a sewing machine.
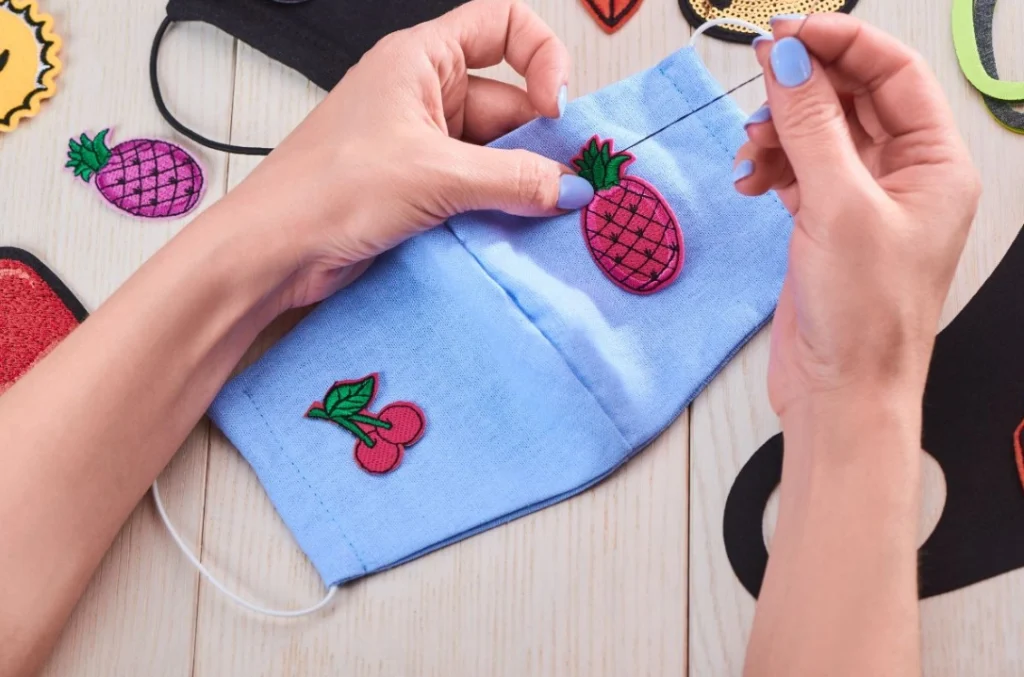
How to Sew on a Patch by Hand
Hand sewing is the most basic way to attach patches, and it doesn’t require any special equipment. All you need are:
- Your patch
- Needle
- Thread (matching or contrasting color)
- Scissors
- Pins or fabric clips
- Thimble (optional but helpful for pushing the needle through thick fabric)
Step-by-Step Instructions:
1. Position Your Patch
Decide exactly where you want the patch to go and place it on your clothing. If you’re covering a hole, make sure the patch completely covers the damaged area.
2. Pin It in Place
Use straight pins or small fabric clips to hold the patch steady, keeping it from moving while you sew.
3. Thread Your Needle
Cut a piece of thread about 18-24 inches long. Thread it through the needle’s eye and tie a small knot at the end.
4. Start Sewing
The most common stitch for patches is the whip stitch. Keep making these stitches all the way around the patch edge, spacing them evenly.
5. Finish Strong
When you’ve sewn all the way around and reached your starting point, make a small knot by looping the thread and pulling the needle through the loop. Lastly, cut off the extra thread close to the knot.
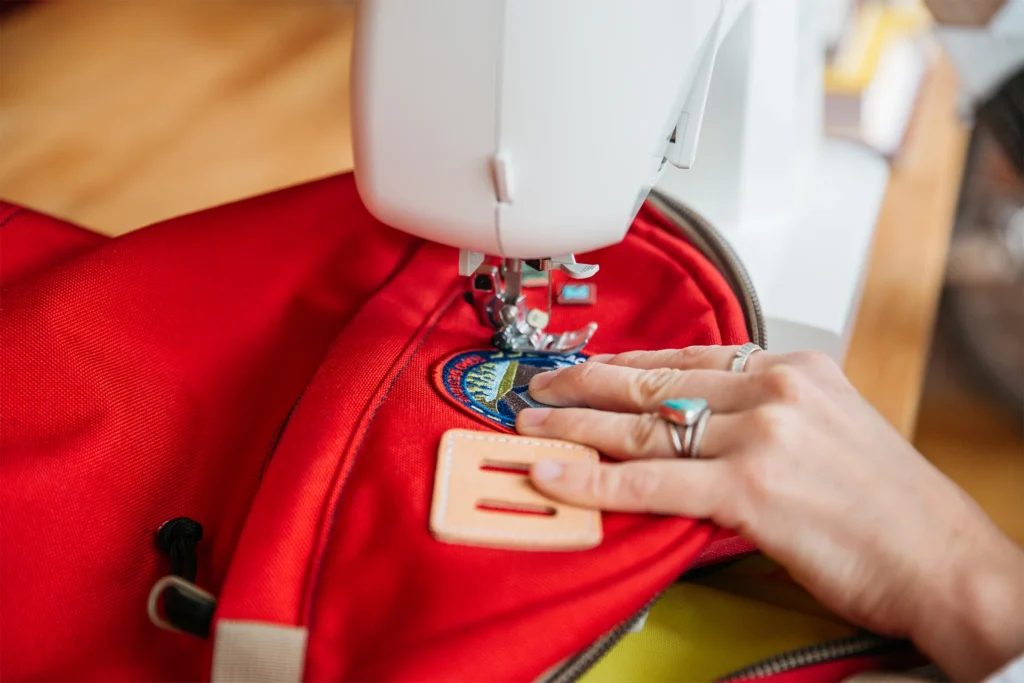
How to Sew on a Patch with a Sewing Machine
Using a sewing machine makes the job much faster and is great when you have multiple patches to attach. Machine sewing also creates very strong, durable bonds that can handle lots of wear and washing.
What You’ll Need:
- Sewing machine
- Thread (top and bobbin)
- Your patch
- Pins or fabric clips
- Scissors
Step-by-Step Instructions:
- Prepare Your Machine
Set up your sewing machine with thread that matches or contrasts with your patch, whatever look you prefer. Choose a straight stitch setting and set your stitch length to medium (usually 2.5 to 3). - Position and Pin
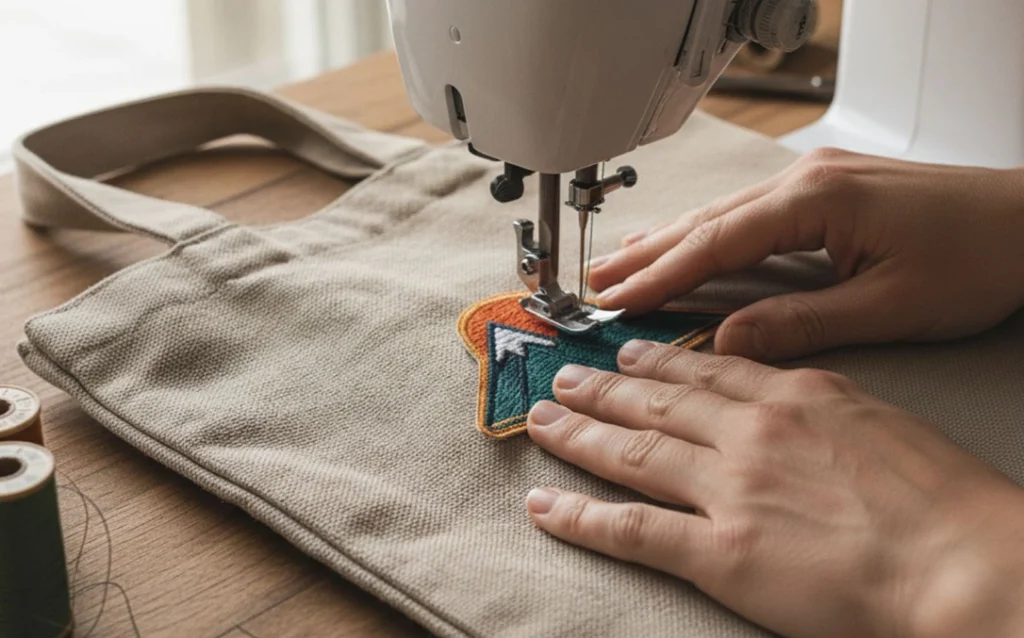
Place your patch on the clothing item and pin it securely. Make sure your clothing lies flat without any wrinkles underneath. - Start Sewing
Place your fabric under the presser foot, positioning the needle right at the edge of the patch. Lower the presser foot and slowly start sewing around the patch edge. - Secure Your Stitches
When you’ve sewn all the way around, overlap your starting point slightly. Use your machine’s backstitch button to sew back and forth a few times. This locks your stitches so they won’t come undone.
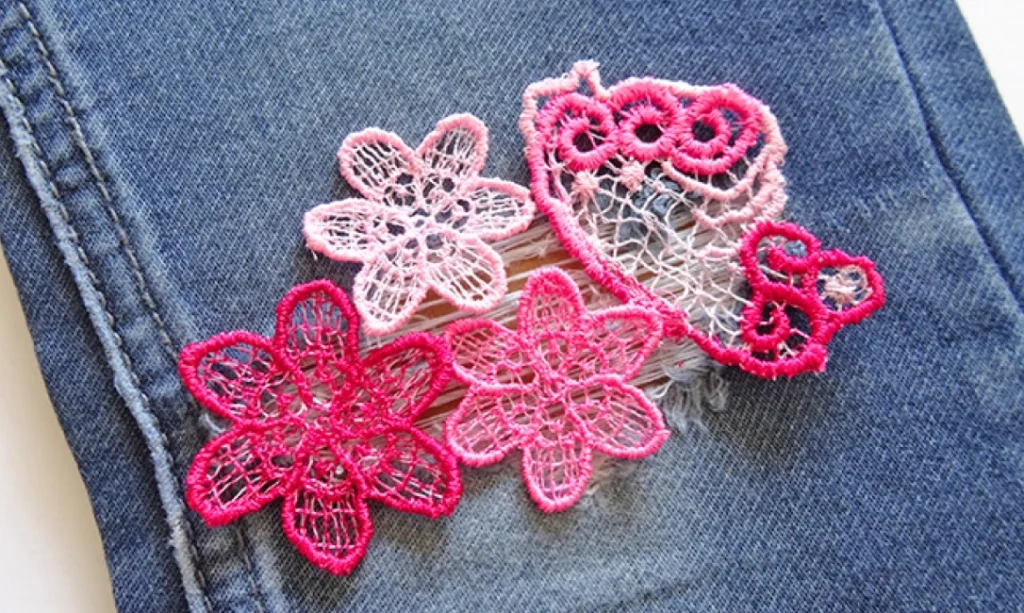
How to Sew a Patch on Jeans
Jeans are one of the most popular items for patches! The thick denim fabric holds patches really well, and patches can cover holes in knees or give old jeans a fresh, trendy look.
Special Tips for Denim:
- Jeans are thicker than regular fabric, so you’ll need a strong needle.
- If sewing by hand, use a thick needle designed for denim or canvas.
- For machine sewing, switch to a denim needle (usually size 16 or 18).
- These special needles are stronger and have sharper points that can pierce through thick fabric.
Knee Patches for Ripped Jeans
If you’re covering holes on knees, consider placing a piece of fabric behind the hole inside the jeans before sewing your decorative patch outside.
How to Remove Sew on Patches
Removing sewn patches requires careful work with a seam ripper or small scissors. You can buy one at any craft or fabric store for just a couple of dollars.
Removal Steps:
- Turn the clothing inside out if possible
- Slide the seam ripper under each stitch and gently cut it
- Work slowly and carefully to avoid cutting the fabric itself
- Once all stitches are cut, remove the patch
- Use tweezers to pull out any remaining thread bits
If the patch was sewn very tightly, you might see small holes where the needle went through. These usually disappear after washing or you can lightly steam iron the area to help the fabric fibers close back up.
Where to Buy Sew on Patches
When you’re looking for top-quality sew on patches that look amazing and last forever, FastPrintStar is your go-to destination. They create custom patches that are perfect for any project, whether personal or professional.
FastPrintStar specializes in producing high-quality custom patches with incredible attention to detail. Our sew on patches feature clean, strong edges that are easy to stitch onto any fabric.
They believe your patches should be exactly what you imagine. That’s why they offer complete customization in any size, shape, design, style and color.
When you sew on a FastPrintStar patch, it’s there to stay. Their patches handle repeated washing, daily wear, and tough conditions without fading, fraying, or losing shape.
We use colorfast threads and materials, meaning your patches keep their bright, vivid colors even after years of use. This durability is especially important for uniforms, workwear, and frequently used items that need to look professional at all times.
Other benefits include outstanding customer Service, competitive pricing, fast turnaround, and easy ordering process.
Start designing your custom sew on patches today and see why thousands of customers trust FastPrintStar for all their patch needs!
Final Thoughts
Learning how to sew on patches opens up endless possibilities for customizing, repairing, and upgrading your clothing and accessories. Whether you choose hand sewing for its control and detail or machine sewing for speed and strength, you’ll be able to attach patches that stay secure for years.
The key is taking your time, using the right tools, and being patient as you develop your skills. With practice, you’ll be sewing patches like a professional in no time!