A drawstring bag is a type of bag that has drawstrings functioning as its zipper. In other words, the opening and closing of drawstring bags are controlled by two strings.
These strings are positioned at the top of the bag, with each falling on the left and right-hand side. You can easily open and close a drawstring bag by pulling or drawing the strings, making your items handy.
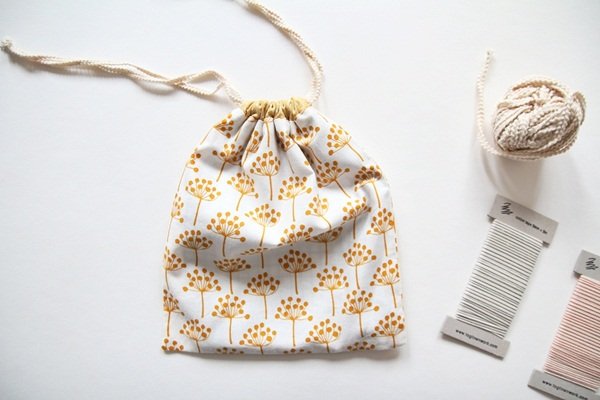
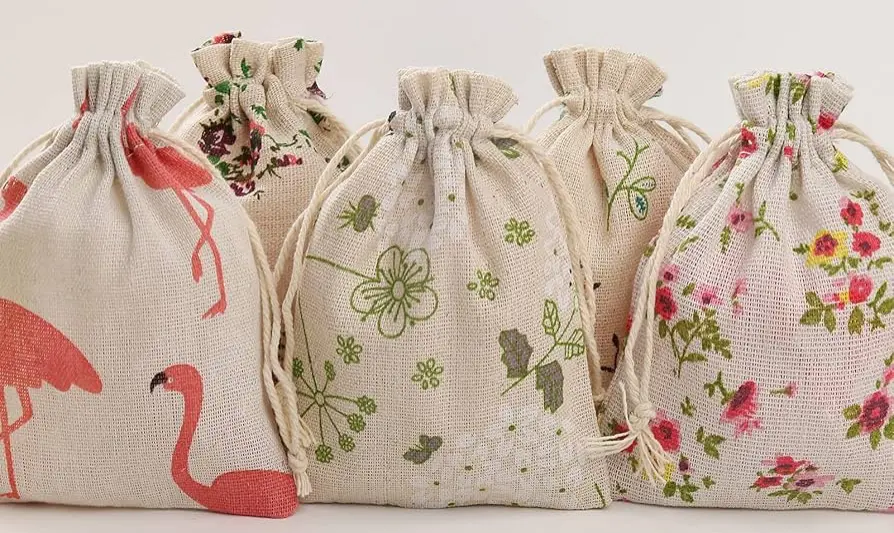
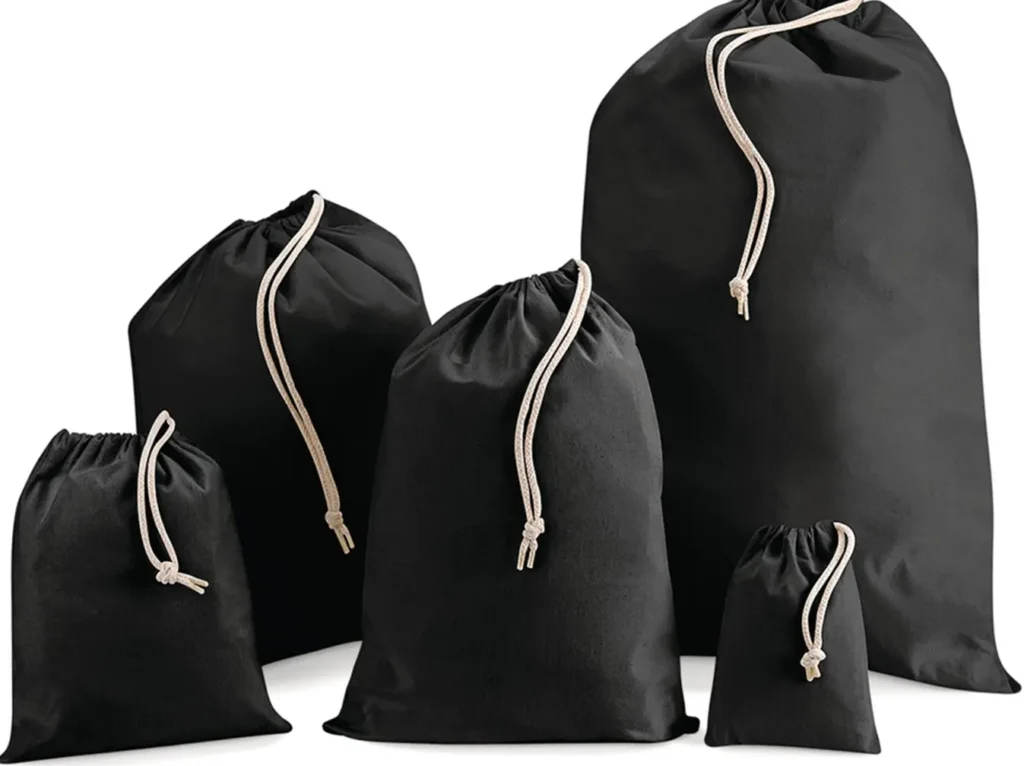
You can make drawstring bags with different types of materials such as polyester, nylon, mesh, cotton, canvas, and burlap. The fact that these materials allow for the production of custom drawstring bags is fascinating. Customized drawstring bags expand the practicality and styles of this staple.
Why Do You Need a Drawstring Bag?
Virtually every individual needs a drawstring bag! For people who are always on the go with the need to keep their essentials safe, a drawstring bag is an ideal option.
Since they come in different forms like drawstring backpacks, cinch bags, and pouches, they can be used in many ways.
Military officials, joggers, athletes, and travelers often use drawstring bags to stay light and guarantee the safety of their items. Depending on the size, the pouch forms can also function as a grocery bag or a fancy party bag.
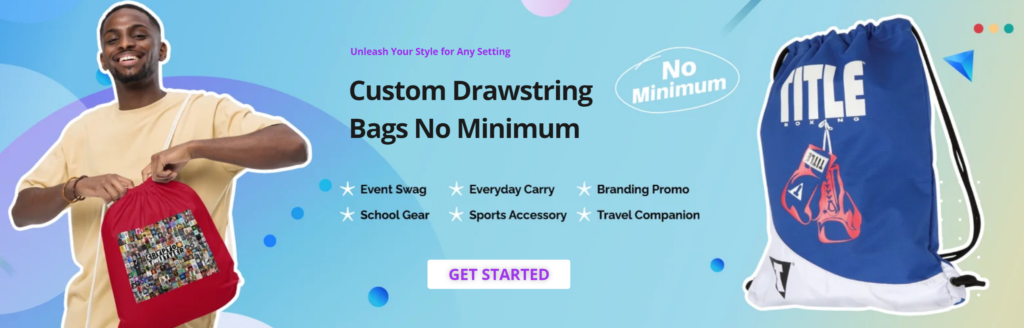
However, with custom drawstring bags, you can do even much more! Custom-printed drawstring bags, for instance, can be used to promote events in schools as well as fundraising, and charity events. There are also custom drawstring bags with logo – the most inexpensive walking billboards for your businesses and firms.
Now that you know how versatile the drawstring bag can be, you would agree that it’s worth some of your time! Let’s get to work as you craft your own drawstring bag either by sewing or crocheting.
How to Sew a Drawstring Bag
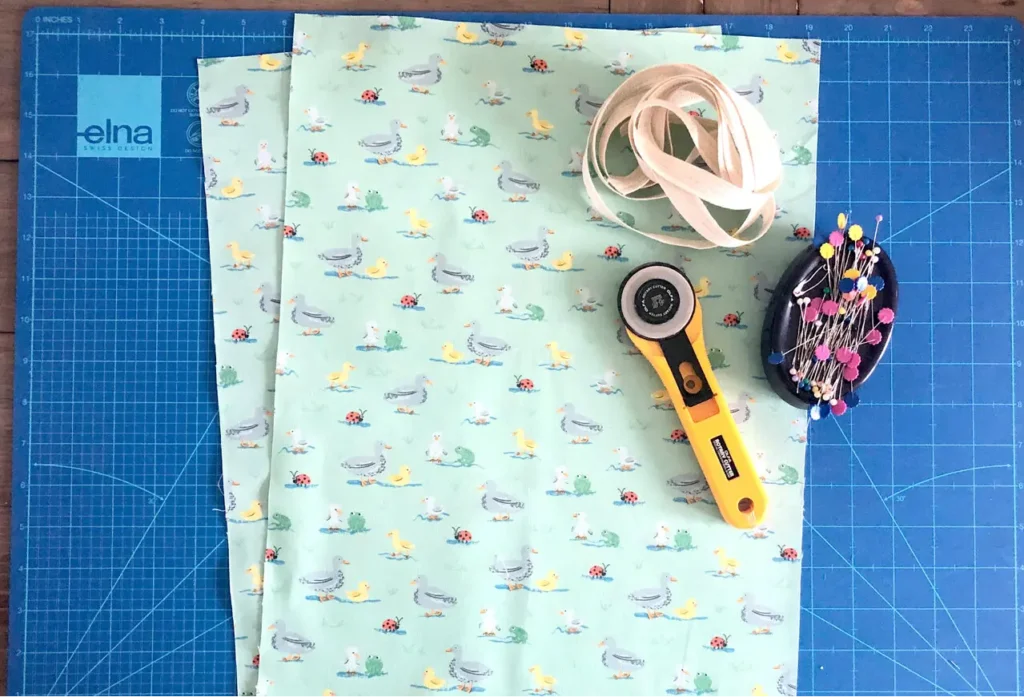
Sewing a drawstring bag requires the following materials:
A half or full yard of fabric, depending on the size you intend to make
A pair of drawstrings – this could be ribbons, shoe laces, braided ropes, cords or the fabric itself.
A tape measure
A thread that compliments the color of your fabric
Safety pin
A sewing machine or needle
Once these materials are complete and within reach, you can proceed to the following steps:
STEP 1:Determine the Size of your Bag
Your drawstring bag can be as big as a mesh bag and as small as a bottle bag. For a medium-sized bag, you can use 7×8″ (7 inches wide and 8 inches long) dimensions. If you want it large, 11×13″ dimensions will just be perfect. You can also decide to decrease or increase these units if you wish.
STEP 2: Cut your Fabric
Fold and measure your fabric using your desired sizes as the guide. Use your tape measure to measure and mark the width and length of the bag and cut. You will be cutting out two rectangles of the same size.
STEP 3: Prepare your Drawstring
The size of your drawstrings is determined by the width of your bag.
To be on a safer side, your drawstrings should be longer than the width by 10-12”.
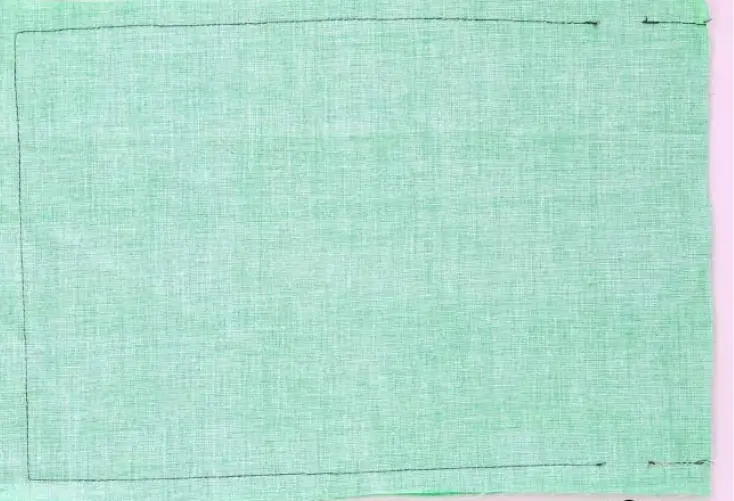
STEP 4: Sew the Bottom
Lay the cutout rectangles on each other on s flat surface with the wrong sides facing out. Then, start sewing by closing one of the short openings which will be the bottom of the bag. Remember, you can sew by hand or machine.
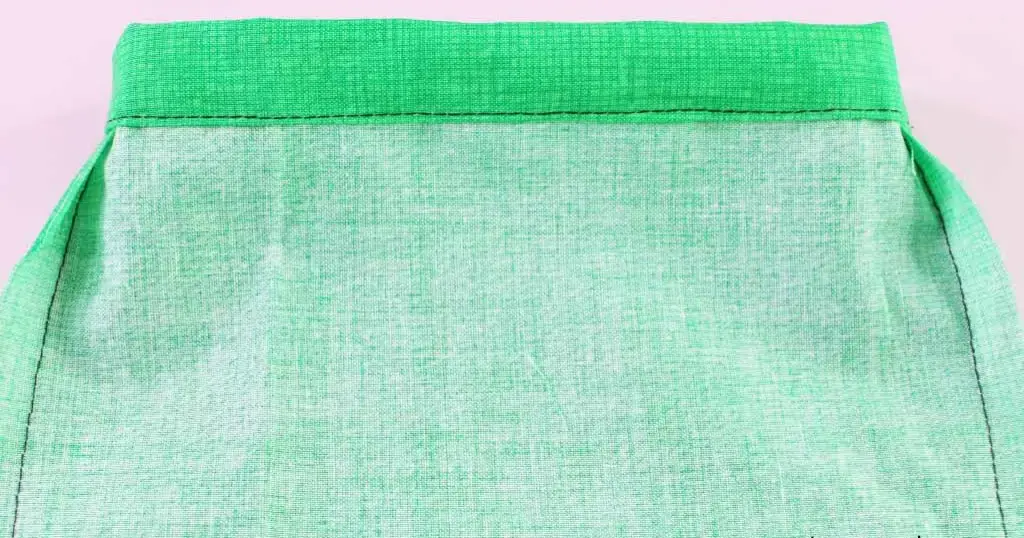
STEP 5: Creating the Drawstrings Space
Before sewing the sides, measure a 1-1.5” gap from the top towards the bottom. Mark the spots on both sides and close up both sides from the bottom to these marked spots.
STEP 6: Create Drawstring holes
To create the drawstring hole, fold each side of the open gaps outwardly and sew them horizontally at the edge of each fold. Once this is done, turn your bag inside out, and you will realize that you are 90% done!
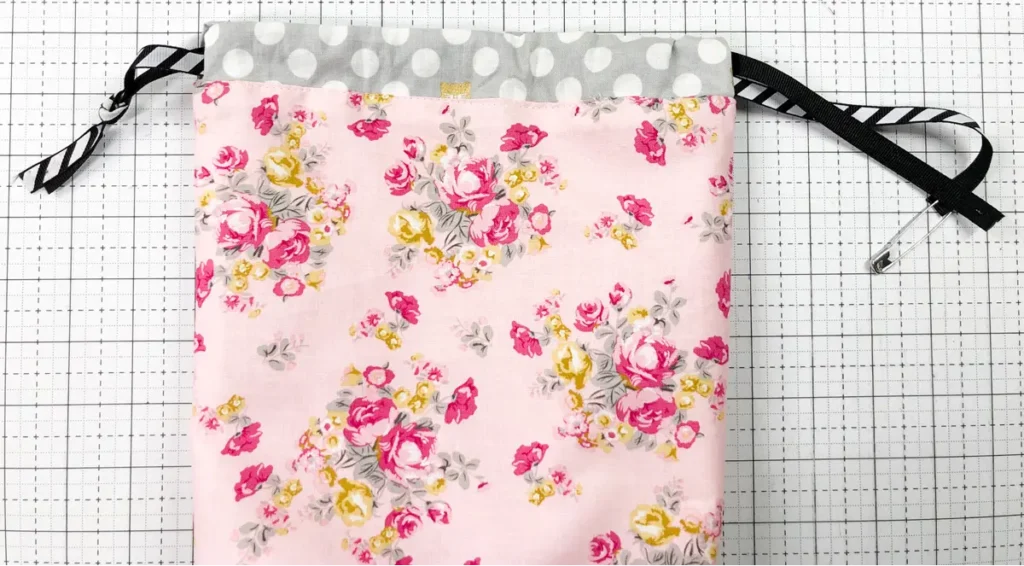
STEP 7: Inserting your Drawstrings
Pick your safety pin and attach it to the first drawstring. Insert the string into any of the holes and make it go around the four-hole openings of the bag. Pick the second string and do the same, but this time, it should end on the opposite side of the first. Secure the ends of the strings by king them.
Well done, your drawstring bag is ready to serve you!
How to Crochet a Drawstring Bag
To make a cute crochet drawstring bag, all you need is a yarn of any color and a crochet needle. Follow the steps below to create yours!
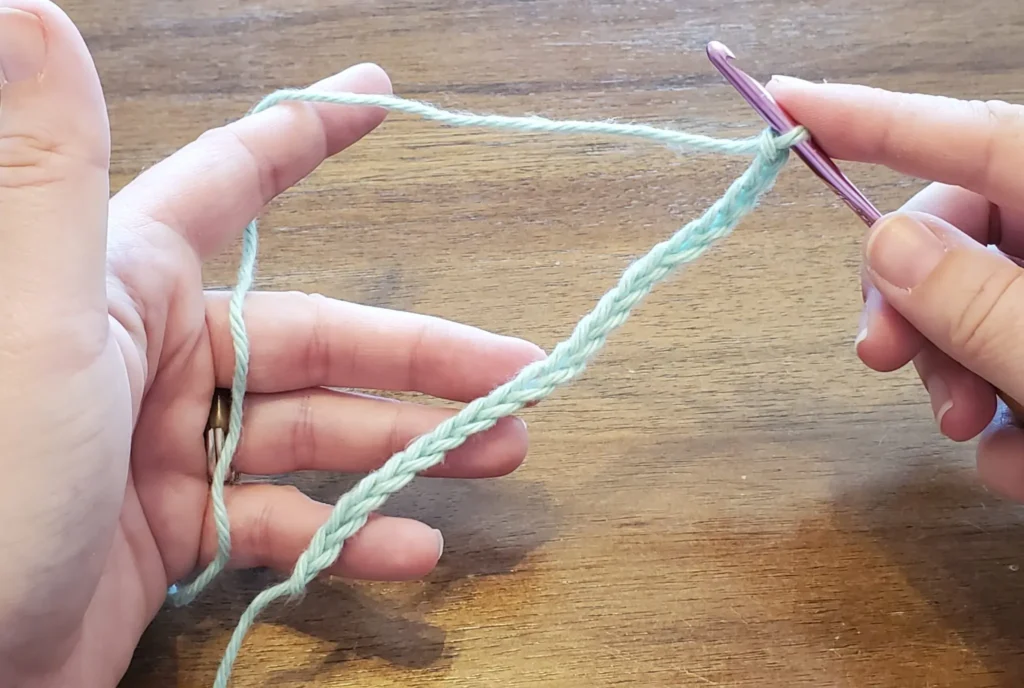
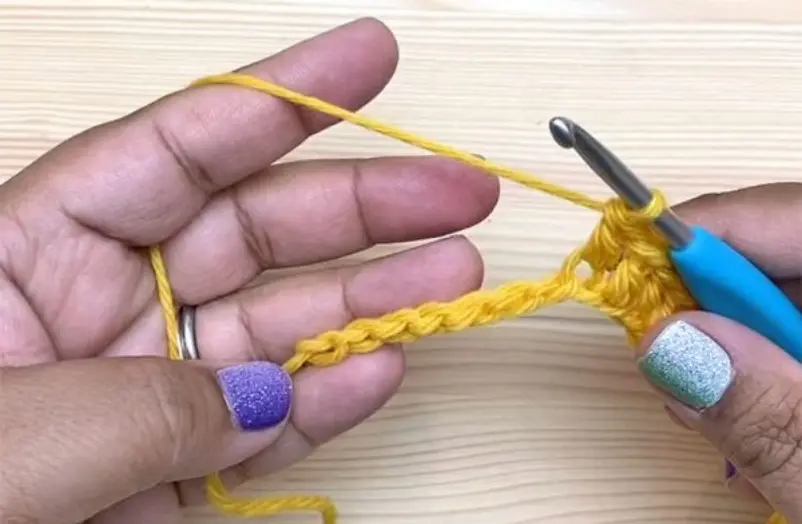
STEP 1: Create a chain stitch of your desired length. The length determines the width of your bag.
STEP 2: The second step involves the formation of rows to build the body of the bag. To form these rows, you will stitch back to the starting point of your chain stitch.
However, the first stitch at the beginning of your stitching back should start from the third loop to create the curved edge your bag needs.
You will not have to skip any loop again until you are back to the point where your chain stitch ended.
STEP 3: Once you find yourself at the starting point, continue to stitch around on the second side of the chain stitch until you are back to the second edge again (the end of the chain stitch point). You just completed the first row of your bag.
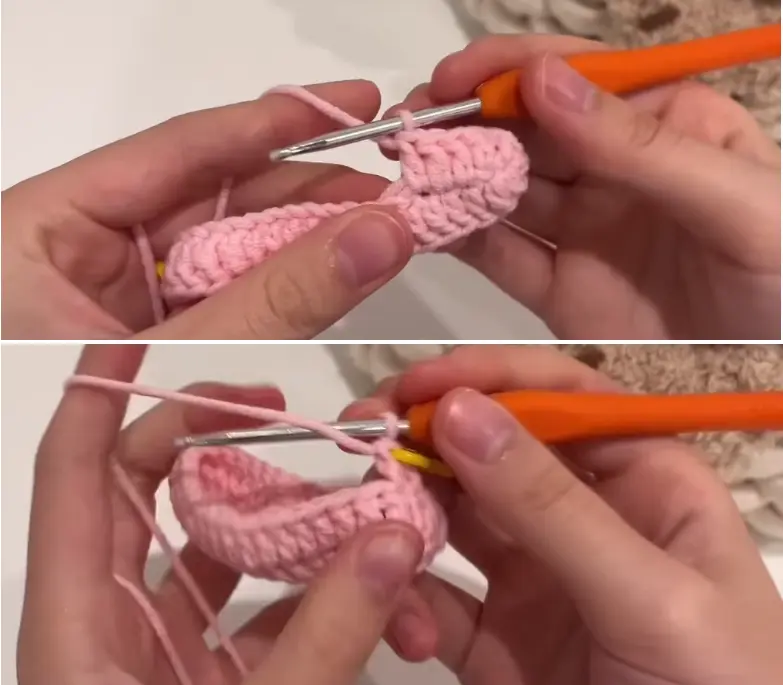
STEP 4: You are going to be creating more rows by repeating these processes to add to the length of the bag. The more your rows, the lengthier your bag.
As you stitch, be mindful of the edges and ensure that both edges are maintaining their curviness.
STEP 5: The next thing after crocheting the body is to create your drawstrings. You can decide to use fancy ribbons or stitch new ones with the same yarn.
Simply stitch two long chain stitches, longer than the width of your bag. Knot their ends to keep them from loosing and cut them off the working yarn leaving a not-too-long tail of yarn at the bottom.
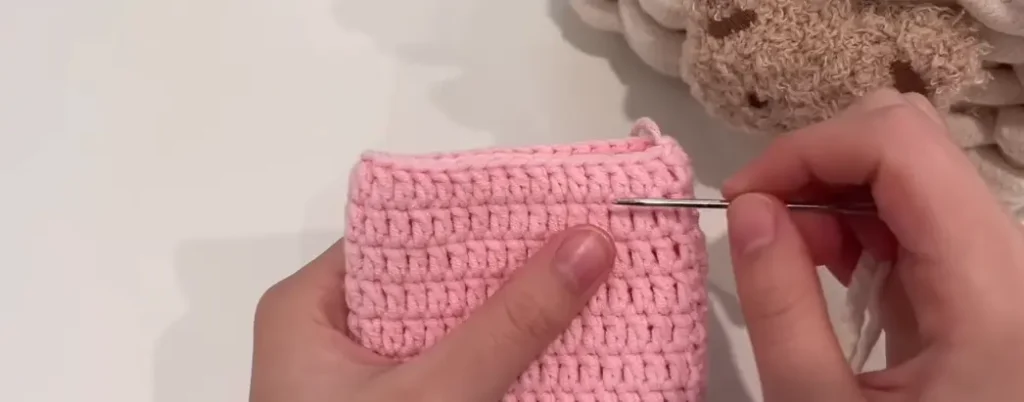
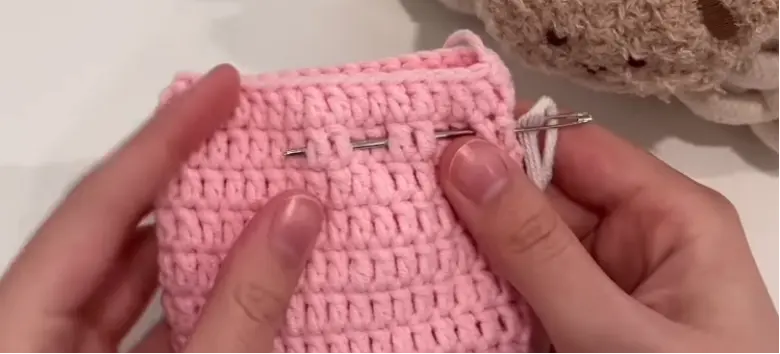
STEP 6: Using a tapestry needle, attach the tail of the crocheted drawstring to the needle and stitch it in and out of the last row of your bag.
Make the needle go in and out, in between the stitches of the last row, and make it go around the row. Do the same with the second drawstring, but this time, direct it to end in the opposite end of the first. You can knot the ends of the drawstrings to prevent them from losing.
Where to Buy Drawstring Bags
If you’re one of those busy folks who do not have the time for DIY projects, you can always reach out to FastPrintStar for professional-looking and customized drawstring bags.
You can easily place your order on their web page regardless of your location! Their craftsmen produce all kinds of drawstring bags, such as custom drawstring backpacks, custom cinch bags, and so on. Just feel free to contact!
At FastPrintStar, you will have nothing to worry about as everything has been put in place to effectively communicate your custom drawstring bag design to them. There are over 20 color options, printing options, and the ability to request for your spec of fabric and bag type.
Moreso, you can request a mock-up design for a visual presentation of how your custom drawstring bags’ design will turn out. A free artwork of your order will also be emailed to you within 12 hours of placing a successful order. You can be assured that their turnaround time is the swiftest you will experience.
FastPrintStar also has custom drawstring bag bulk and wholesale packages. This doesn’t mean they have a minimum quantity order, you can order as low as one piece. The assurances and benefits they offer are unlimited.
An order will convince you!
Conclusion
You would now agree with me that everyone needs flexible and super functional drawstring bags. They also come in variant forms, making sure there’s a type to suit every lifestyle.
Making DIY drawstring bags is definitely worth your time. It is not only fun but also helps show your creativity prowess. Also, nothing feels as good as creating a new accessory for yourself and your loved ones. The effort is always appreciated!
Why haven’t you tried making one yet? The easy steps above will walk you through the processes of either sewing or crocheting drawstring bags without stress!