How to Make a Dog Collar?
Table of Contents
ToggleHow to Make a Dog Collar?
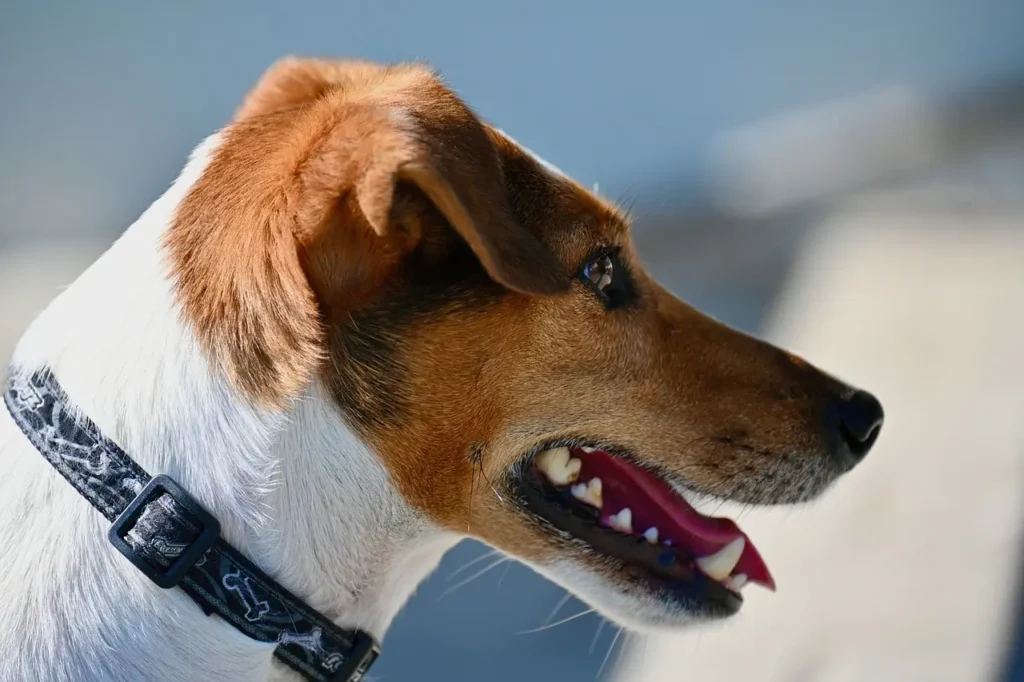
There’s no better feeling than creating a custom dog collar that fits your dog’s unique personality and style. Making your customized dog collar often occurs to many as a longshort, and time-consuming endeavour. However, in this era of government legislation that mandates collars for your dogs, it’s important to look on the bright side of making a customized dog collar with your name and address. Apart from governmental regulations, making a customized collar for your puppies comes with many benefits, such as being a secure point for a leash, a medium of dog control during dog walking and a means of identification.
Imagine being at a gathering with many dogs around; a customized dog collar can help you identify your dog in the sense that you can just attach your dog ID, rabies vaccination tag, and many other related tags to the collar for easy identification. There’s no denying the importance of having a customized dog collar. Hence, it’s important that we take you through the process of making a custom dog collar with ease. Let’s get to it.
Materials and Tools Needed for Making a Dog Collar
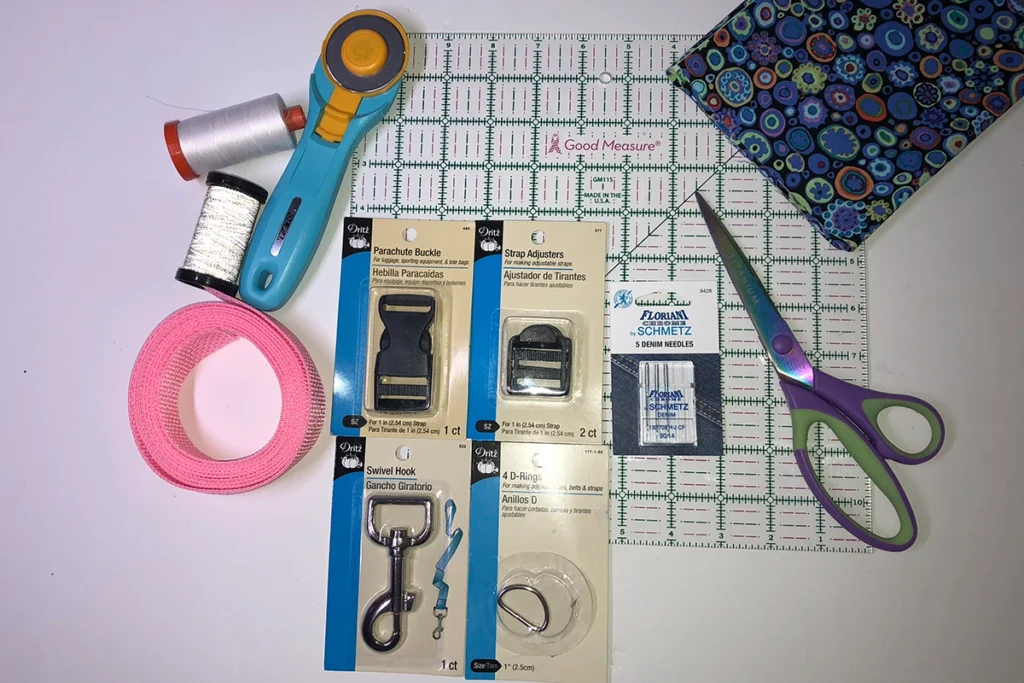
The first thing you should decide when making customized dog collars is the type of materials and tools needed. This is a crucial stage that can make or mar your entire collar-making process. So, the following are the essential materials you’ll need to get in place.
- Nylon Webbings
- Sewing machine
- Ribbons or overlay
- D-ring
- Buckle
- Thread
- Contour-sided release buckle
- Measuring tape
- Spray touch
- Iron
- Triggling slide
Among the above-listed materials and tools, nylon webbing is an important component of dog collars. The reason is that nylon webbing will determine the look of your dog collar, so it’s imperative you pick the right colour of nylon webbing that suits your needs. For instance, the black or grey nylon webbing will give your dog collar a sophisticated look, while you can get a bold-looking dog collar by choosing a blue-coloured nylon webbing. Another thing you should consider while selecting a material or tool is how active your dog is. If your dog is super active and spends most of its time outside, consider making a dog collar with a plastic side-release buckle.
How to Accurately Measure Your Dog's Neck
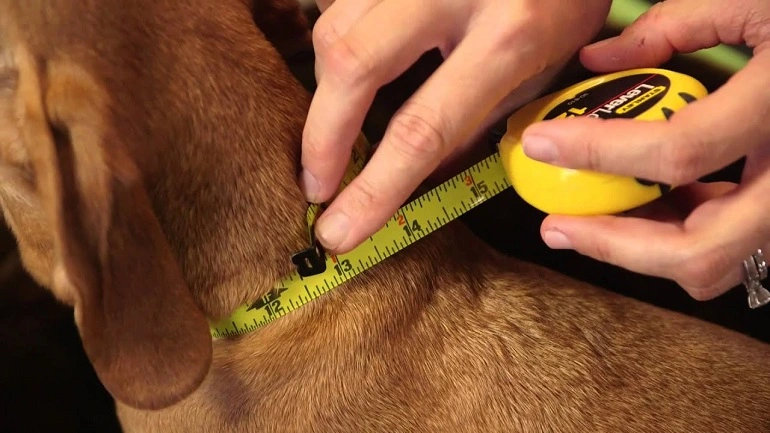
Getting the right measurement of your dog’s neck is important to avoid discomfort and allow easy movement of the dog collar. The following are the ways you can accurately measure your dog’s neck.
- One of the easiest ways people measure their dog’s neck is by measuring its old collar. Just remove the existing collar, lay it on a flat surface, identify the current sizing hole that fits the dog, and measure from that end to the middle of the buckle.
- Another option to measure your dog’s neck is by using measuring tape. You can do this by getting the tape and placing it around your dog’s neck just a little below the head region. Ensure the tape is not too tight to allow easy movement of the collar. After getting the measure, write it in a small note and put it in a plus or minus two range. For example, if your measurement reads 26 inches, you should look for a collar between 24 and 28 inches for your dog.
- You can also measure your dog’s neck using a cloth, string, or any available rope around you. If you can’t find a tape rule, you can try this unconventional method. Just wrap the rope or cloth around your dog’s neck below the head or chin region. Hold the endpoint of this cloth or rope after measuring it and take it to measure on a metal ruler for numerical accuracy. Ensure you add 2 to 3 inches to the measurement you get for easy movement of your dog collar.
How to Sew a Dog Collar
So, after getting the measurements and all the needed accessories in place, the next step is to start sewing. This is a very specialized process that requires thorough care and attention to the following guide or step-by-step instructions, which we will explain below.
Step 1: Cut The Fabrics
Get the cotton fabric and cut it into a 3-and-a-half-piece width. The Length should match the measurements of your dog’s neck. Now, cut the nylon webbing to match the fabric’s Length and width for the subsequent steps.
Step 2: Fold and Reinforce the Fabrics.
At this stage, you’ll have to take the fabrics you cut and turn the short-end edges over to the wrong side with a pressing iron. Then, halve the fabric into two lengthwise and press with a warm iron. Reinforce the fabrics with the already prepared webbings so that they are enclosed inside the folded piece of fabric.
Step 3: Sew the Fabric and Webbings Together
It’s time to get on your sewing machine and make the magic into reality. Put the reinforced fabric on and sew the four sides straight with a ¼ seam allowance.
Step 4: Attach the Buckle
The buckle is like the key security measure that keeps the collar in place. So what you have to do here is Insert one end of your strip approximately ½” down from the end and weave it through the tri-glide clip. Next, fold the end over the clip and use a 1/4″ seam allowance to sew the open end closed. Use the machine to reinforce the inserted buckle by passing over it more than two times.
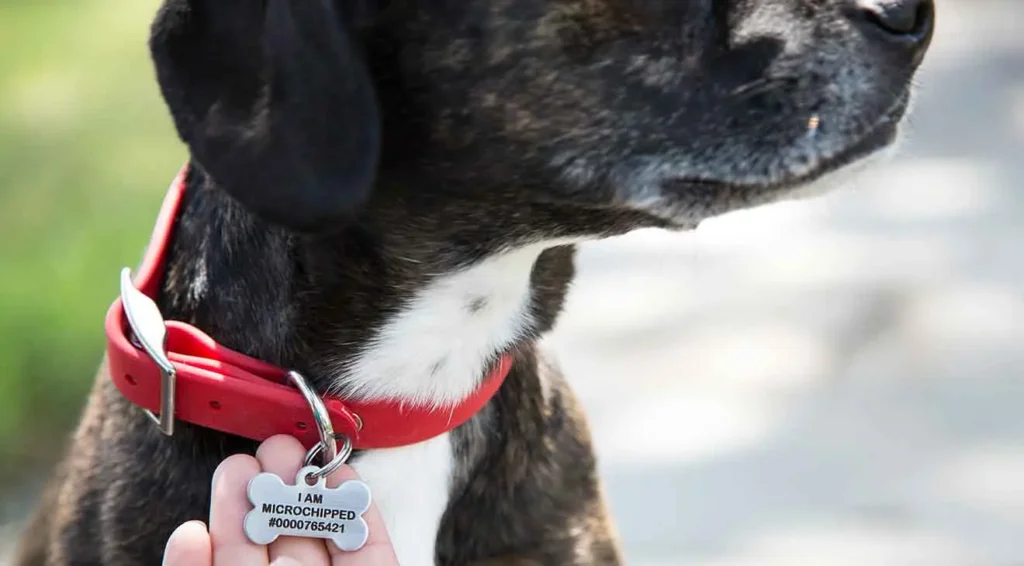
How to Attach a Dog Tag to the Collar
As a dog owner, there are various reasons why you need to attach a dog tag to your dog. Most importantly, for safety purposes and to allow them to get home when lost. It doesn’t have to be an overtly luxurious tag; you can even use a simple engraved wood or steel tag. Believe it or not, attaching a dog tag to your dog collar can be a tricky endeavour, especially in this period of different styled dog tags. Fear not; this section is dedicated to show you how to attach a dog tag to your dog collar. There are various methods you can use to go about this.
1. The split ring method
This is a very quick and simple method of attaching a dog tag to your dog’s collar. With this method, you only need to open one end of the corkscrew form using pliers or your fingernail if the ring is too tight. Once the split ring has been opened and threaded through the hole on the dog tag, you then secure it by working the collar tag around it until it is closed. The thing about this method is that it is prone to falling or being bent out of shape.
2. The S-hook method
The S-hook method is safer for attaching dog tags to their collars. This method uses a plier to bend one end of the hook until it enters the D-metal of your dog collar. After this, you have to use the plier again to bend the hook back outward until it stays firmly on the dog collar. You must be careful while using this method to avoid injuring the dog. Also, ensure the openings are properly closed to prevent body damage around the dog’s neck region.
How to Customize Your Dog Collar
The idea of designing custom dog collars revolves around letting your furry friend exude your sense of personality and fashion taste. Another thing is that most dog collars you get to buy out there are primarily drab and boring. So, there is no problem if you intend to spice them with your design ideas for easy identification, enhanced security, and, most importantly, a style designation. To customize your dog collar, you must have clarity and choose from the plethora of creative ideas stated below.
- Add fun and beautiful shapes to your dog collar with a Cricut.
- Embroider your name, phone number and contact address on your dog collar
- Use infusible ink to write your dog’s nickname
- Add unique designs with heat transfers and vinyl.
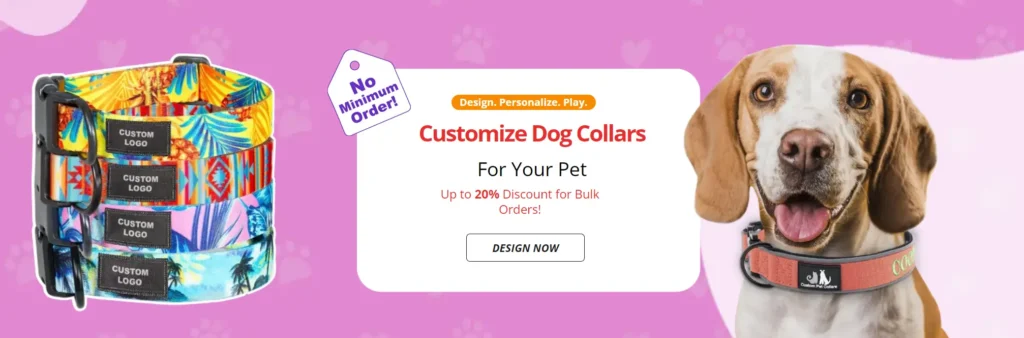
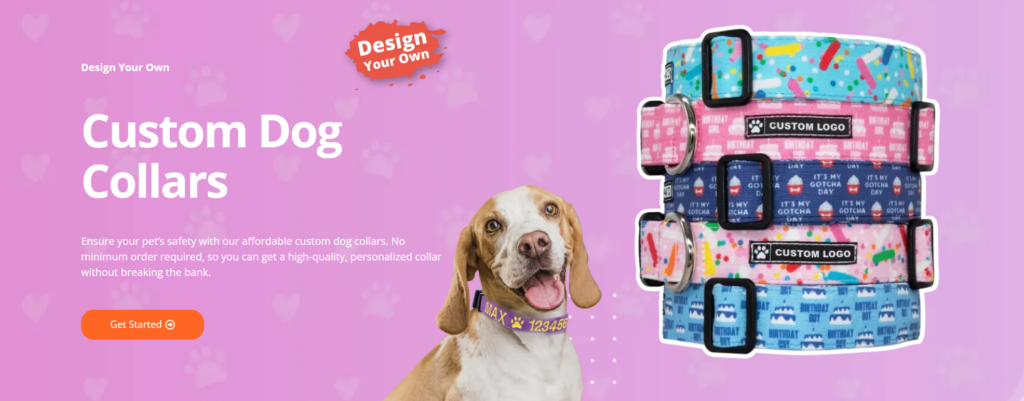
We understand the stress involved in trying to personalize your dog collar. Therefore, FastPrintStar has brought you a simple, straightforward, and tech-enabled solution that allows you to choose your dog collar color, customize and upload your collar design, and select the delivery time of your choice. Also, FastPrintStar offers you a free mock-up design before final production and a tier-based pricing system that enables you to get a customized dog collar for as low as 3.13 dollars.
How to Clean a Dog Collar
As a rule of thumb, it’s advisable to clean your dog collar once or twice per month. However, understanding when to clean a customized dog collar is not enough if you don’t know how to clean it. There are so many ways you can clean your dog collar, and we will list and explain them as follows.
1. Use a pet-safe soap or dog shampoo
To go about this, you need to remove the hardware on the dog collar, like buckles or D-rings. Proceed to get a bowl of water ready and mix with a small amount of shampoo or any pet-safe soap. Immerse the dog collar inside the soap and water solution for about ten to fifteen minutes. You should try to scrub the collar gently If it is very dirty or you see any stain on it. After all these, you should remove and Air dry the dog collar in a cool place.
2. Cleaning with a baking Soda
In some cases, if you are not inclined to use soap and shampoo, baking soda is another option for cleaning your customized dog collar. What you need to do here is add two to three teaspoons of baking soda to a bowl of water and wait until everything dissolves. After dissolving, add the dog collar to the solution and then leave it to soak for about 10-15 minutes. Take the dog collar out after the period and rinse before air drying.
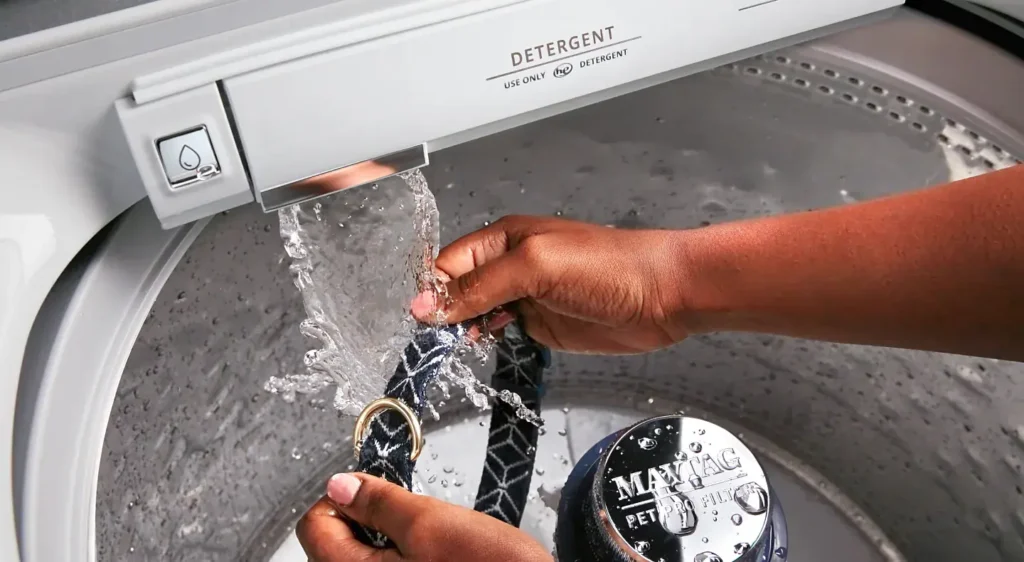
3. Cleaning with a washing machine
This is another option, but it has to be done with care. Before going for this method, ensure you check out your dog collar’s brand instructions or labels to see if it is machine washable. If you are certified that the dog collar is machine washable, just put the collar inside a washing bag before putting it inside the machine. Lastly, ensure you Set the temperature in accordance with the brand label.
Conclusion
Making a custom buckle dog collar is no easy task, but with creativity, patience and the right materials, you can create a perfect one for your dogs. This highly rewarding process is simple; you can get everything done yourself, from measuring your dog’s neck to choosing the fabrics and hardware for your dog collar. However, one thing you have to put at the back of your mind should be the safety of your dogs. You don’t want to put your dogs in any precarious situation. So you should ensure the collar is well fastened and fits appropriately.