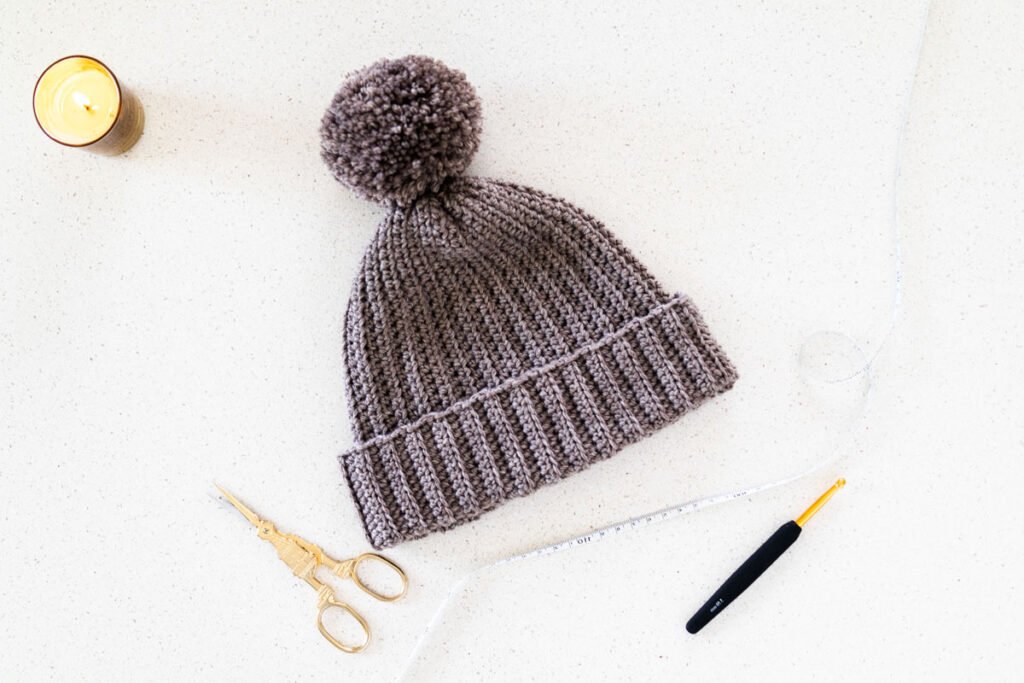
One of the things that distinguishes the beanie hat from other hats is its tight-fitting nature. Unlike bucket hats, the beanie is without brim and head-hugging. While this headwear can be knitted or crocheted, other hats are mostly sewn or woven with straws, leather, felt, and other clothlike materials.
Just like you can customize a baseball hat, there are also custom beanies. You can personalize this hat to suit your preferences and meet your fashion needs; it wouldn’t have to function only as a casual and weather-shielding accessory.
In this article, you are going to discover the methods and steps by which you can make beanies with your own hands—an ideal project for crochet lovers and knitters.
How to Make a Beanie?
There are two methods by which you can make a beanie: crocheting and knitting. You may be wondering what makes both methods different from each other.
While both are needlework, crocheting is widely considered easier than knitting. This is because the former requires only a single hook to create basic knots and stitches, while the latter involves interlocking loops with yarns using two separate pins.
Whichever one you choose, the following steps will walk you through both methods, making this project a breeze!
How to Crochet Beanie
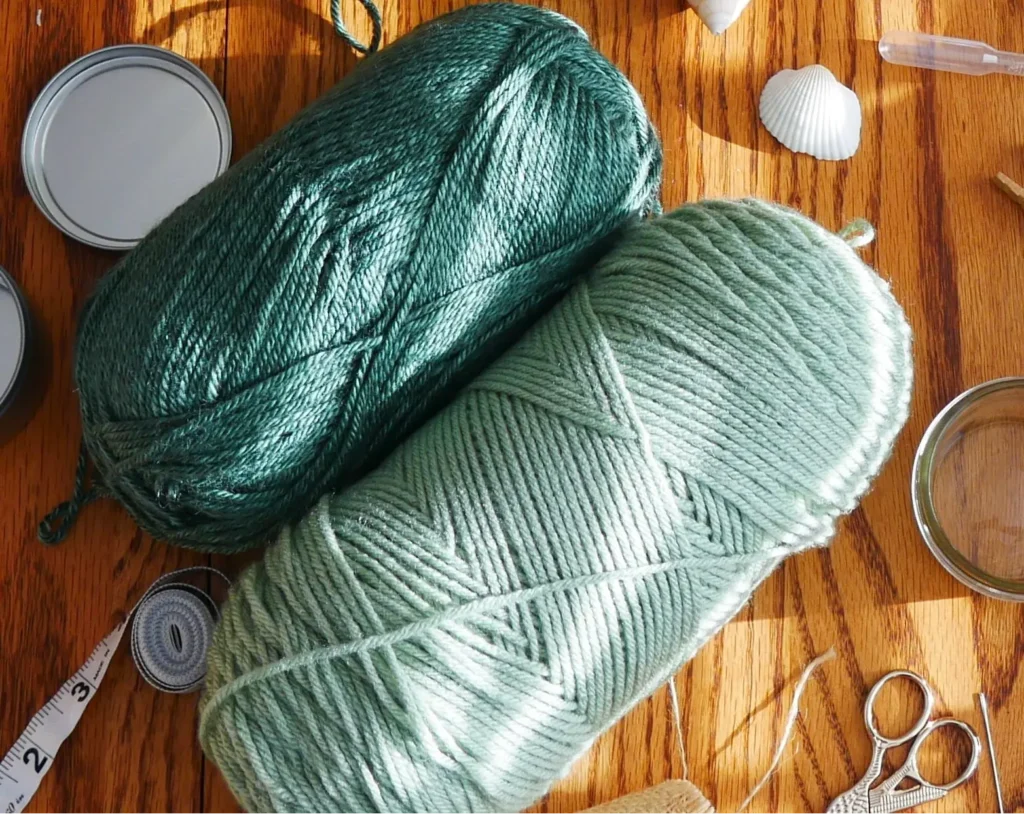
All you need to crochet a beanie is a crochet pin or hook and any type of wool or yarn. If you’re still trying to gain mastery with crocheting, it’s best to go for a lighter yarn.
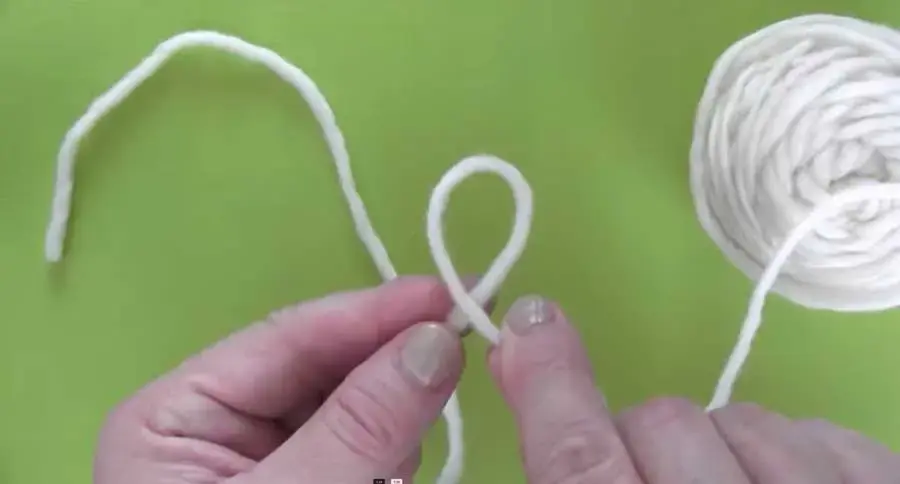
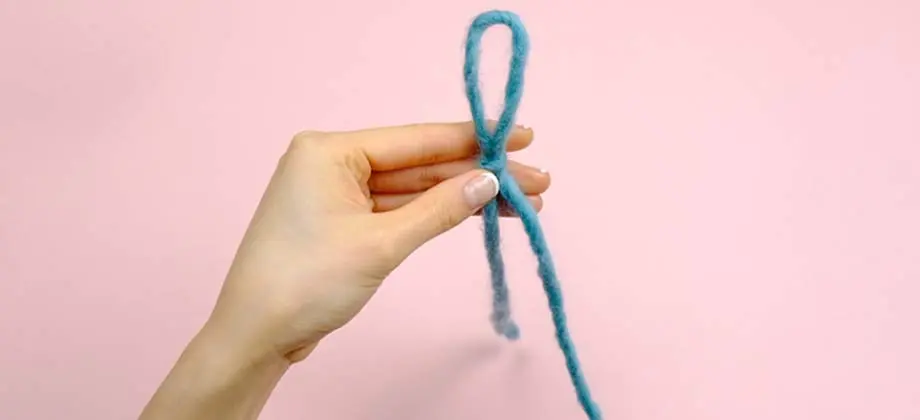
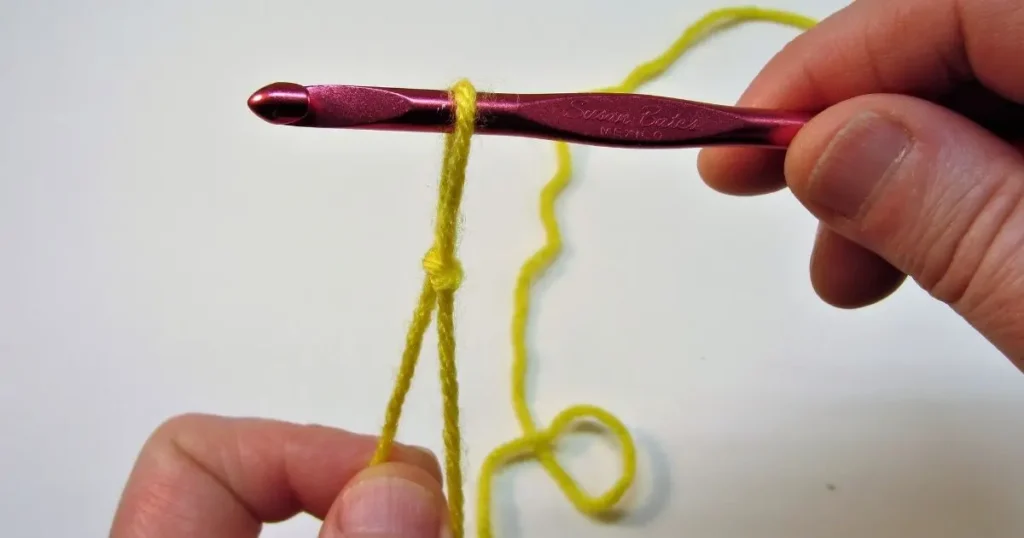
STEP 1: Tie a slipknot.
There are many ways to tie a slip knot, but the simplest way is to:
Draw out a few inches of your yarn strand.
Twist the strand to form a loop.
Grab the working yarn (the part of the strand that is still attached to the whole yarn) and pull it carefully through the loop.
The other part of the strand should have created a tail by now. Pull the tail to knot the loop.
Now you can slide your crochet pin into the hole and pull both ends of the knot to secure the pin in the loop.
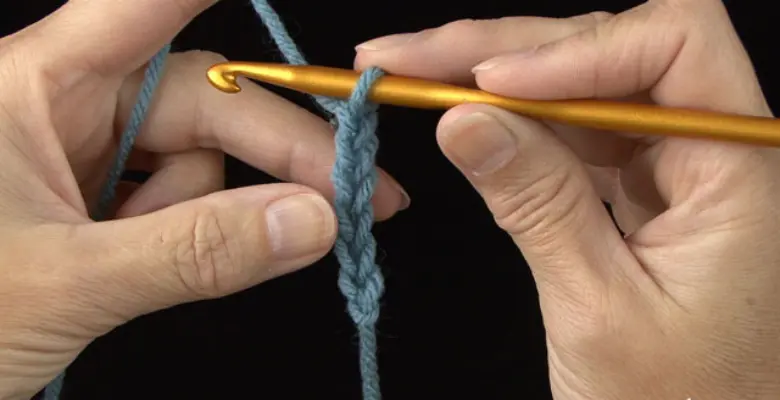
STEP 2: Create a Chain Stitch
This is where you start to put your crochet pin to use. To crochet a beanie hat, you start with a chain stitch.
The chain stitch is meant to be short, and with just five to six crochet stitches, your beanie chain stitch is done!
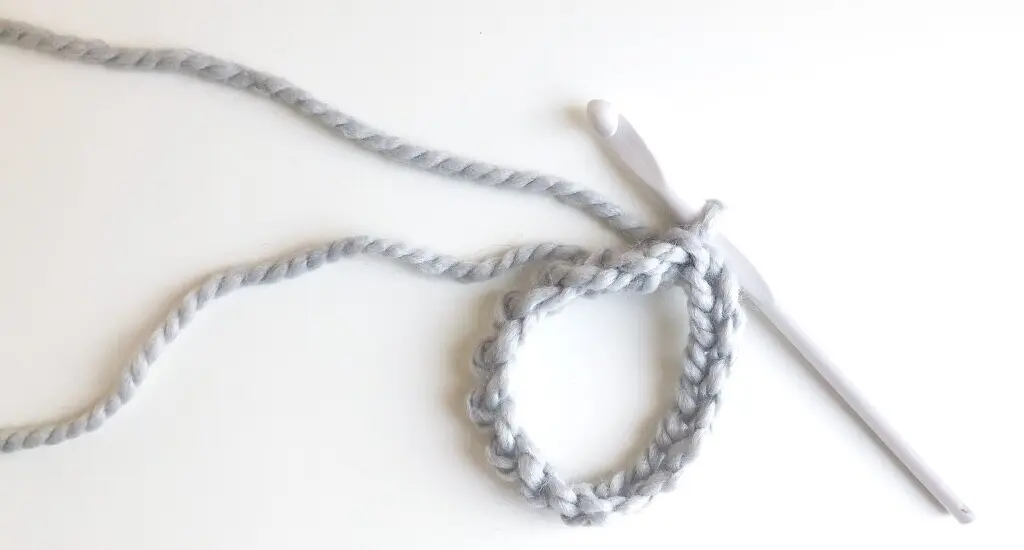
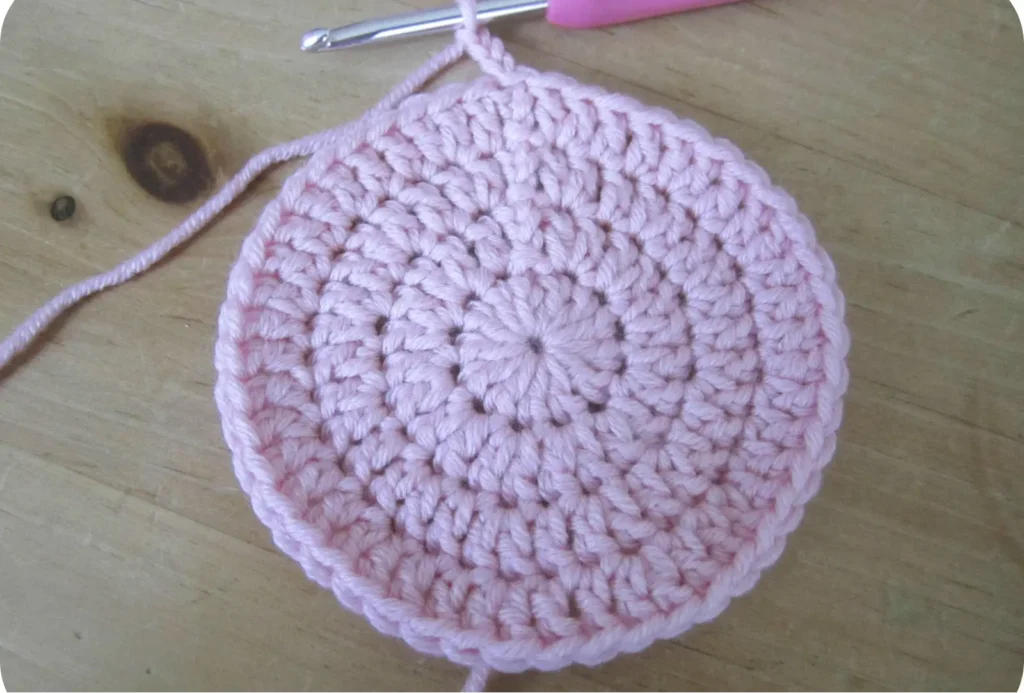
STEP 3: Form the Foundation Circle
Crochet the end of your chain and stitch to its starting point to create a circle.
This circle forms your first row and a foundation upon which your beanie hat is built. Also, take note of the point at which you joined to easily keep track of your rows and stitches.
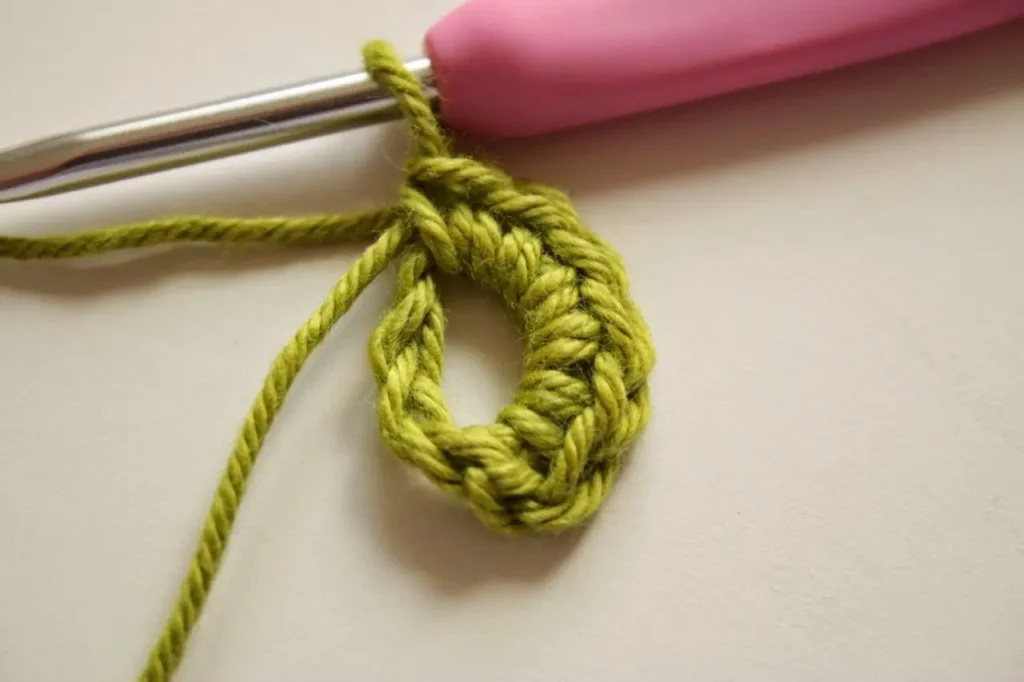
STEP 4: Make the Beanie’s High-Top
From the joining point, start creating the second row which serves as the beanies’ high-top.
Don’t forget that you’re forming this second row through the tiny holes at the edge of the first row and with double stitches.
Double stitches mean crocheting in one loop twice.
Do this round the foundation circle and back to the joint point.
STEP 5: Add Width
After the second row, you will have to alter subsequent stitches to add more width. Unlike the second row, subsequent rows will the a mixture of one double and single stitches.
You should always begin with double stitches while the next loop is a single stitch. The next loop will be double stitches while the next is a single one.
This continues for the next 6-7 rows or until you attain your desired circumference.
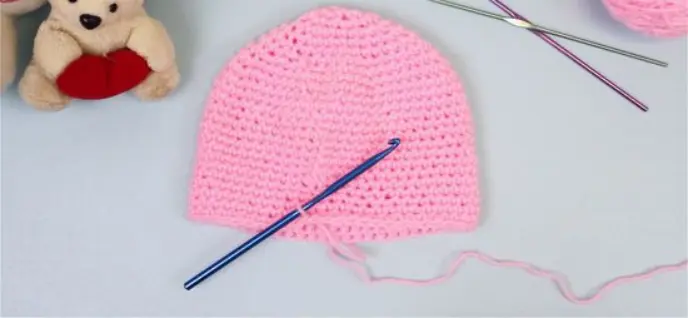
STEP 6: Final Row
Once you attain your desired circumference, you will crochet additional rows of single stitches to until you reach your desired length.
Once you attain your desired length, you will close up the row by creating a slipknot with the last loop am weave the excess strand into the last row.
You have just added a crochet beanie hat to your wardrobe!
How to Knit a Beanie Hat
For the method you’re about to use, you only need to have a basic knowledge of knitting. It requires that you knit just a straight piece of a rectangular shape.
The list of items you will need for this method is:
Knitting needles
Yarn
Tape measure
Tapestry needle
The steps to knit your beanie hat are below
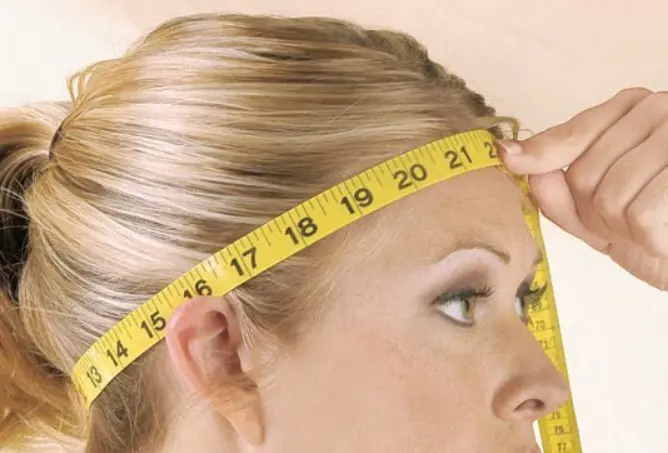
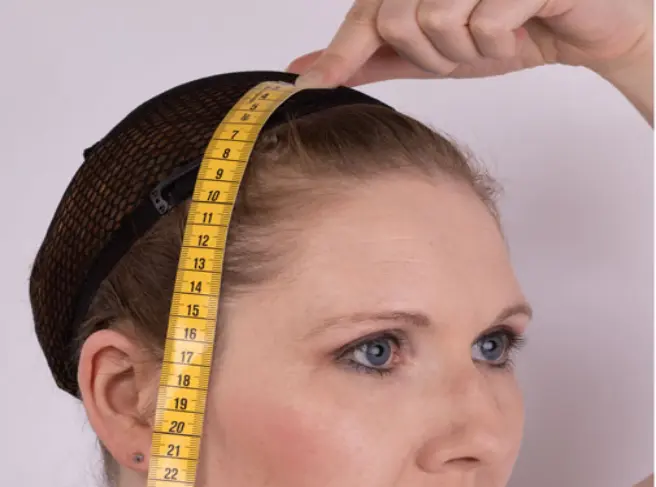
1. Determine the length of the rectangle: Measure the circumference of your head. The unit will be the length of your rectangle.
2. Determine the width of your rectangle: This is done by measuring the top of your head to your ear. The unit also will be equivalent to the width of your rectangle.
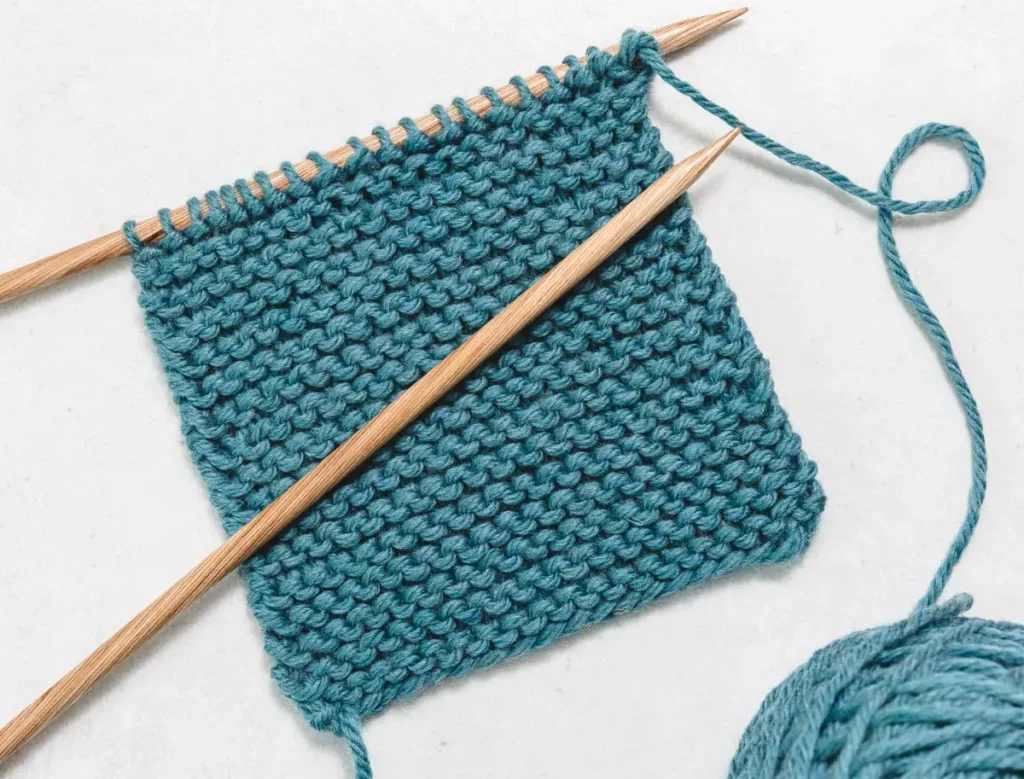
3. Prepare a rectangle:
Knit a flat rectangular piece using your knitting needles, yarn, and the measurements you have taken.
4. Join your Knitted Rectangle: Fold the two longer sides of the rectangle as if you’re creating a cylinder.
Thread your tapestry needle with your working yarn and sew the two sides together using mattress stitches. Once done, don’t cut yet!
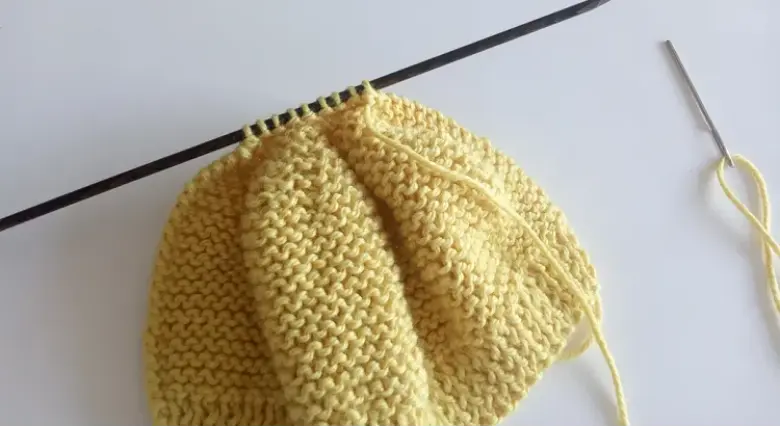
5. Close the top: To create the squeezed-looking top of the beanies, you will continue to sew with the same tapestry needle. This time, your needle moves from back to front through the loops on the edges of the top.
Once you start running out of yarn, you will pull your yarn tail, and then you will notice that the top of your yarn begins to draw together like, and you will have more yarn to continue.
6. Do this throughout the edges on top and continue to draw for more yarn until you have exhausted the loops.
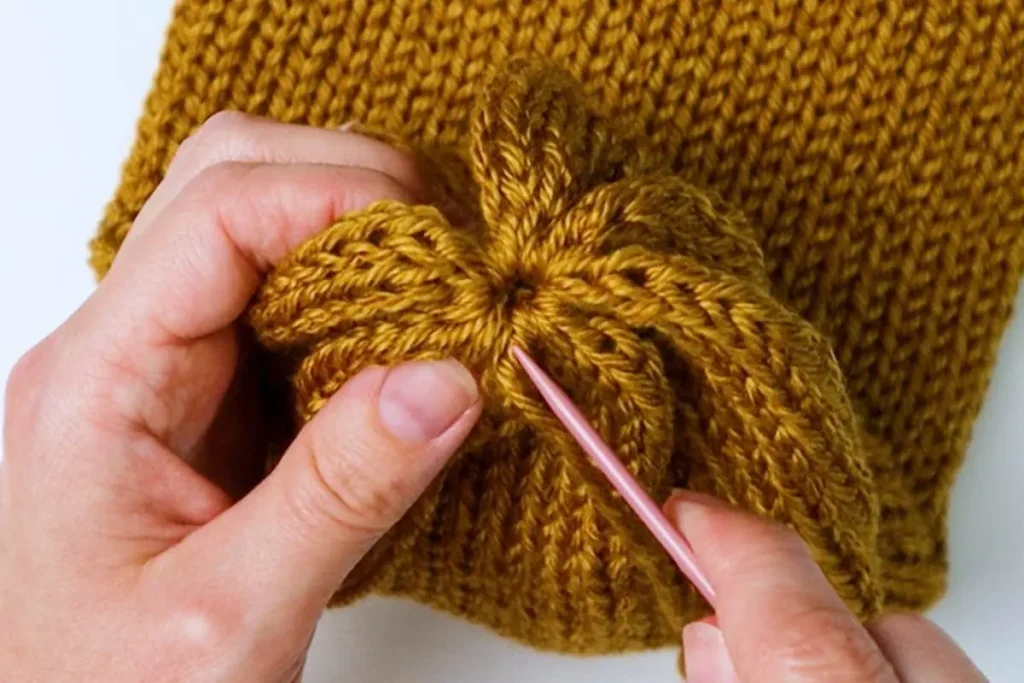
7. Stitch through the center of the smokey top to close it up, and end the stitching inside the cap. Tie any excessive yarn left and cut. Viola! Your knitted beanie hat is ready to be worn.
How to Wash a Beanie?
Like every other clothing accessory, you also need to wash and care for the beanie to help maintain its aesthetic, shape, and longevity. Here are a few pro tips to help you achieve that:
Avoid harsh detergent.
Use lukewarm water.
If you’re hand-washing, always soak your beanie in the water for 10-15 minutes.
Simply squirl iin water and avoid wringing.
Always rinse thoroughly before drying.
Before you choose to wash your beanie with a machine, confirm if the fabric is suitable for machine washing.
Wash on a gentle cycle always.
Enclose your beanie in a mesh bag before tossing it in the machine.
It’s always best to air-dry your beanies.
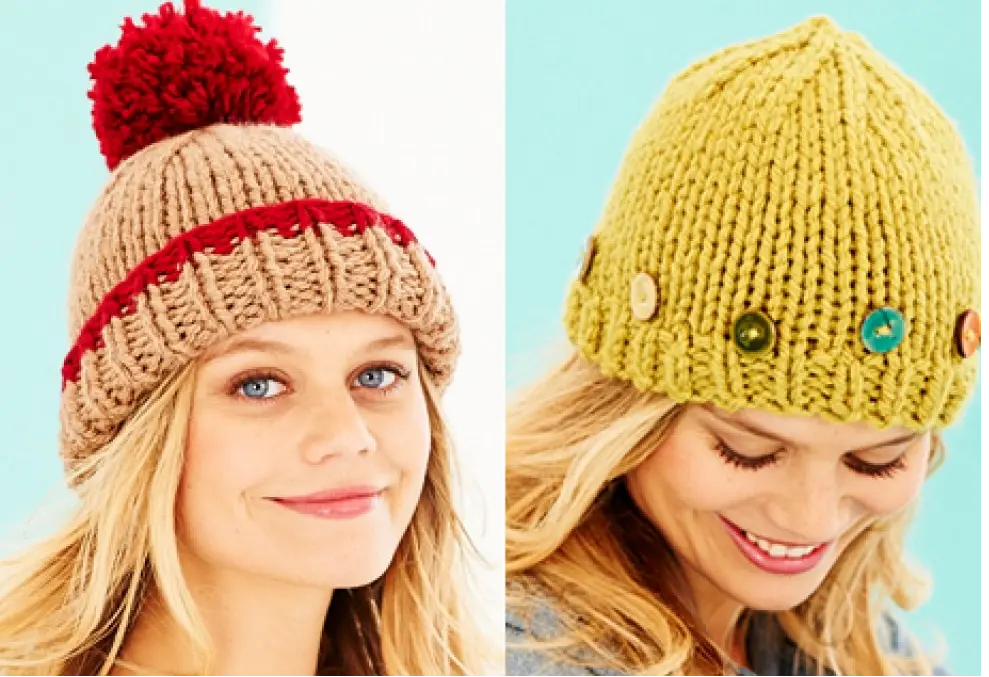
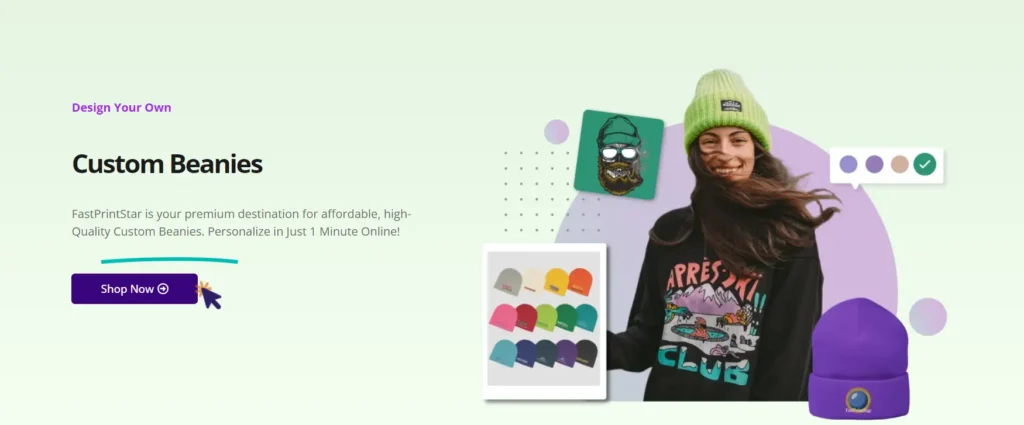
Where to Customize Your Beanie?
Custom beanies bridge the gap between casual beanies and statement-making beanies. You can customize your beanie to make it showcase your interests, personality, and style. Custom beanies at FastPrintStar are detailed enough to be the conversation starters on your outings.
You can identify with your team using the custom logo beanie or custom team beanie. Firms can also publicize themselves easily with custom company beanies.
FastPrintStar is that reliable beanie maker online that brings all of these to life without stressing you out. All you have to do is to have your designs ready for upload, and in three steps, you will place an order for a custom-made beanie without leaving your comfort zone.
They have a wide range of colors and beanie style options for you to pick from, including a custom knitted beanie, custom beanies with pom, and custom cuffed beanies. They also produce custom-printed beanies, giving you more opportunities to flex your creativity.
FastPrintStar is not your regular kind of online vendor. Check out some of their outstanding features:
Upon order, a copy of your custom beanie design will be sent to you via email for confirmation. This is done within 12 hours of placing your order.
If you’re not satisfied with the outcome, they’re ready to modify as many times as you wish until you are satisfied.
They will also offer you free professional guidance.
They also do not have a minimum quantity order requirement. You can order as low as one piece.
Their prices are competitive, especially on bulk orders. The higher the quantity, the lower the price.
They ensure that your custom beanies are safely delivered to you wherever you may be around the world.
Reach out to FastPrintStar today to experience ease and satisfaction on every one of your orders.
Conclusion
So, there you have it! With just a yarn, a crochet hook or knitting needles, and some basic skills, you can create a unique and stylish beanie that’s perfect for any occasion.
Whether you’re an expert crafter or just starting, these step-by-step guides will help you knit or crochet a beanie you’ll be proud to wear.
Remember the beauty of self-made accessories lies in their uniqueness. Don’t be afraid to experiment with different yarn colors and patterns to create a beanie that truly reflects your personal style.
Ensure to maintain and wash your beanies appropriately to help them stay with you for long.
For a professional and statement-making beanie, FastPrintStar will always give you the best!