How to Make Patches
Table of Contents
ToggleHow to Make Patches
In recent years, custom patches have become a favorite way to add style to clothing, even as far as serving a greater purpose in every nation’s military. People use them on jackets, hats, bags, and even everyday shirts. A patch is not only a decoration, but it shows your story, your brand, or something personal that matters to you.
A good patch does more than sit on fabric. It lifts your outfit, sets a mood, and brings out your creativity. But to make a patch that truly stands out, you need to know the right fabric, the right design, and the right method.
In this guide, you will discover simple and practical steps that help you create clean, strong, and long-lasting patches that look professional.
What are the Types of Patches
There are various types of custom patches, and selecting between them can be quite overwhelming if proper care is not taken. Therefore, it is essential to understand the type of customized patch you want to create before you begin making patches:
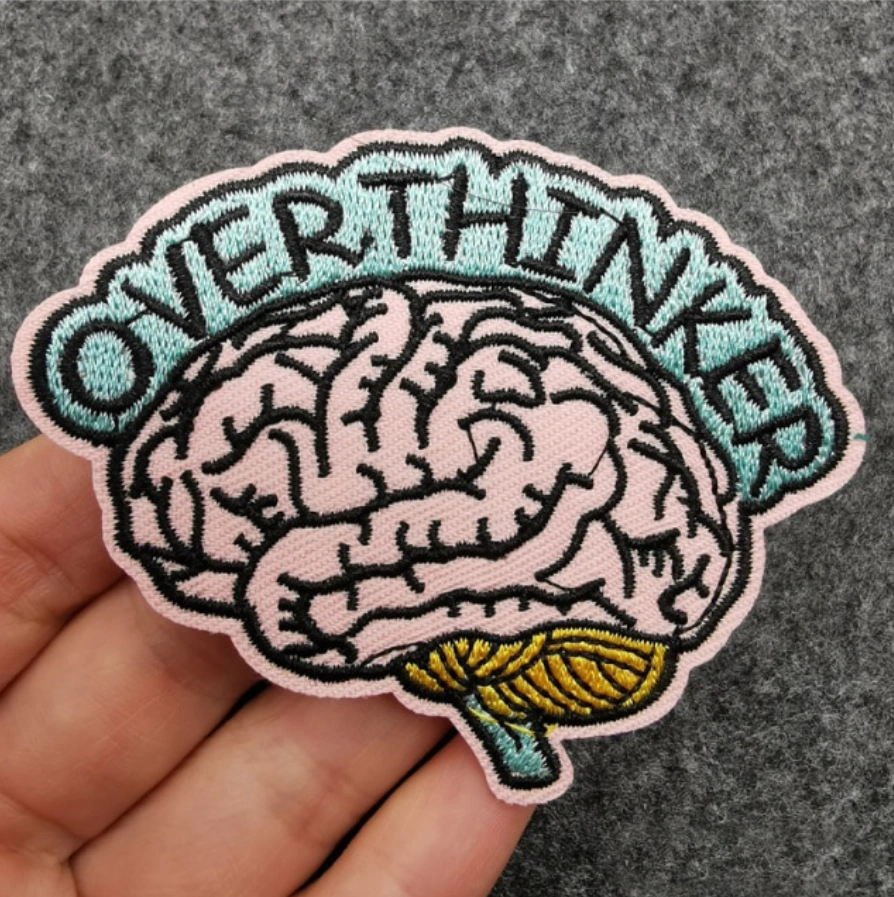
1.Embroidered patches
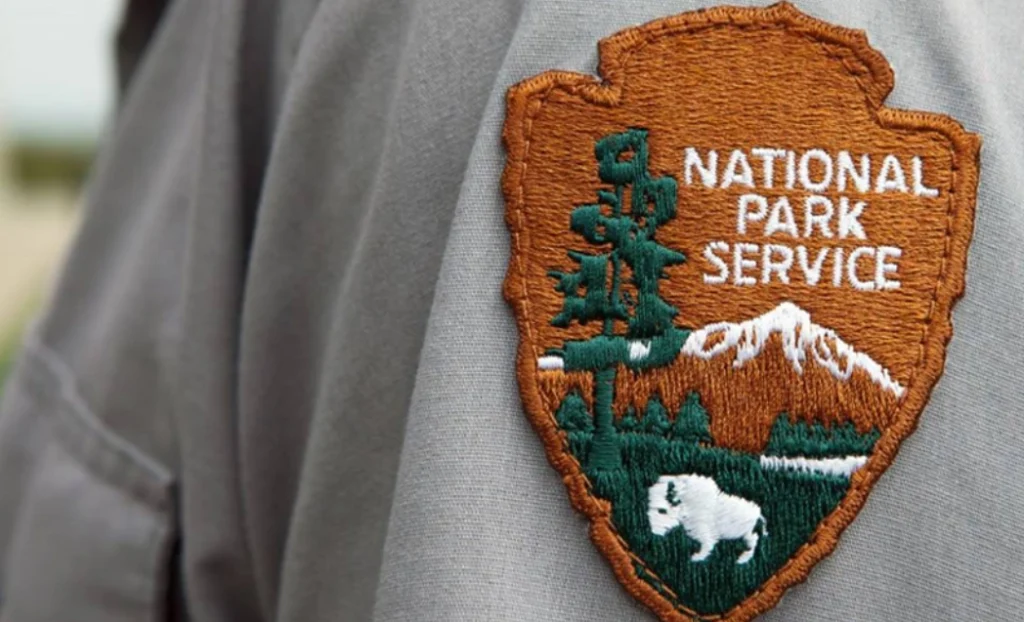
Custom embroidered patches are literally the most popular types of patches and are normally made with thick thread that gives the patch a raised and textured feel. This makes them strong, classic, and great for designs that need bold lines or solid shapes.
2.Woven patches
This type of custom patch uses much thinner thread, so it can show small details more clearly. Custom-shaped woven patches feel smooth and soft, and they work well for tiny text or clean artwork.
3.Felt patches

With custom felt patches, you have a warm and soft surface. These types of custom patches are often used for simple shapes, letters, or bold designs because felt is easy to cut and holds its shape well.
4. PVC patches
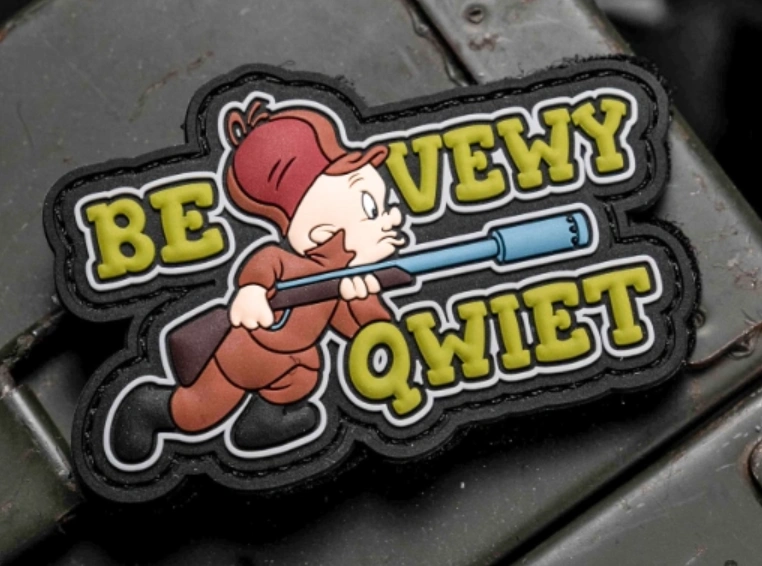
These are made from a rubber-like material that bends easily but stays strong. Custom-made PVC patches do not fade or tear, which makes them great for outdoor gear, sports items, or bags.
5. Chenille patches
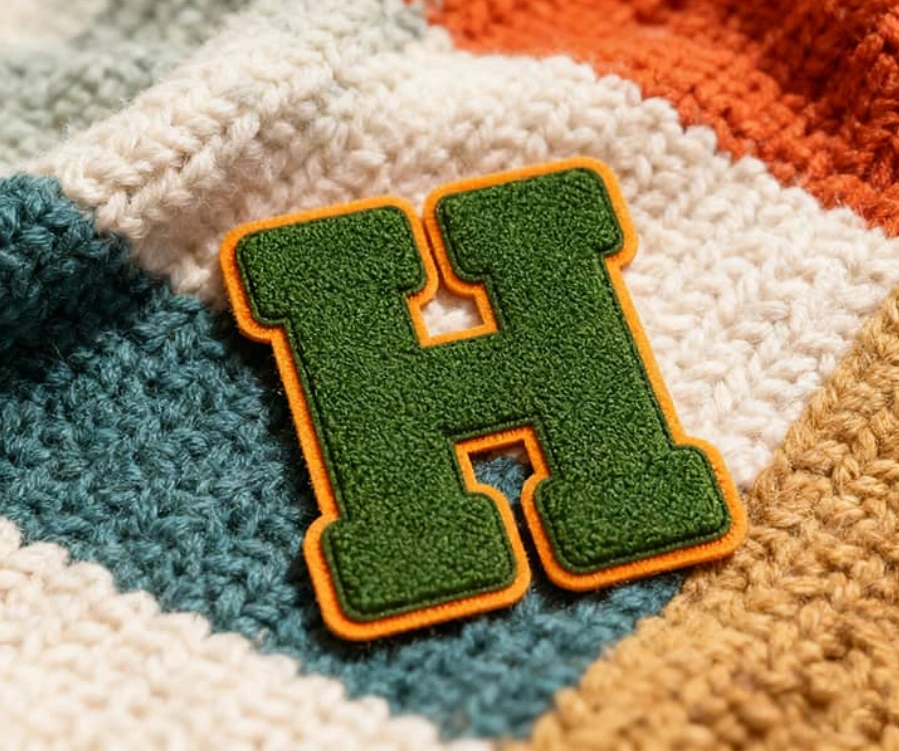
Custom chenille letter patches have a fluffy and fuzzy top, almost like soft yarn. This style is popular on school jackets, team wear, and large letter patches because it looks bold and full.
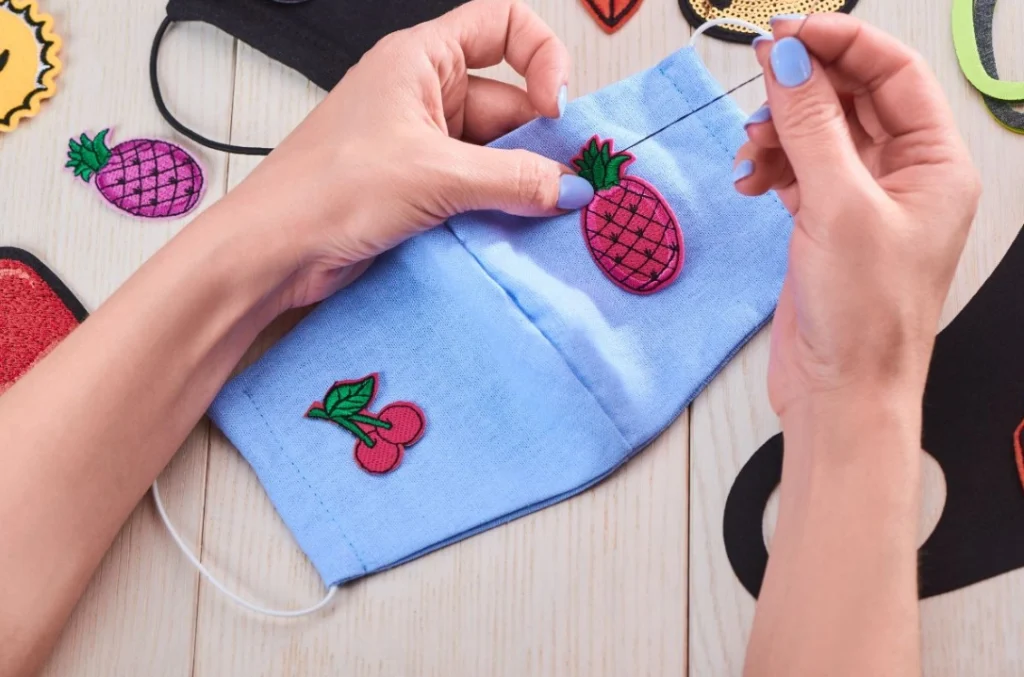
6. Iron-on patches

This one comes with a glue on the back that is heat-activated. When you press them with a hot iron, they stick firmly to the fabric. Custom design iron-on patches are quick to attach and are great for people who do not want to sew.
7. Velcro patches
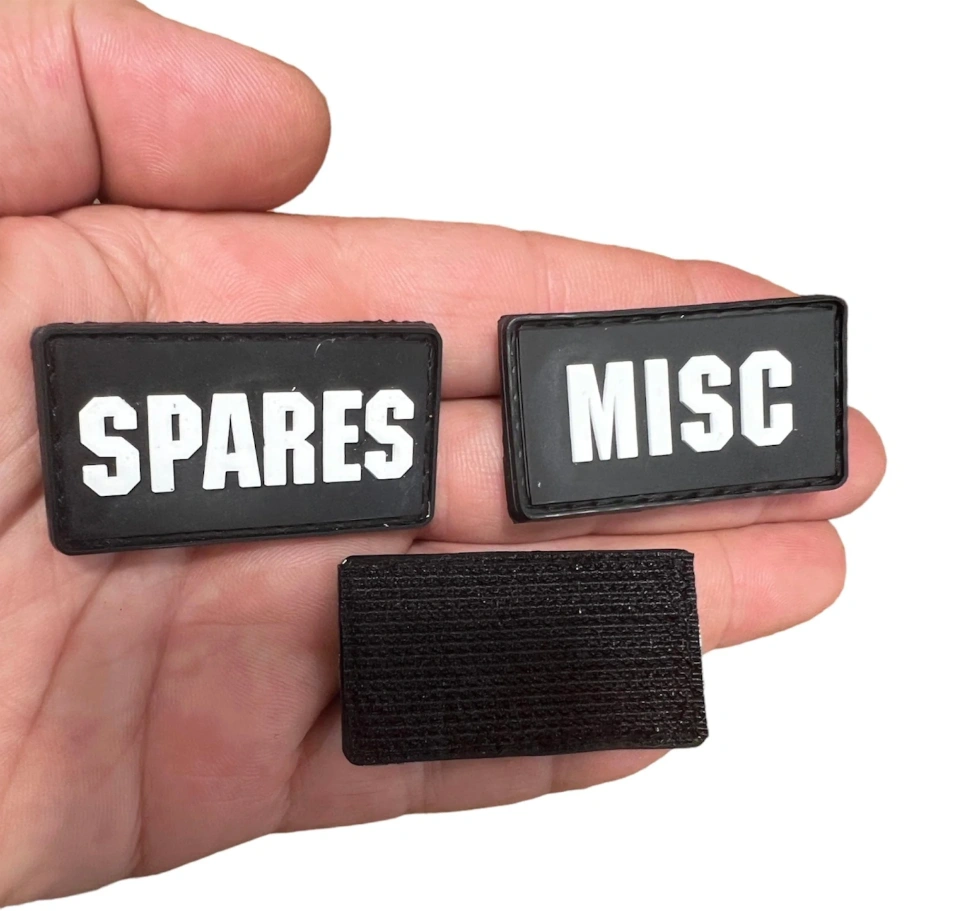
Customized logo Velcro patches have two parts. One part stays on your clothing, and the other part is on the patch. You can pull the patch off and attach a new one anytime.
8. Leather patches

Custom-made Leather patches are also quite common in the way they bring a clean and stylish look. They can be real leather or faux leather. These patches are common on jeans, bags, and jackets. They are strong, smooth, and add a natural touch. Simple logos and bold shapes look very good on leather because of its clean surface.
What Fabric Is Best for Patches?
A strong base fabric helps your patch last longer. The best choices are firm and steady.
Here is a table explaining some of the best and most common fabrics used for making patches, along with their key characteristics and ideal uses:
Fabric Type | Key Characteristics | Durability & Texture | Best Use Case |
Tightly woven fabric with a diagonal rib pattern. Often made of cotton or polyester. | High Durability. Excellent stability, resists fraying, and provides a smooth surface ideal for embroidery. | Professional/Embroidered Patches. Uniforms, corporate logos, or patches that require a professional, clean look and will see frequent use. | |
Felt | Non-woven, matted fiber fabric. Does not fray when cut. | Moderate Durability. Soft, thick, and plush texture. Best for decorative patches that are not frequently washed. | Hand-Stitched/Decorative Patches. Great for beginners and patches with a classic, vintage, or soft look (e.g., pennants, craft projects). |
Canvas | Heavy-duty, plain-woven fabric (often cotton or linen). Very sturdy. | Very High Durability. Rugged, thick texture. Resists wear and tear and harsh conditions. | Heavy-Duty/Outdoor Patches. Military gear, backpacks, outerwear, or patches that need to be extremely resilient. |
Denim | Sturdy cotton twill fabric. | High Durability. Strong base with a distinctive, coarse texture. Holds up well to regular wear and washing. | Casual/DIY Patches. Ideal for customizing jeans, denim jackets, and bags for a fashion-forward or strong, classic look. |
Cotton | Natural fiber, breathable, and soft. | Moderate Durability. Lightweight, comfortable, and easy to sew. Less durable than twill or canvas, and prone to wrinkling/shrinking. | General/Temporary Patches. Best for decorative, lightweight, or short-term patches on t-shirts or casual items. |
How to Create a Patch Logo
Creating a patch logo is as important as making the patch itself. You can create a logo using an online logo maker or take the DIY route. All in all, the following tips can guide you through the process of creating a patch logo.
1. Start With a Simple Concept
Think about what the patch represents: a team name, initials, brand logo, or personal symbol. Simple shapes are easier to sew and look cleaner.
2. Choose the Right Colors
Use bold contrasting colors so the design stands out. Embroidery works best with fewer colors, while printed patches allow for full color photos.
3. Make It Patch-Friendly
If you plan to embroider, avoid tiny letters or extremely thin lines. For printed patches, you can include more detail.
4. Create a Digital Design
Use a design tool or ask a designer to turn your idea into a clean digital file. A clear logo makes the next step, the patch-making process, much smoother.
How to Make a Clothing Patch

Once your design is ready, you can begin turning it into a real patch. The steps are simple, and each one helps your patch look clean, strong, and professional.
1. Prepare the Base Fabric
Start by cutting your patch fabric a little bigger than your design. This extra space gives you room to finish the edges later and keeps the patch from fraying. Make sure the fabric is clean, flat, and easy to work with.
2. Add the Design
Next, place your design onto the fabric. The method you choose depends on the type of patch you’re making:
- Embroidery machine or hand stitching: Best for raised, textured designs.
- Printing transfer method: It is good for colorful or detailed artwork.
- Woven or PVC process: This is used when making patches with machines or molds.
- Cutting and layering felt shapes: Great for simple letters, symbols, or bold designs.
The goal is to transfer your logo or artwork onto the fabric in the neatest way possible.
3. Finish the Edges
The edges are important because they keep the patch from coming apart. Most patches use one of two edge finishes:
- Merrowed edge: A thick, rounded border sewn all the way around. It gives the patch a classic look.
- Heat-cut edge: This is a smooth, flat edge created with heat. This works well for patches with unusual shapes.
4. Add the Backing
Finally, choose how the patch will attach to clothing. The backing you pick makes a big difference:
- Iron-on adhesive: This lets you attach the patch with heat from an iron.
- Velcro backing: Allows you to remove or replace the patch anytime.
- Plain backing: This is used when you plan to sew the patch onto fabric.
- Peel-and-stick adhesive: It is a quick and temporary option for light use.
How to Attach Patches

Attaching your patch the right way helps it stay in place and look clean. Not only that, but it also ensures the durability and shows the ingenious professionalism that went into the whole process.
1. Iron-On Method
This method is neat and fast and involves heating your iron to medium-high (make sure steam is turned off), then place the patch where you want it, then cover it with a thin cloth to protect it. Press the iron down firmly for about 15–20 seconds. Let the patch cool completely so the glue can set. This works best on cotton or denim fabrics.
2. Sewing Method
Use a thread that matches the edge of your patch for a neat look, then stitch all the way around the patch, staying close to the edge. Use a thicker needle for heavy or thick patches, and add a second line of stitches on the corners for extra strength. This method works on almost any fabric.
3. Velcro Attachment
This is great if you want to remove or swap patches. You can do this by sewing or ironing the soft Velcro piece (the loop side) onto your clothing, pressing the rough Velcro piece (the hook side) on the back of the patch, matching the two pieces together to attach the patch, and pulling it off and replacing it anytime you want.
4. Fabric Glue
Fabric glue custom patch attachment is another simple option for light use. Spread a thin layer of glue on the back of the patch, press it onto the fabric, and let it dry fully. This method is quick, but it doesn’t hold up well on clothes that are washed or worn often.
Tips for Long-Lasting Patches
Keeping your custom-made patches in good shape is easy when you follow a few small steps:
1. Always pre-wash garments
Wash and dry the clothing before adding your patch. This stops the fabric from shrinking later, which can make the patch wrinkle or pull away.
2. Reinforce iron-on patches with a few stitches
Iron-on glue is helpful, but it doesn’t last forever, especially with washing. Adding a few small stitches around the edge makes the patch much stronger and keeps it from peeling off.
3. Wash clothes inside out
Turn your clothes inside out before washing. This prevents the patch from rubbing against other clothes or the machine, helping it keep its color and shape.
4. Buy from a reputable company
Good-quality materials make a big difference in how long a custom patch lasts. Reputable manufacturers like Fastprintstar, with over 10 years of promotional product manufacturing expertise, make use of better fabric, stronger stitching, and reliable backing, which helps your patch stay looking new for longer. Not only that, they ensure your creative process shines brightest and a progressive lower pricing that no one can ever beat.
Conclusion
Patches are more than simple decorations; they are a stylish way to express identity, personalize clothing, or promote a brand. With the right materials, a clean design, and proper attachment, your patch can stay bright, strong, and eye-catching for years.
Whether you choose embroidery, printing, felt, leather, or PVC, each type offers its own charm. By planning carefully and using the right techniques, you can create patches that look professional and last long, no matter where you place them.