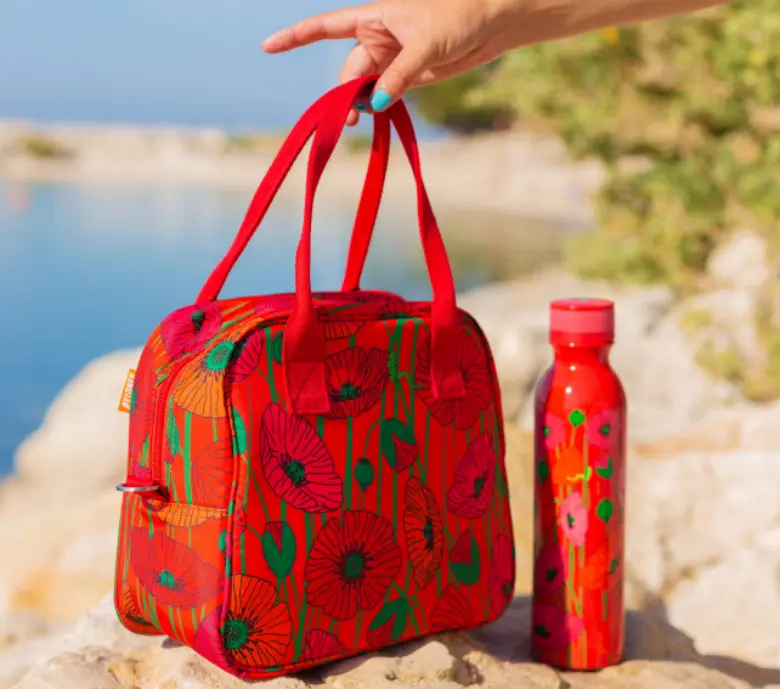
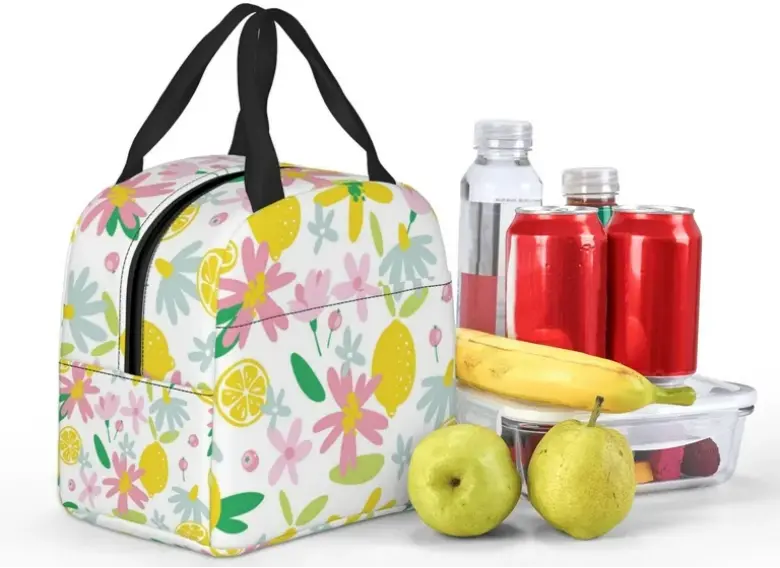
A lunch bag is more than just a container; it’s a portable food store that keeps your meals and snacks at the perfect temperature. It is a convenient way to mobilize your dishes to work, school, and picnics without worrying about spillage or spoilage.
A lunch bag maintains the freshness and taste of your meals and helps you stay organized and move smartly. Moreso, its insulated interior makes it act as an effective temperature-control tool, ensuring your food stays hot or cold, just as you like it.
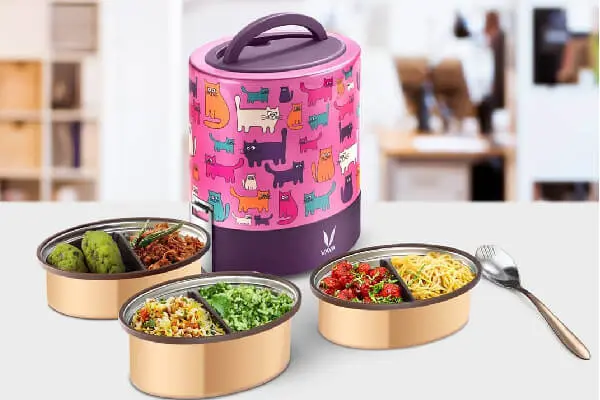
With options for custom lunch bags, you can create a lunch bag that reflects your unique personality and style. So, instead of settling for a generic bag, you can have customized lunch bags to make your mealtime experience even more enjoyable.
What Material is Used for Lunch Bags?
Most often, lunch bags are made of more than one layer of material. You can choose to sew two distinct materials with different qualities or two thick layers made of the same fabric together. This is in a to provide the insulating quality needed to regulate temperature.
Let’s look at the properties of some suitable fabrics that you could use for this project:
Canvas – A fine durable fabric that is best used for the outer layer.
Pvc – This is a waterproof fabric that is best for both the inner and outer layers of your lunch bag.
Vinyl – This is a water-resistant fabric too that is suitable for the inner and outer layers.
Nylon – Another water-proof material that can also be used for both layers.
Polyester – A fabric that is safe for food, waterproof, and suitable for both layers.
Cotton – Cotton is also a food-safe fabric that can be used for the inner layer.
Denim – A durable fabric for the outer layer of your lunch bag.
Thermal Laminates – This is an insulated fabric that you can use for both the inner and outer of your lunch bag.
Once you have chosen the type of fabric you will be using, proceed to gather the following sewing items to get started with making your lunch bag.
Zippers
Handles
Scissors
Fabric marker or chalk
Measuring Tape
Sewing machine
How to Sew a Lunch Bag
Let’s get to the business of crafting an insulated lunch bag. You can tailor it to suit your preferences in terms of color, portability, handle length, thickness, and so on. It’s all about getting creative!
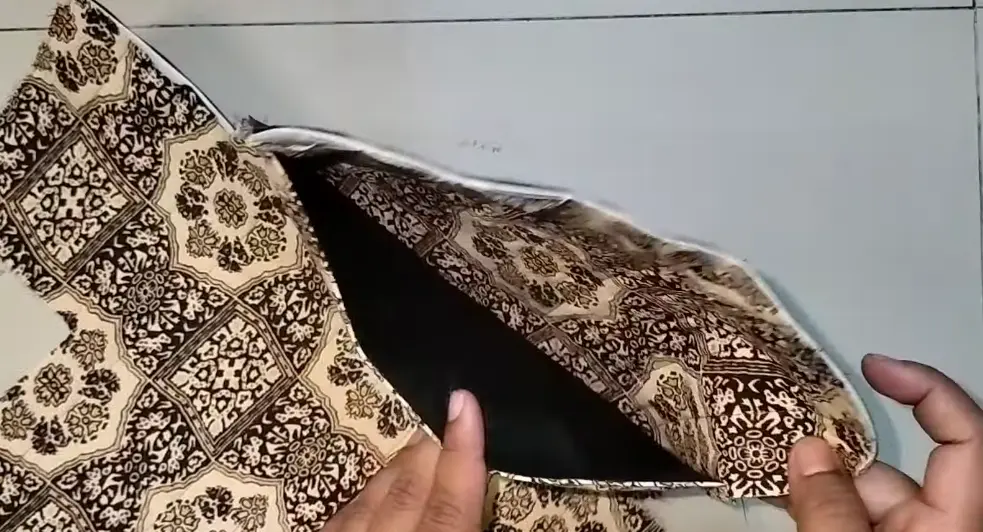
For this guide, the material is a combination of a canvas outer layer, a rubber sheet, and non-woven fabric as the inner layer.
Follow the simple steps below to sew a lunch bag:
Cutting a Lunch Bag Pattern
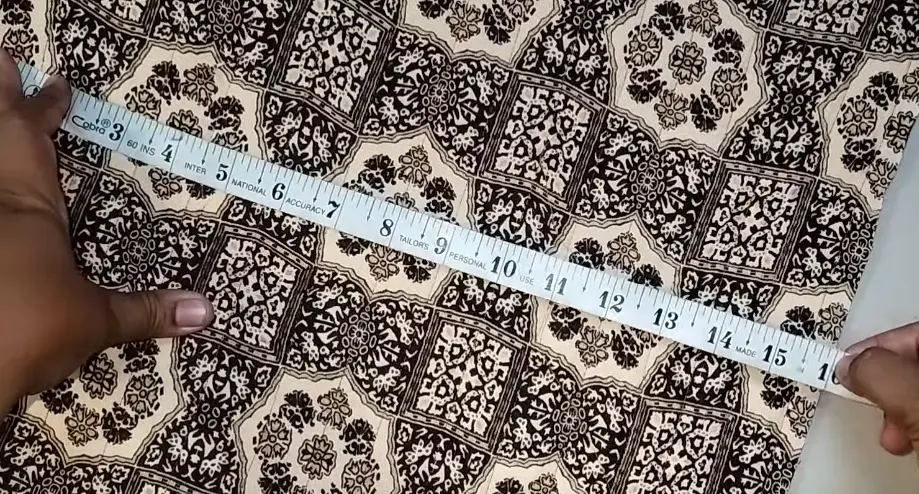
To cut the lunch bag pattern:
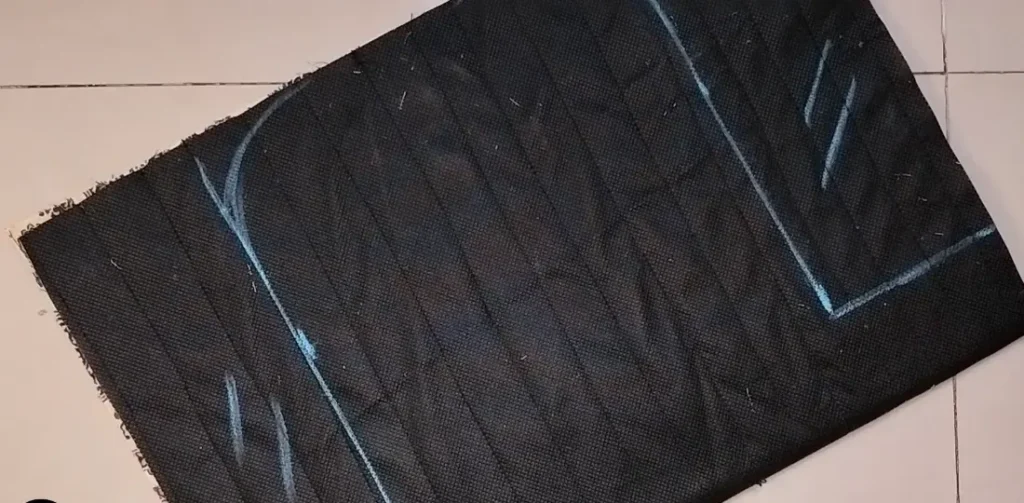
Measure and cut a 22-long by 16-wide inches (56 by 40 cm) rectangle
2. Fold the rectangle into two equal parts widthwise.
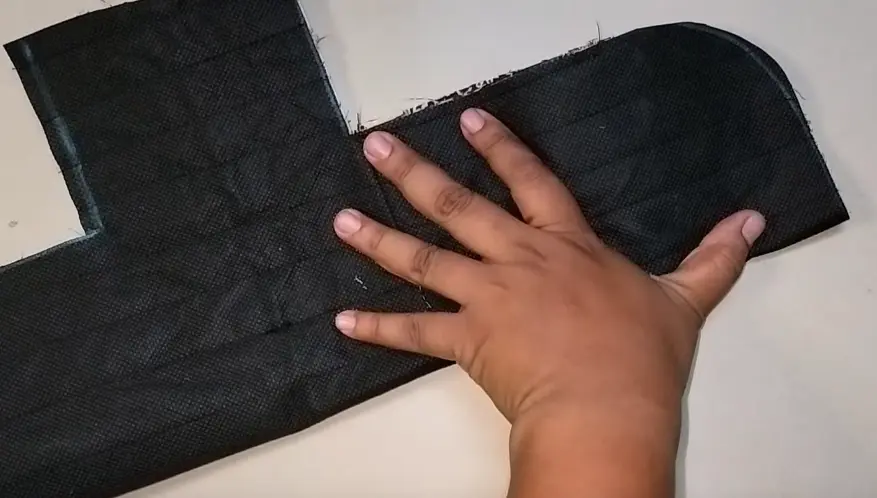
3. Using a fabric chalk, measure and mark 2 inches wide and 3.5 inches long (5cm by 9cm) L shapes by the two open sides of the folded rectangle. Then cut out the excess fabrics by the sides of the marked areas.
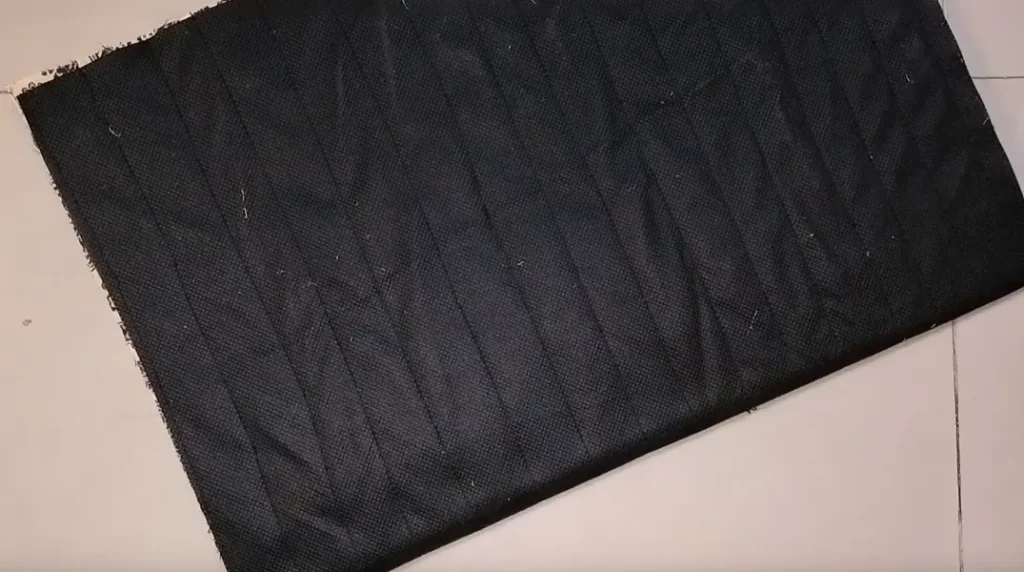
If you have been following correctly, you will get a pattern similar to the one below. When you unfold it, get a two-winged pattern.
Fixing an Additional Pocket
Adding pocket is optional, but it can add to the overall aesthetics of your lunch bag. The steps involved are:
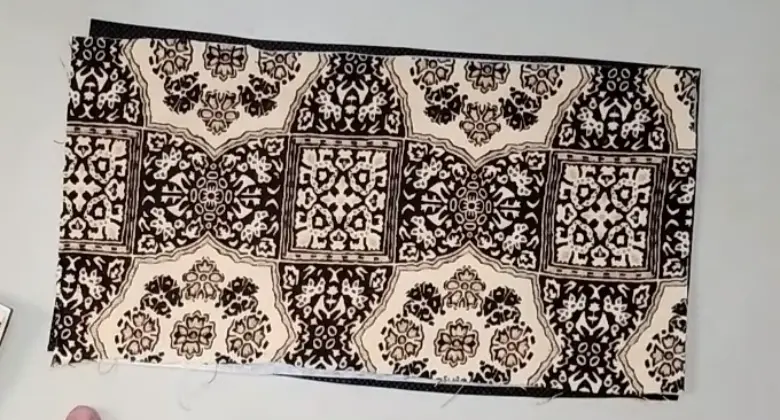
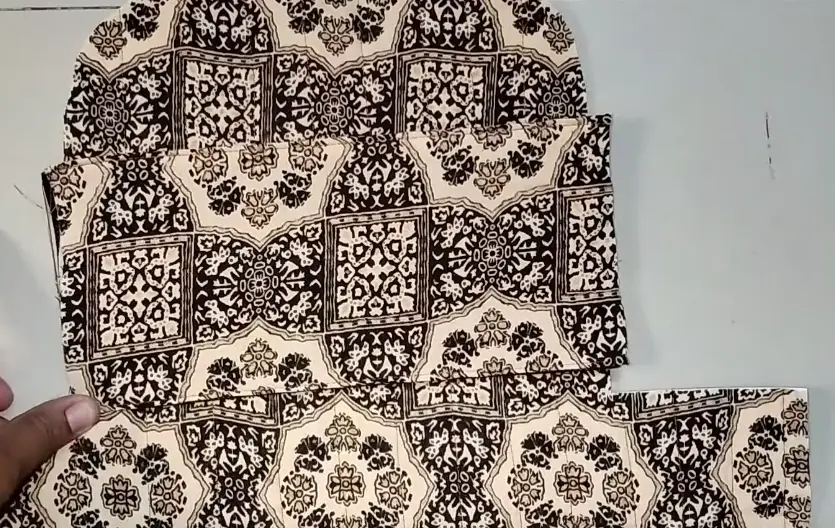
cut another 5 by 10 rectangle (12.7cm by 25cm) canvas fabric together with the non-woven inner fabric and sew together.
2. Turn the patterned surface down to face the inner fabric and stitch the two long sides, after which you will turn inside our.
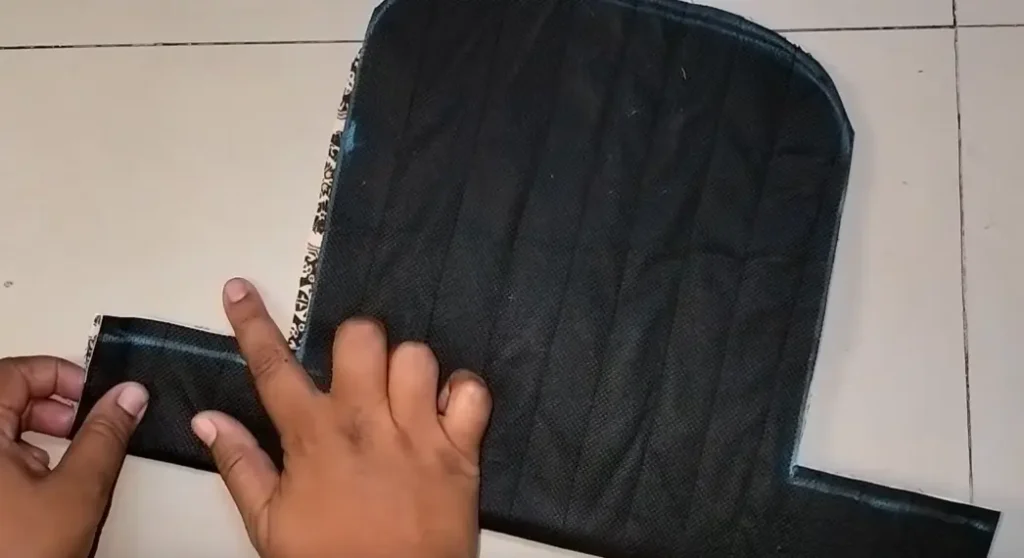
3. You then place the sewn rectangle on one side of your prepared lunch bag pattern as demonstrated below:
4. Stitch the short open sides together with the bag pattern to create additional open space by the side.
Fixing the Handles
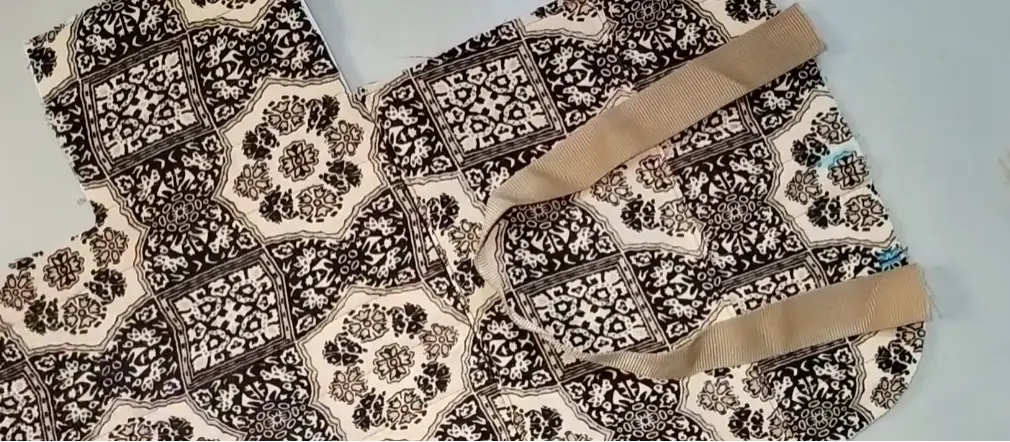
Using a 16 by-1-inch ribbon, set the pair of ribbons aside and fold your prepared bag pattern sideways to determine and mark its centers at the top and bottom.
2. Mark the center with chalk and position your ribbons or handles 2 inches away from the center on both sides. Stitch the two edges of the handles to the bag and repeat this process for the next.
Attaching the Zipper
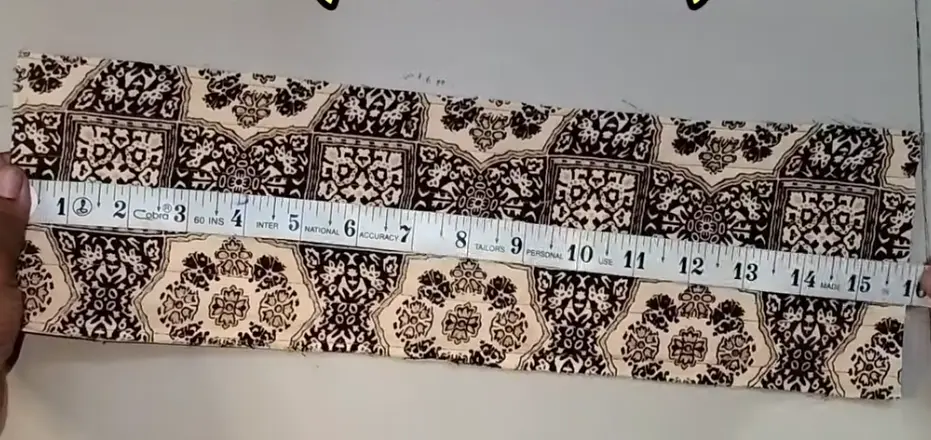
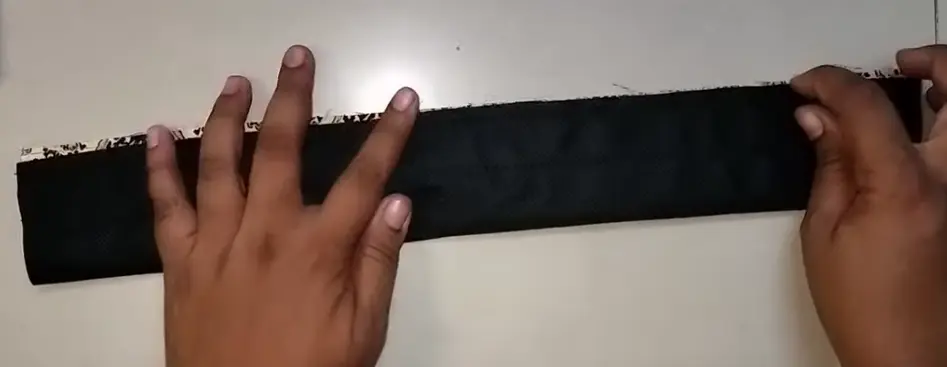
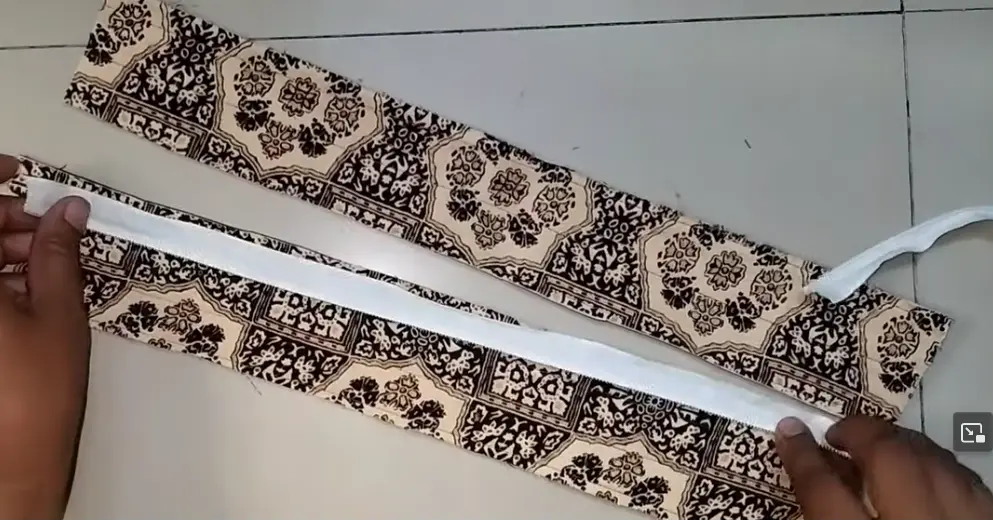
For the size of this bag pattern, measure and cut a 16 by 4 inches rectangle. This is the same length as the wing-like shape on the bag pattern.
2. Fold it lengthwise to be equal and cut it into two equal parts.
3. Unzip your zipper stitch each part on each of the rectangles and add your two zip runners.
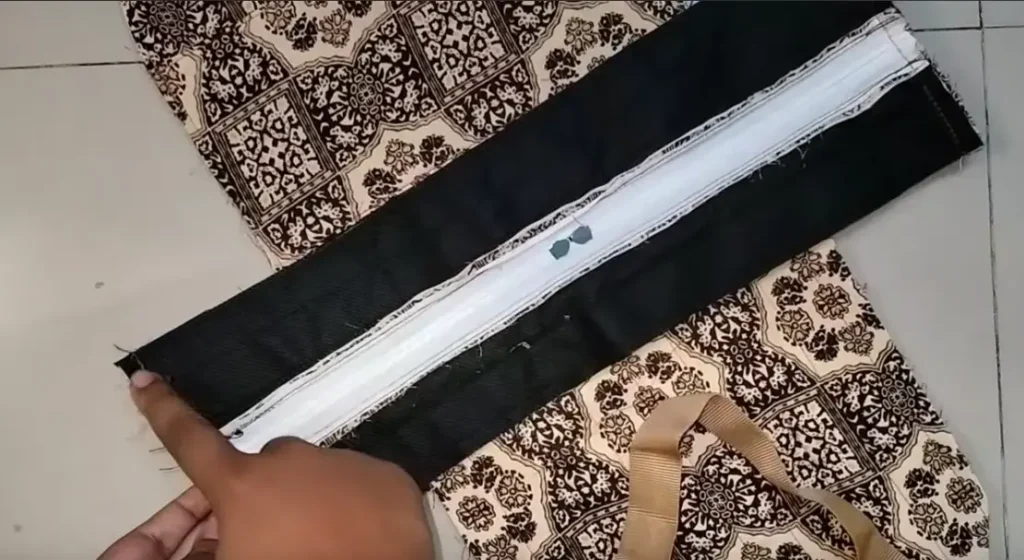
4. Place it on the wing-shaped middle of the bag pattern with the wrong side facing up and stitching by the sides.
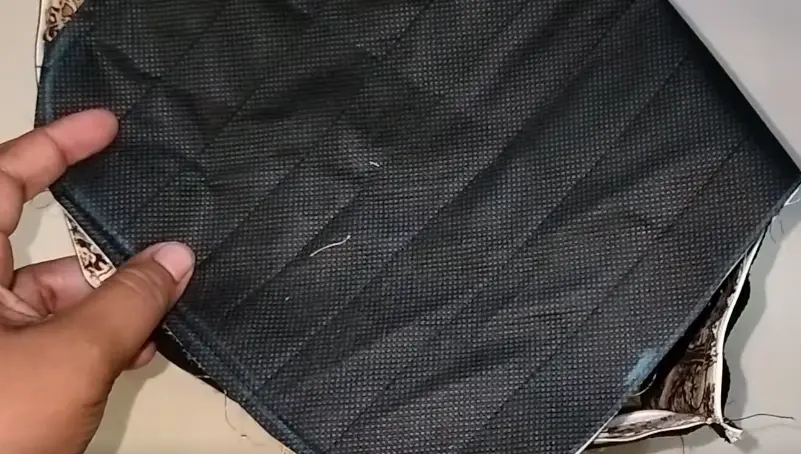
Boxing up Your Lunch Bag
With the wrong side facing out, stitch each edge to the next edge close to it. Do these for all the sides until a box bag is formed.
2. Lastly, turn the bag inside out through the zipper opening.
How to Keep Food Warm in a Lunch Bag
Some meals are just best enjoyed when hot or at least warm! You also want to do your best to keep your meals warm in cold months. How then can you store your food in a lunch bag so that it stays warm? Try out some of these tricks:
● Separating Hot and Cold Food
Even though everything is going into a single bag you can still separate meals of different temperatures. Simply put cold and hot food in different containers and demarcate them with a thick towel in the lunch bag. This one prevents one temperature from affecting the other.
● Using Boiled Water to Rinse Flask
Just before you dish your lunch, pre-heat your flasks with boiled water. This will help them retain heat for a longer period. Also, ensure that your flasks are snugly covered.
Another way to use boiled water is by pouring it into a water bottle and placing the water bottle in the lunch bag together with your meals.
● Using Insulated Materials
You can also wrap up your food containers with insulated materials like warm napkins, bubble wraps, and newspapers. There are also heating pads designed for lunch bags. This method helps trap heat in the lunch bag to sustain the warmth of your meal.
● Wrapping Food in Foil Papers
You can also try wrapping your lunch in foil paper before placing it in the flask and then lunch bag. This is a cost-effective way to keep your food warm too. Combine this with other tips for a maximal result.
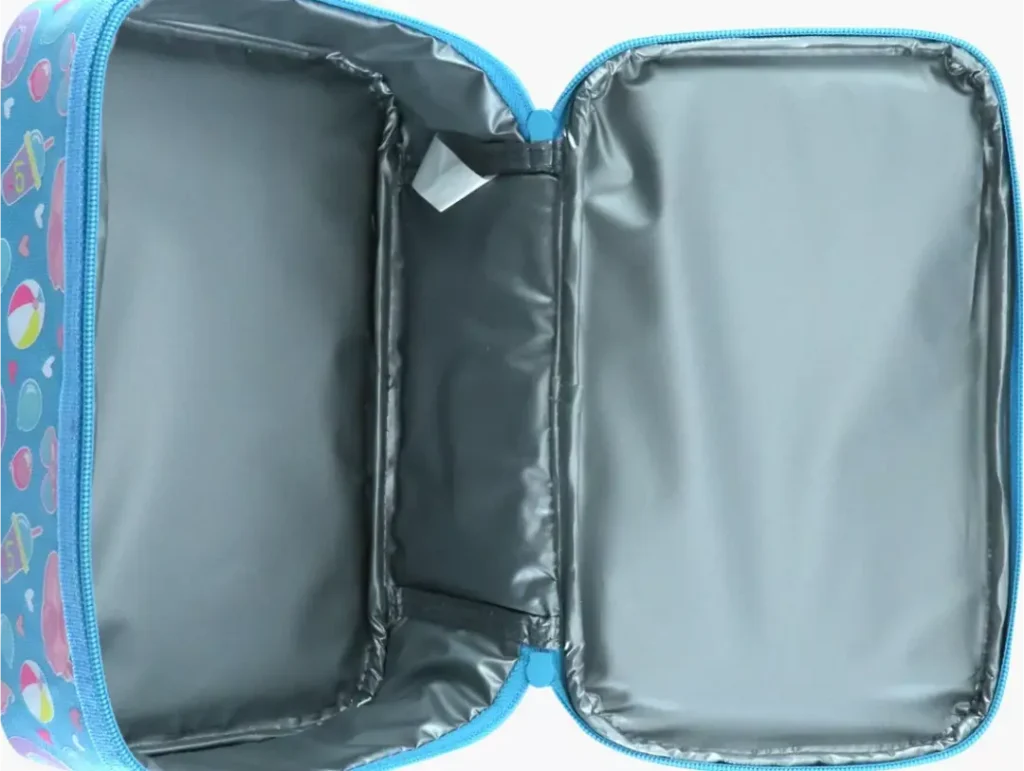
● Opt for Insulated Lunch Bags
Insulated lunch bags are specially designed for this purpose – keeping your food warm. Instead of settling for a normal fabric bag, an insulated lunch bag will serve you better.
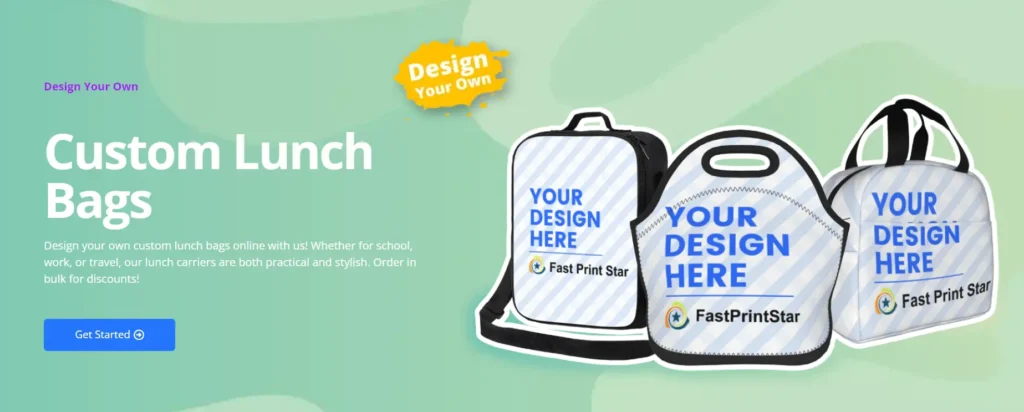
Where to Buy Custom Lunch Bags?
Reflect your unique style with custom lunch bags from FastPrintStar! They manufacture bags that are both practical and statement-making. A reality of this is a lunch cooler bag with pictures, logos, or names on it!
Imagine gifting a colleague or customer valuable items like custom-insulated lunch bags.
You sure will own a space in their hearts! FastPrintStar has made it easy for everyone as they offer custom lunch bags bulk, wholesale, and as low as one piece. All you have to do is to make your styles and designs known on their easy-to-use order page in just three steps.
The durability and eco-friendliness of their materials are another quality you get! Their collection of materials includes a custom neoprene lunch bag that is sleek, durable, and safe for every use. Other outstanding benefits of FastPrintStar:
One-stop shop for everything brandable and many more
With a variety of styles, materials, and sizes available, FastPrintStar has a lunch bag out there to suit every taste and lifestyle. Why not place an order to enjoy all these benefits and more!
Conclusion
Crafting a personalized lunch bag is a rewarding activity that allows you to express your unique style and ensure your meals stay fresh and reduce waste.
By following the simple steps outlined in this guide, you can create a functional and aesthetically pleasing lunch bag that complements your daily routine. Also, consider the tips provided above to maintain the warmth of your food while packing your lunch bag.
With a variety of materials and customization options available, there’s no limit to the creativity you can bring to your lunch bag design. So, why not embark on this DIY project and enjoy the benefits of a customized, insulated lunch bag?