The bandana is one of the most adaptable pieces of apparel you should have in your wardrobe. They can be worn as hair ornaments, sweatbands, headbands, and neckwear. Bandanas can be worn in a limitless number of ways, and with custom bandanas, you can do even more.
Most times, you will find bandanas in triangular forms because styling them requires that they are folded. The original shape of the bandanas is square. The good news is that the squares are quite simple to create!
Bandanas are made of lightweight and thinner materials like cotton, silk, and satin due to the variety of style decisions. Bandanas sizes vary but the standard size for adults is 55 cm x 55 cm (22 inches), you can also work with this measurement when cutting your bandana fabric.
How to cut out the shape of a Bandana
As previously stated, replicating a bandana shape by oneself is easier than you may think. An easy way is to fold one edge of a rectangular material into a triangle, measure, and cut out the folded triangle edge. Unfold it and your square is ready!
This may require some proficiency, but here is a simple step-by-step guide for beginners:
STEP 1:
First, you will need to get a minimum of ½ yard(18 inches) of cloth. For larger individuals or if you plan to make multiples, it may be a yard, 36 inches. Select materials with designs similar to bandanas, such as paisley, and try to stay away from materials that can irritate your skin.
STEP 2:
Lay your cloth out flat and use your marker to draw a square shape. Although it’s not necessary for the drawing to be perfect, you can use rulers to ensure that your lines produce a consistent form. Be careful not to use permanent markers and economize your materials by starting your drawing close to the edge.
It is important to note that while hemming the bandana edges, you will be losing 1/2 inch on each side. That is, for an 18-inch bandana, you will have to cut a 19-inch square piece. So, take measurements!
STEP 3:
Carefully cut out your sketched square with sharp sharp fabric scissors for smooth cutting.
Polishing the edges of your bandana is one approach to give it a suitable finish. Machine sewing, hand sewing and no-sew methods are options for this. This article has provided the necessary practical procedures for those methods for you.
Steps to Create a Hand Sew Bandana
STEP 1
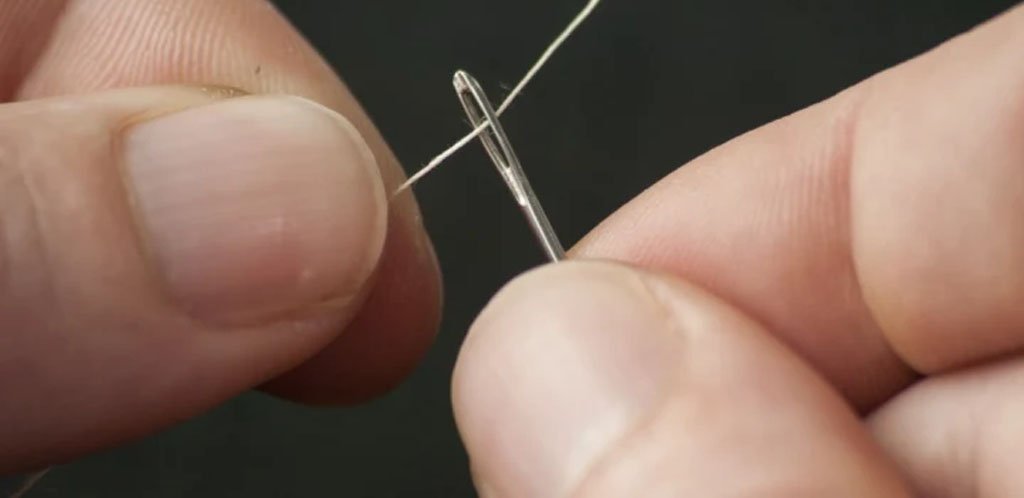
You will need a needle and thread to hand stitch the bandana’s edges. There are two main stitches that you can use to tuck in the edges of your bandana nicely, but you have to thread your needle before you start stitching.
STEP 2
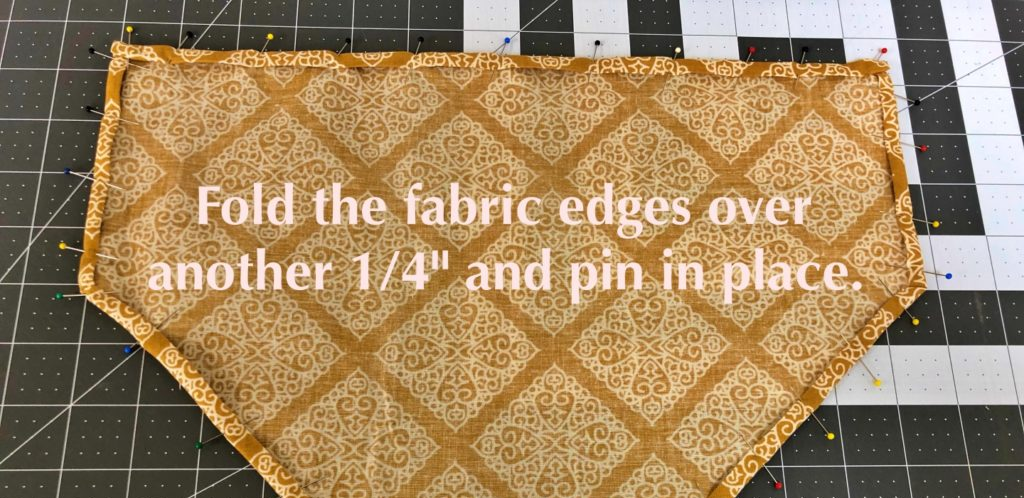
After threading your needle, you will have to fold the edges of your bandana by 6mm (¼ inch) twice and pin it. This will give you a double-folded edge that won’t wear out.
STEP 3
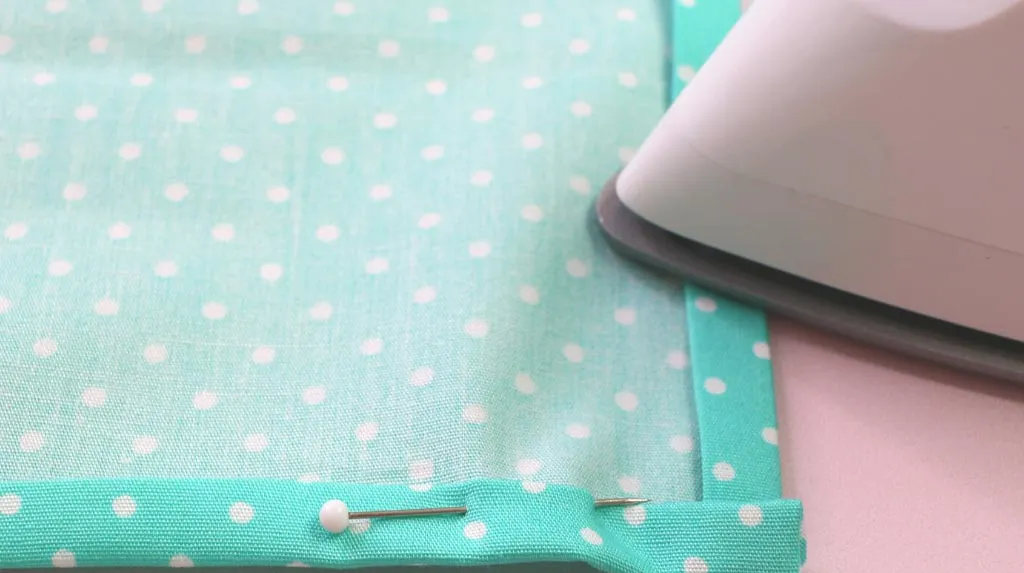
Press down the folded edges with a pressing iron to put them in place. Now, you want to pick your threaded needle and start stitching.
Running Stitch
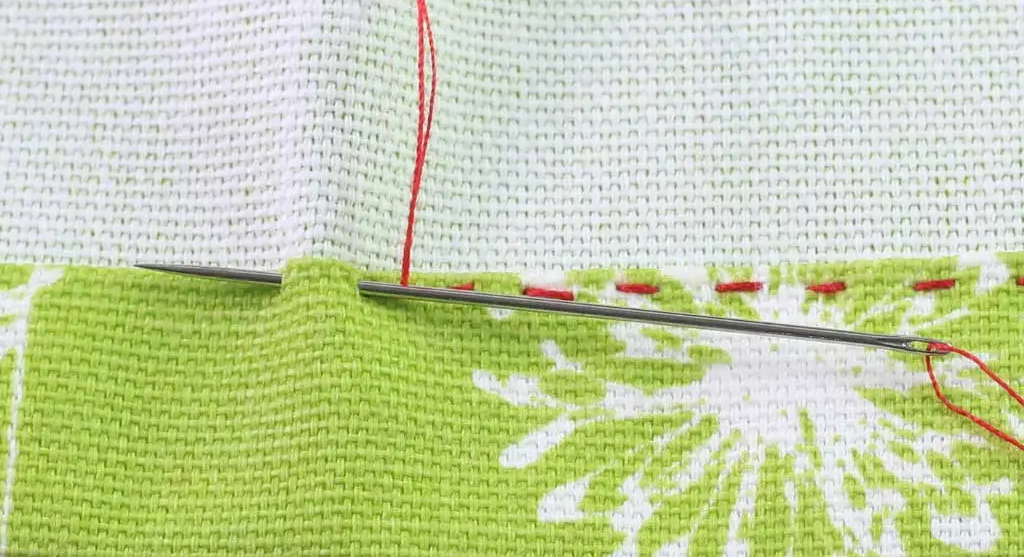
The running stitch is the most fundamental and straightforward form of hand stitching. You accomplish this by moving your threaded needle between your folded edges and moving it up and down. The smaller your stitches are, the tighter they are, but they could be evenly or unevenly spaced.
Hemming Stitch
Although it takes some time, the hemming stitch produces wonderful results. Beginners may not find it easy to get along with this stitch because it is not as basic as the running stitch. When you hem an edge, you select the inner edges of the folded edges with the tip of your needle and continue stitching to the finish point. This results in an almost invisible seam.
How to Design a Bandana
You can style your bandana by trying out some no-sew ideas that can elevate your elegance and make you more stylish.
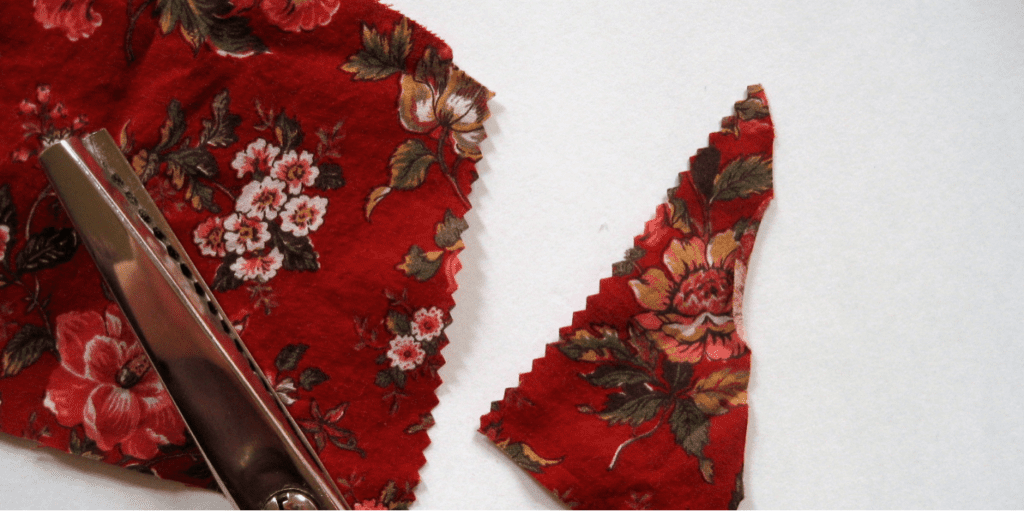
● Bandana edge with zig-zag shearing
The zig-zag shearing is a process of subtly trimming the edges of your bandana with a pinking scissor. It leaves a zig-zag pattern on the edges of your bandana and can prevent fraying.
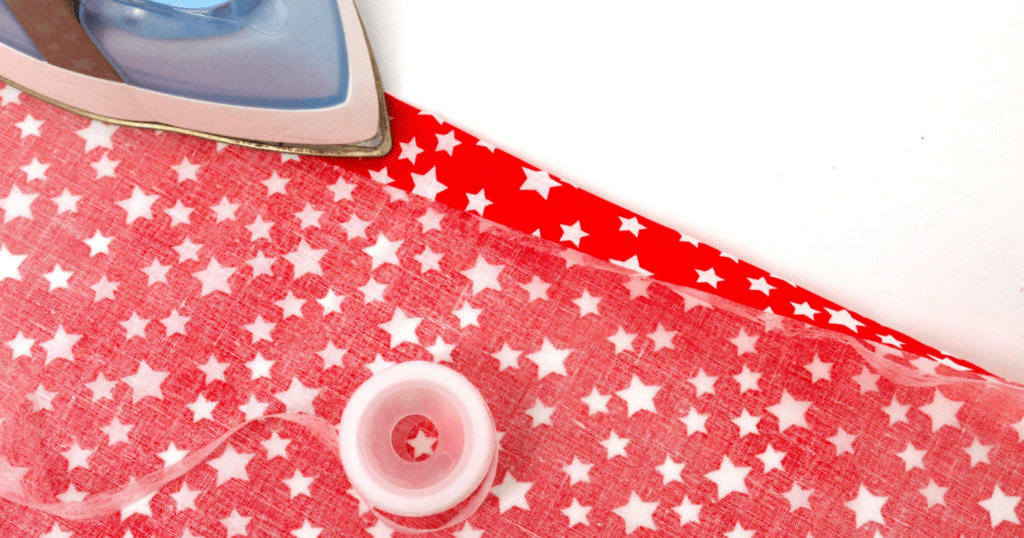
● Bandana edge with hemming tapes
In the absence of a needle and thread, the hemming tape is a go-to material. A hemming tape is a cloth-like tape with glue and two sides. It is used to invisibly tape the edges of dresses.
How to Apply Hemming Tapes:
Without folding the edges of your bandana, roll out your hem tape and place it on the extreme edges.
Fold the edges together with the hem tape by ½ inch. At this point, you have the tape in between the fabric.
Use an iron to press the edges, and the heat does the work.
Hemming tapes are designed to be washable and they are permanent as well.
● Bandana edge with fray edges
Edges fraying of bandanas is an exceptional style that gives the street vibes. Fray edges are best with bandanas made of loose weaves or natural fabrics like cotton and soft linen.
Use a seam ripper to pluck out your fabric’s woven wool until it attains the specific measurement for the edge.
Making a Bandana with a Sewing Machine
Besides the use of needles and thread when making a bandana, you can use a sewing machine. You can easily make smooth bandana edges if you know how to use a sewing machine and have one close by.
Follow all previously stated guides and then sew straight across the edge instead of using a needle and thread. You can make your stitch invisible by using matching thread, but feel free to play around with different colours.
Create a DIY Custom Bandana
A regular bandana can be turned into a unique item that expresses your own style and ingenuity with a little creativity and simple DIY equipment such as needles, thread, etc.
You should consider using fabric paint, embroidery, or sequins as decorations to customize your bandana and make it truly unique.
Additionally, you can add beadwork and embroidered flowers to your bandana. There is also a tie-dye stencilling method to create DIY custom tie-dye bandanas.
You can also have the Swarovski crystals on your bandana, or use glue to attach rhinestones to your bandana which looks stunning.
Custom Bandana and Where to order from
A customized bandana is precisely what you need when you are having an eventful day, or you just want to flaunt some awesome flair. You can customize your bandana with unique designs either to showcase your creative abilities or as a symbol for a certain group of people.
For your desires, FastPrintStar is a place to order custom bandanas that are ideal for giving your outfit, giving you a unique touch using quality materials. They Offer custom bandanas in bulk at wholesale pricing with no minimum orders.
At FastPrintStar, you can build something incredible with the help of their design team! Simply upload your favourite image, pattern, or text to make a genuine fashion impression. You can also add your logo and have them printed edge-to-edge in a full-color which gives durable custom sublimated bandanas for your team.
There is no restriction of location as you order from anywhere around the world and get a free delivery. You need not worry about communication as their team is top-notch, they respond swiftly to emails, calls or social media to questions or to monitor your order.
Conclusion
Now that you know how to make your unique bandanas, you’re not just a fashion enthusiast – you’re a bandana maestro prepared to take over the world of style.
Imagine yourself wearing a masterpiece that you created out of a bandana that screams individuality. This inexpensive square of fabric has endless uses; it can be turned from a DIY creation to a unique piece of clothing.
For those who crave the ultimate individuality, step into the universe of custom bandanas. Providing more than simply bandanas, FastPrintStar stands out as the beacon, providing an artistic canvas for your creativity. With their artistic abilities, you can transform an ordinary piece of fabric into a striking representation of your individuality.