How to Make A Pillowcase
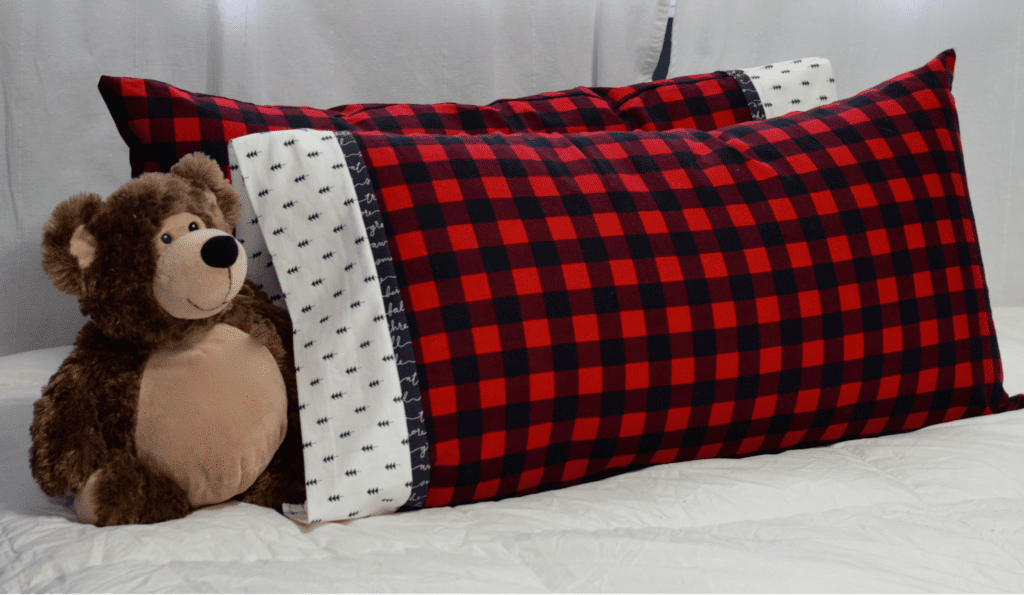
Table of Contents
ToggleWhat Goes Under a Pillowcase?
Have you ever wondered if there’s a difference between a pillowcase and a pillow cover? The answer is yes, although both terms get used interchangeably sometimes.
Think of the pillowcase as a protector for your pillow and pillow cover. While the pillow cover is often a thinner piece enclosed with the pillow in it, the pillow case mostly has one open end which makes it removable.
Pillowcases protect your pillows from dust, sweat, and allergens. In addition, they also add fun and flair to your bedding like the custom pillow cases that are usually designed to match your custom blankets and bedspreads.
The fact that pillowcases also come in the form of shams similar to a custom throw pillow cover is exciting. These kinds are often fitted and can also be used in places like the sitting room for aesthetics.
If you want to become a pro at making indispensable pillowcases, then this article is for you!
Our practical DIY guide is the lecture to start sewing pillowcases effortlessly.
Materials and Items Needed to Sew a Pillowcase?
Making a pillowcase will not cost you as much as you think. Take a look at the affordable items below and get yours ready to get started:

- Fabric – the preferred type of fabric for the type of pillowcase you’re about to learn is cotton. Silk and satin are best used for throw pillow covers.
- Sewing Instruments: They include scissors, a hand-sewing needle, matching threads, office pins, and a sewing machine (optional).
- A pressing iron and measuring tool will make your work easier.
How Much Fabric Is Needed For a Pillowcase?
Making a pillowcase usually requires 1 yard of fabric, but this can change depending on a few things.
The size of your pillowcase matters. For instance, standard and queen sizes need around 2 yards, while the king size will need a bit more.
However, a wider fabric of at least 44 inches wide might let you use slightly less fabric overall. However, always remember it’s always better to have a little extra fabric than not enough.
Pillow case Sizing and Measurements?
There are three commonly used pillowcase sizes and measurements namely: the standard (most commonly used), the queen, and the king sizes.
You will find the standard numerical value for each size’s measurements in the table below to make you measure easily:
Pillowcase Sizes | Measure in Inches | Measure in Centimeters |
Standard size | 20 by 26 inches | 50cm width and 66cm length |
Queen size | 20 by 30 inches | 50cm width and 76cm length |
King size | 20 by 36 inches | 50cm width and 91cm length |
How to Sew a Pillowcase?
You can sew a pillowcase using different methods, depending on the one you find most convenient. Read on to discover the different sewing methods!
How to Make a Pillowcase With a Flap Cuff?
This method is often referred to as the burrito method and gives a standard and seamless outcome. The steps are highlighted below:
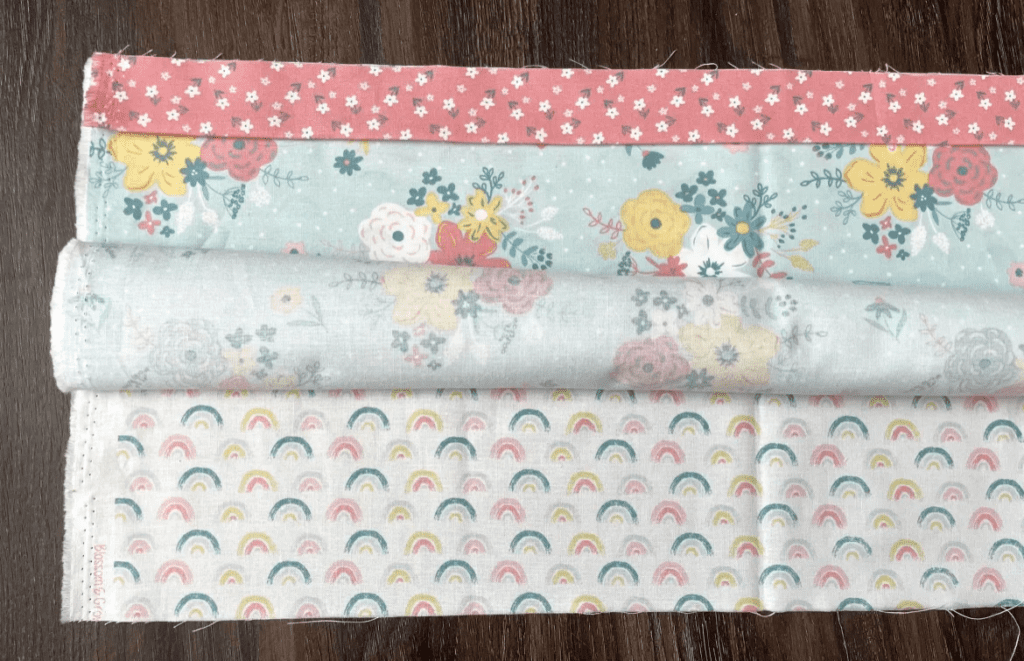
STEP 1: For this method, you will need to cut out three pieces:
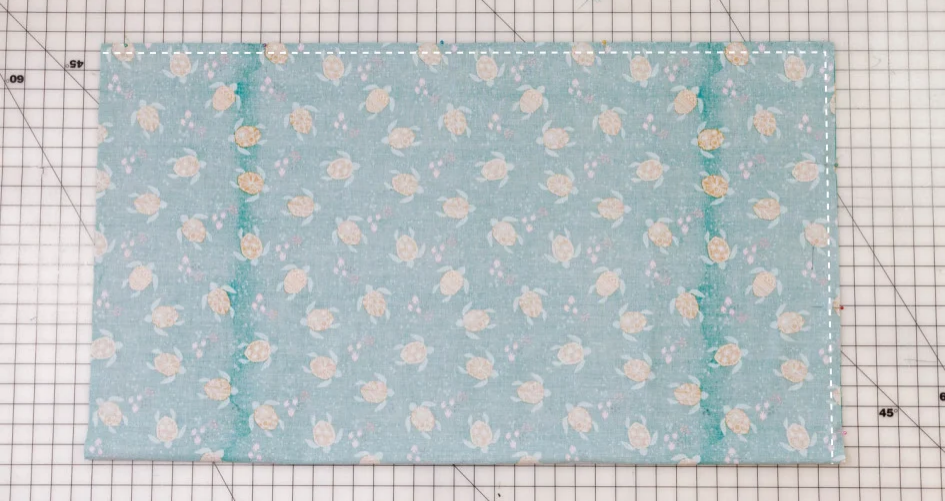
- The main pillowcase body – cut a rectangle that’s 44 inches long by 26 inches wide. The extra inches are important for allowances and foldings.
- The border piece – cut from the main fabric a thin piece of about 8-9 inches wide with the same length as your pillowcase body (44 inches)
- An optional decoration trim to add flair to it. This can be 2 inches wide and 44 inches wide.
You can either choose to make these pieces the same fabric or go for some color splash with fabrics that have complementing colors.
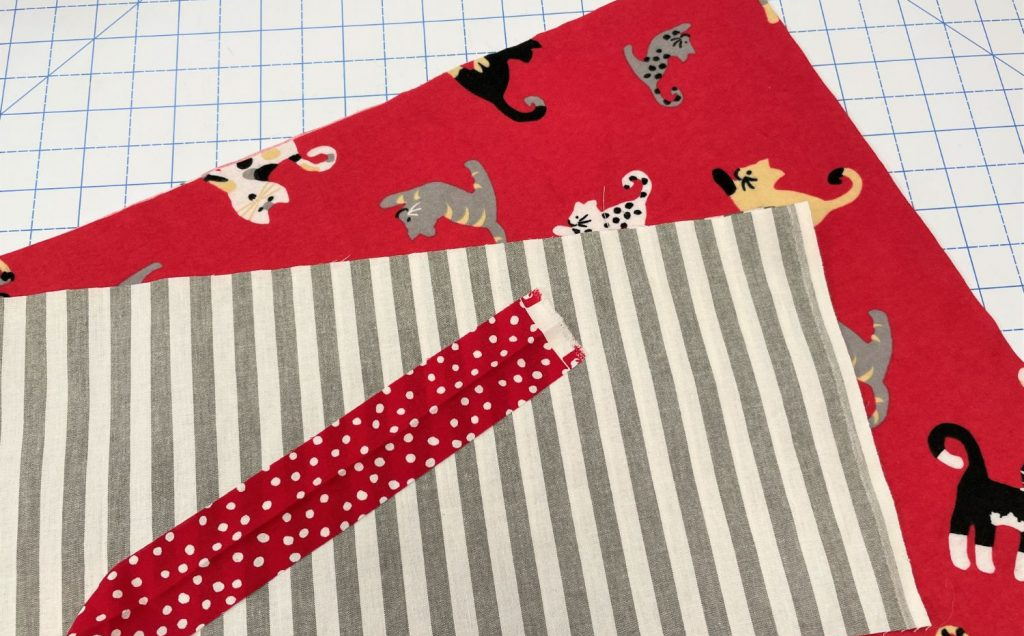
STEP 2: Here, we’re going to be assembling the pieces we cut in the first step:
- Fold the border fabric in half lengthwise with the wrong sides together. Iron it flat to create a crisp crease.
- Lay the pillowcase body on a flat surface with the right side up on the already laid border piece.
- If you have your decorative trim, you can also put it on top at the edge.
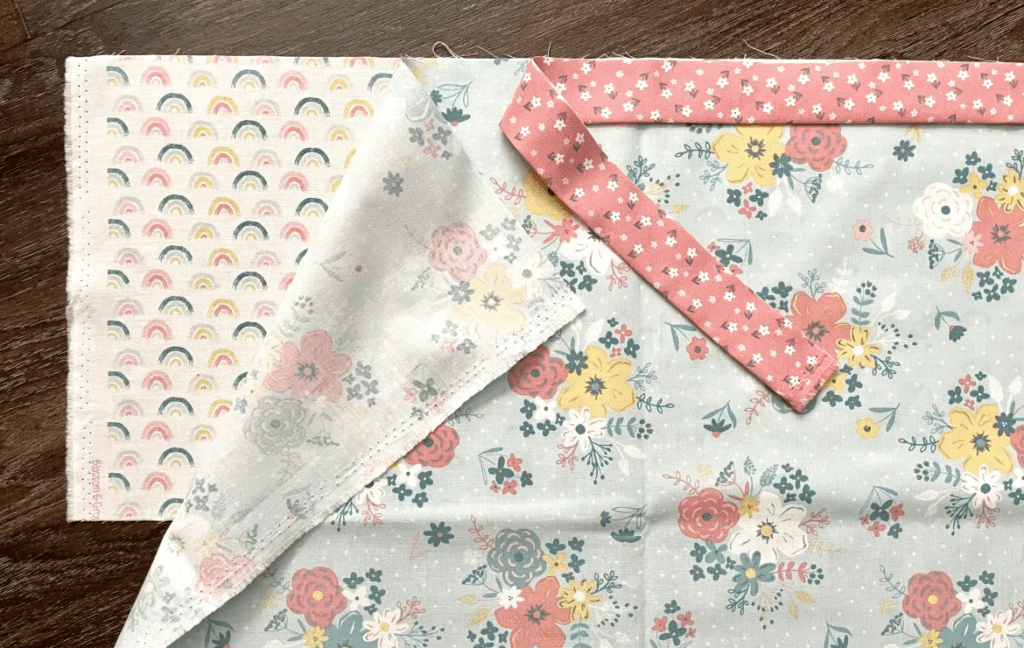
STEP 3: This is the step you call the wrap and roll:
- You’re going to be rolling the pillowcase body from the bottom upward like a delicious burrito.
- Then, wrap the border piece around the rolled pillowcase body.

To do this, you will have to flip the border piece backward and align all edges.
STEP 4: It’s time to sew time! Whether you’re using a sewing machine or needle and thread, stitch along the pinned edge using a ½ or 1-inch seam allowance.

STEP 5: Now, you’re about to turn the right side out! Gently pull the main fabric through the opening to turn the pillowcase right side out.
Sharpen your border piece with an iron and you have a lovely handmade pillowcase.
5 Easy Steps to Make a Pillowcase with Hand from Scratch?
If the Burrito pillowcase style seems too long for you to make, you can try out these five easy steps.
- Unlike the previous method, you will need just a piece which is the pillowcase body. You can follow the instructions stated in STEP 1 of the first method to cut out the pillowcase body pattern.
- Once you get that, fold the rectangle in half lengthwise with the right side in.
With this, you will have one long opening and two short openings.
- Now is the time to thread your needle and stitch the long opening and one short opening with a suitable stitching pattern.
Don’t forget to sew an inch away from the actual edge.
4. Turn the right side out through the short opening left and insert your pillow.
But before you insert your pillow, you can smoothen it out with a pressing iron.

Where to Make Custom Pillow Cases?
Are you in the category of people who don’t mind going all the way out to make their bedrooms look heavenly and majestic?
Custom Pillow Cases are just another clothing to aid that goal. Contact a reliable firm like FastPrintStar today for any custom product you wish to design.
FastPrintStar is that customizing firm with a professional design team that can bring your wildest imagination into reality. With over 15 years of expertise, their credibility is guaranteed.

Is it the custom throw pillow cover, a custom photo pillow case, or the custom body pillow cases, whatever your design ideas may be, FastPrintStar will bring it to a live show in less than 24 hours. They produce customized pillow cases of different sizes and colors, you just name your choice in their three-step ordering process.
FastPrintStar has proven to have a fast turnaround time, 24/7 customer service support, and zero minimum order quantity over the years. They also ship globally, so you can order from any part of the world; their delivery runs seven days a week! There are many more benefits offered to customers at FastPrintStar, get in touch to have a memorable experience!
Conclusion
So, there you have it! Whether you’re a sewing pro or a beginner, there’s a way for you to make your pillowcase.
We’re sure that this guide has empowered you to craft your own custom pillowcase! Now you can add a touch of personality and comfort to your sleep haven.
For experienced sewers, the burrito method offers a quick and polished result. Beginners can overcome the straightforward method using just a single piece of fabric. Whichever path you choose, there’s the reward of restful nights and pillow protection provided by a pillowcase you made yourself.
So grab your favorite fabric, and don’t be afraid to get creative. Plus, there’s nothing quite like the satisfaction of knowing you made something yourself.
