How to Make A Bucket Hat

You might think the bucket hat is a typical summer accessory, but it works at any time of the year. They are practical, versatile, and suit many outfit choices. Thanks to their timeless style, bucket hats have become a staple in wardrobes around the world.
If you are reading this, it’s because you want to make your custom bucket hat. After all, you can choose the style you like. Crafting one is an enjoyable and rewarding experience, leaving you with your personalized bucket hat!
In this comprehensive guide, we’ll walk you through the process of making a bucket hat from scratch. From selecting materials to sewing it all together. Read till the end to craft your unique bucket hat.
Table of Contents
ToggleWhat tools and materials do you need to make a bucket hat?
A benefit of making your bucket hat is the ability to customize it as you see fit. The options are endless. Want to make a tie-dye bucket hat? Go right ahead. You can even do some custom bucket hat embroidery to personalize your hat.
Whatever you decide to do, there are some essential items:
Fabric: You can choose a fabric that you prefer. However, lightweight cotton for the inner and denim for the outer are better. If you want a winter bucket hat, consider using heavier materials like wool for the inner.
Thread: Your thread of choice should be sturdy enough that your hat won’t come apart at the seams. Make sure the color of the thread also matches the design you are going with.
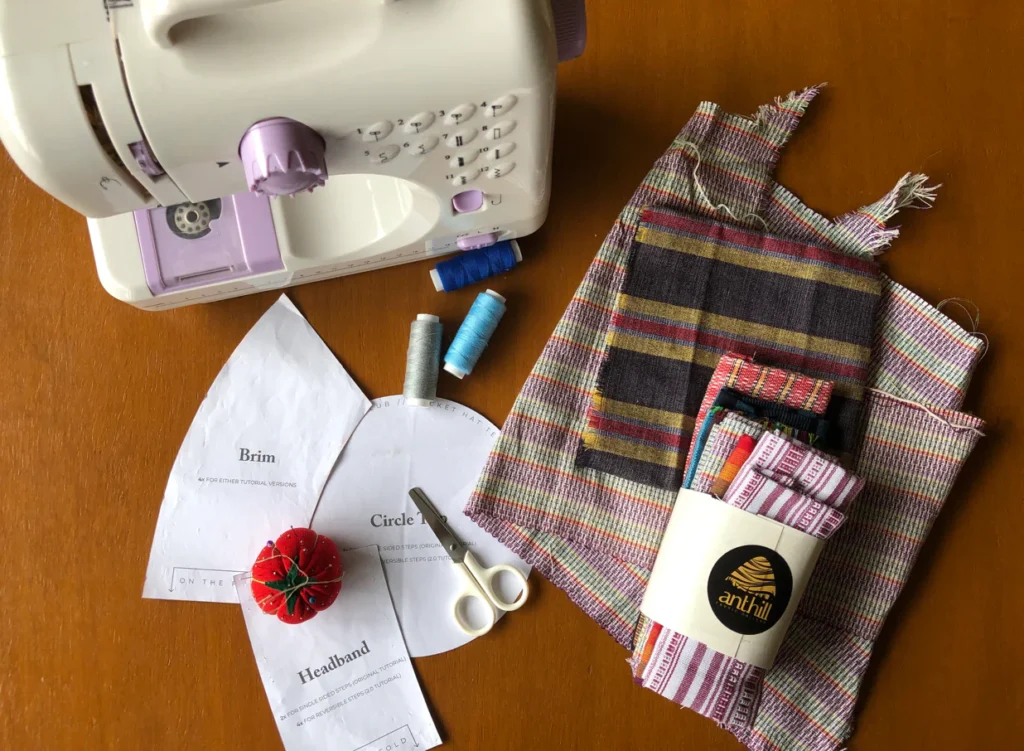
Sewing Kit/Machine: A good-quality sewing machine can make the process much easier and quicker. Unfortunately, not everyone is blessed with one, so a sewing kit will also do the trick.
Scissors: Sharp fabric scissors are essential for cutting precise shapes without damaging your fabric.
Pins, needles, and clothing pegs: These will help keep your fabric in place while you work with it.
Measuring tape: If you want your hat to fit well, you need to make sure you measure accurately. It’s a good idea to use a high-quality measuring tape for precise measurements.
Pencil/fabric chalk and a compass measuring tool: These will help you mark the fabric without causing permanent stains and draw a perfect circle.
Brim Stiffener (Optional): If you want a sturdier structure and better protection from the sun, consider using a brim stiffener.
Chin-Strap (Optional): For added practicality and a unique style of bucket hat, consider a chin strap.
Interfacing (Optional): Interfacing can help insulate thin fabric if you want a warmer-fitting hat.
Now, the question is, where can I buy the materials for a custom logo bucket hat? Whether you prefer shopping online or in-store, there are a wealth of places to choose from.
Search for sewing supplies and fabric stores in your area, and you will find all the materials you need for a bucket hat. You can also take a look at thrift stores or reuse old clothing if you’re on a budget.
You should have everything you need, so now we can start with the creation of your custom bucket hat.
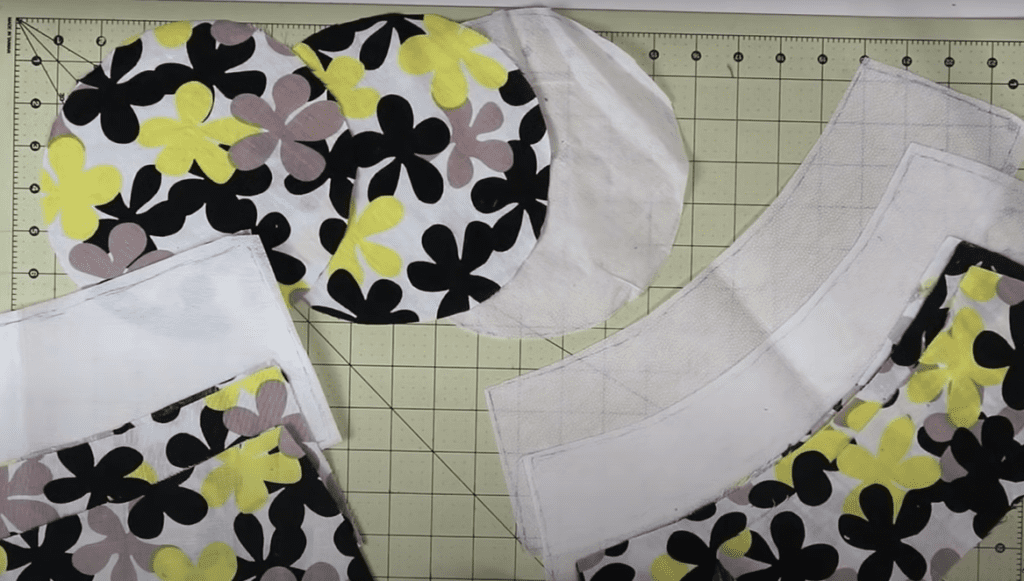
Section 1: Cutting the pieces for your bucket hat
Before we jump in, make sure you don’t mix these terms up:
Top: The circular top piece of the hat that rests at the top of your head
Brim: The edge of the hat that sits at the bottom and shields your face
Crown: The sides of the hat that join the brim to the top
Step 1:
Start by taking your two fabrics of choice that will be the inner and outer of your custom made bucket hat (iron them if you want a neater look). When you’re done cutting, you should have two pieces of each section from either fabric. So an inner and outer top, brim, and crown.
Step 2:
Top
Draw out a circle measuring 8-10 inches (20.3-25.4 centimeters) in diameter. Adjust the size if this is too big or too small for your personal bucket hat. Cut this shape out of both your fabrics for the inner and outer sections. Make sure there is space for a half-inch (1.2 centimeter) seam allowance.
Step 3:
Crown:
Now, you can draw and cut the crown pieces out. The crown pieces should measure 12 by 3 inches (30.4 by 7.6 centimeter). You can add 1-2 inches to these measurements to make a custom-fit bucket hat. You should have four brim pieces in total. Two inners and two outers.
Step 4:
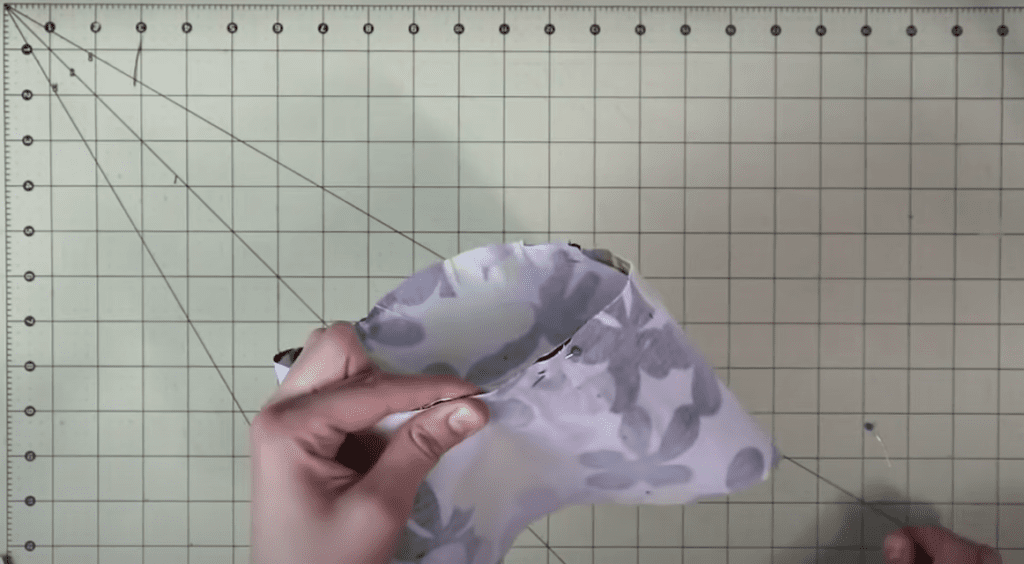
Brim
The brim is the hardest shape to cut since it has an inner and an outer curve. The inner curve needs to fit the size of the brim so it must be 12 inches long (30.4 centimeters). If you adjust the size of your crown, make sure this measurement is the same. The outer curve must be 18 inches (45.7 centimeters). The brim should be 3-5 inches wide, depending on how low you want it to hang. Once again, you should have four pieces like this.
These are all the pieces you require for your custom bucket hat.
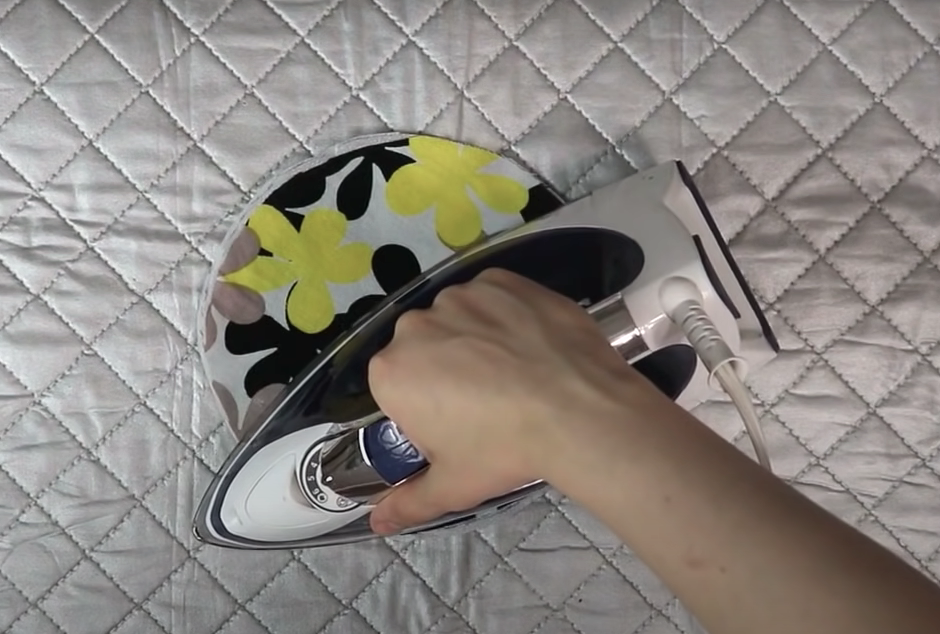
If you are working with thinner fabric, you may want to use fusible interfacing. The interfacing should be half an inch (1.2 centimeters) smaller than your other sections. You will only need a piece for the inner sections, not both. Iron it onto the inner piece for an extra thermal layer.
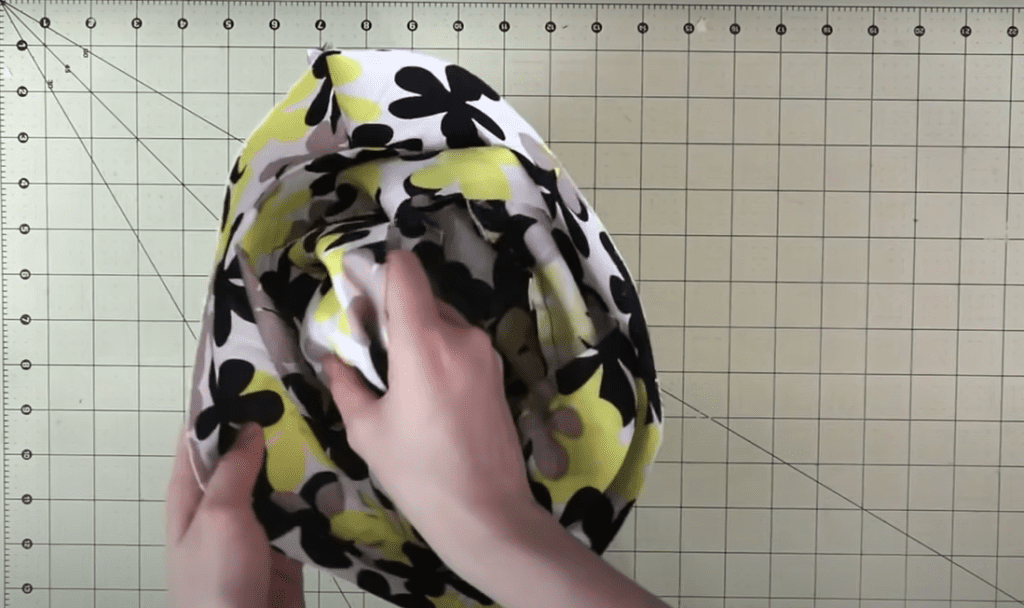
Next, we are on to the fun part: stitching your bucket hat together.
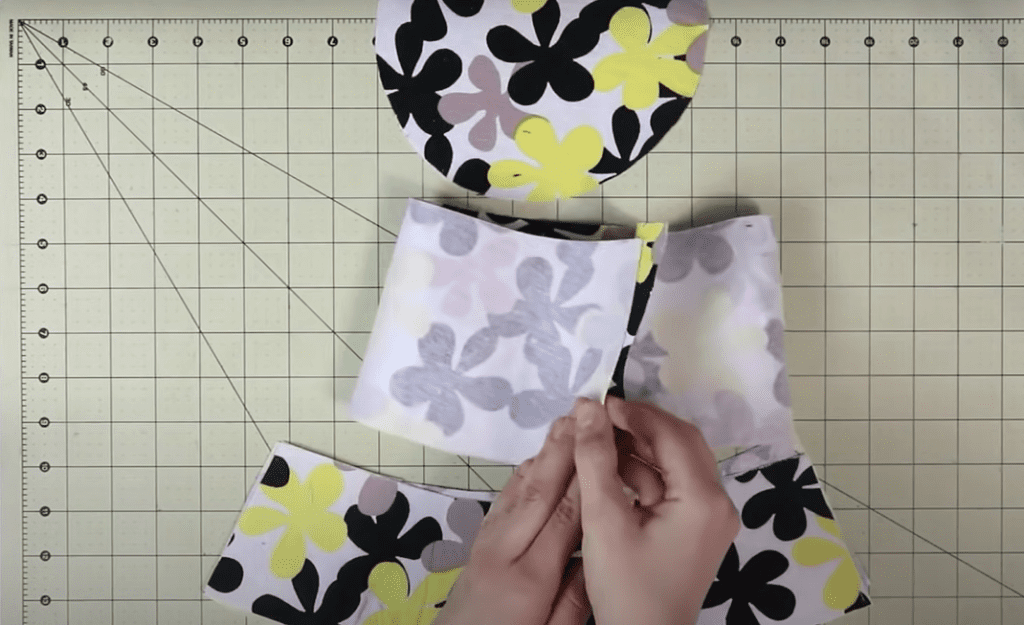
Section 2: Sewing the bucket hat
Before you start stitching, line up all your bucket hat sections to ensure each piece is the right measurement.
Once you are ready to go, grab the crown pieces of your hat.
Step 1:
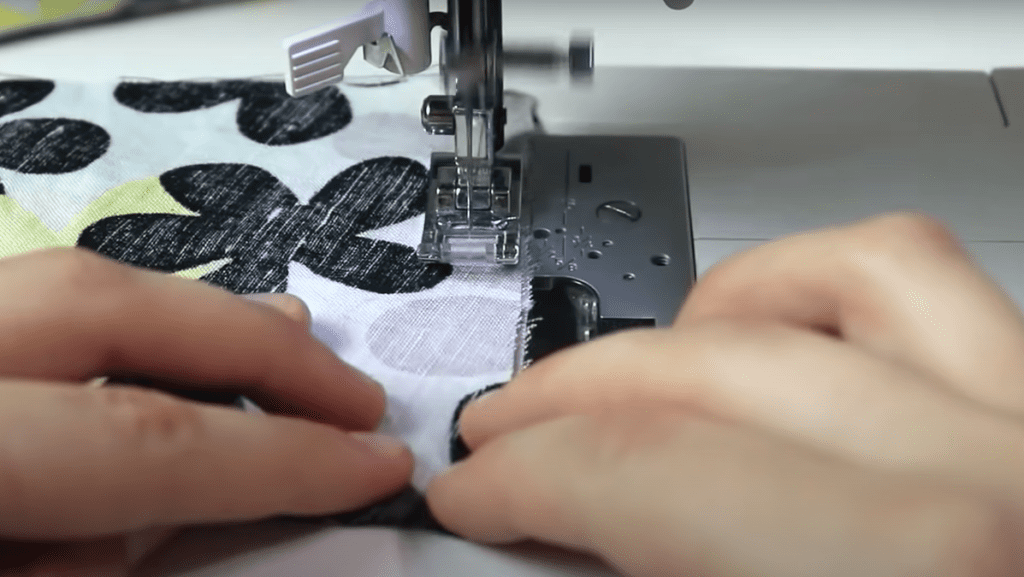
Join the outer rectangular crown pieces with your pins. Using your sewing kit or machine, sew the crown pieces together, keeping your half-inch seam allowance in mind. Make sure the correct side of your fabric is facing out. Do the same with the inner pieces.
Step 2:
Now, you can join the two halves of your brim. Sew them together to make a complete shape. Do this with both the inner and outer pieces. If you have a brim stiffener, you can sew it in between the brim at this step.
Step 3:
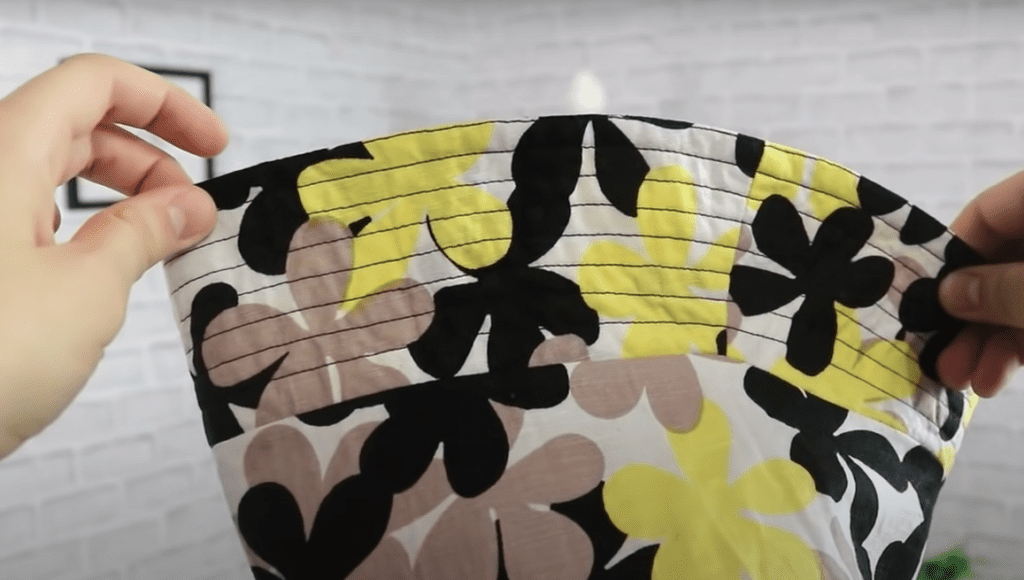
Iron the half-inch seam of your brim and crown to make it easier to stitch them together. Repeat this step for every piece of fabric with a half-inch seam.
Step 4:
Important note: Make sure you leave a 5-inch gap in the stitching along the crown and top. This is so that you can pull the inside of your bucket hat out in the final steps. This keeps the seams hidden and makes it easier to work with.
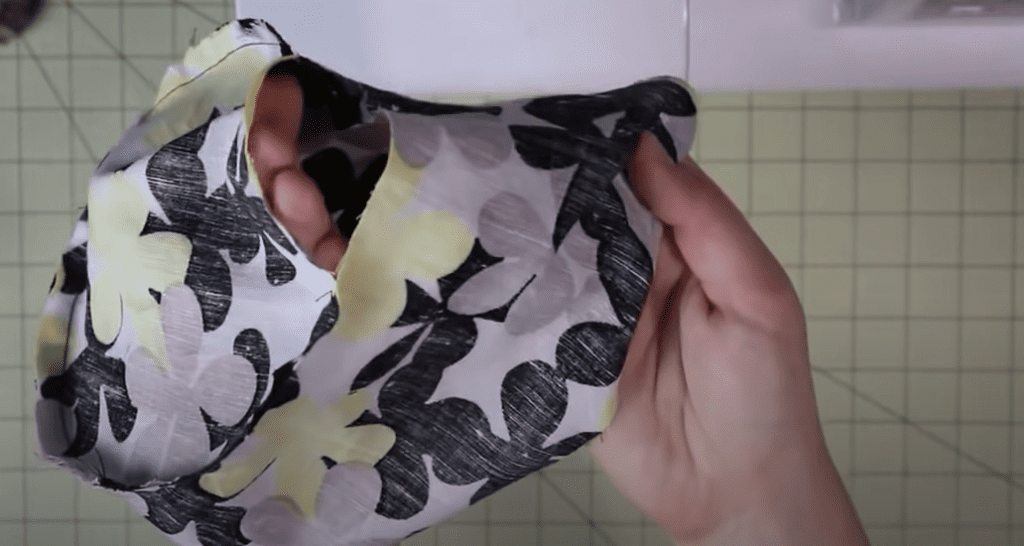
In this step, you are going to sew your crown to the circular top piece of your bucket hat. Start by joining the crown to the top with pins or pegs. Make sure they are inside out since you will be stitching the internal seam. Sew along the edge, keeping the half-inch seam allowance. You will do this step for both the inner and outer sections.

Step 5:
Your custom bucket hat is starting to take shape! You can now stitch your brim onto the crown section of the hat. Make sure the hat is still inside out with the wrong side of the brim facing out. As usual, make space for the half-inch seam allowance and do this for both the inner and outer sections.

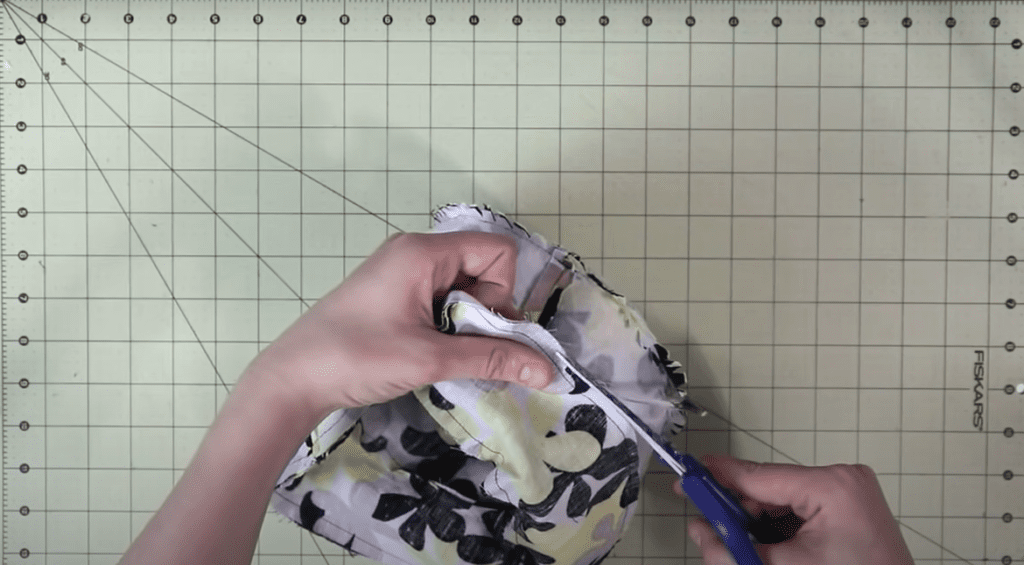
Now, your sections are all in place. Check for any flaws and nip them off with your scissors.
Section 3: Final steps of the bucket hat
Step 1:
Slot the inner section of your hat into the outer section. One section should be inside out, while the other is the right way. Once you have stitched it together, you are going to turn it inside out, so ensure the wrong sides are facing out. Otherwise, you will end up with the wrong side on the outside of your hat.
Step 2:
You can now stitch the two sections together. Start by sewing along the edge of the brim, but be sure to keep your seam allowance. It helps to pin each section as you sew and remove the pins as you go along.
Step 3:
Pull the inside of your hat out of the 5-inch gap you left in one of the previous steps. You may need to straighten the fabric out so it all fits together well. Cut away any imperfections you find.

Congratulations! You have now made your own bucket hat.
Additional steps:
You can add more topstitching to the brim and top of your hat if you like that style.
If you want to go the extra mile, you can even customize your bucket hat with logos or patterns of your choosing.
You can also add a chinstrap for those windy days.

What if you don’t want to make a bucket hat?
Finding time for our crafts and hobbies is hard enough. If you don’t have the time or energy to make a hat, why not just buy one?
Ordering a bucket hat online is much easier than making one. But where can you order a customizable bucket hat?
Visit our website, FastPrintStar. We offer bucket hats that are both practical and stylish. On top of this, we have a strong commitment to high-quality, eco-friendly materials. Our hats are crafted from premium polyester for durability.
Worried about customization?
Our hats can be fully customized. Send us the custom designs you like, and we will do the rest. Embrace the versatility of customization with options like sublimation printing, embroidery, or adding patches, allowing you to express your unique personality and brand identity effortlessly. (this came directly from the site but it sounds really good)
Take a look at some of our custom-made bucket hats over here.
Visit our website today! Our simple ordering process means you can get your hands on high-quality, cheap bucket hats with ease. Now you can stay out of the sun in style!