DIY Guide On How To Make A Bandana

Have you ever struggled to find the right bandana? Have you ever wondered how to make your own unique bandana that perfectly matches your taste? Bandanas are versatile accessories that can add a touch of style and practicality to any outfit. They are not only trendy but also functional, serving as headbands, face coverings, and even fashion statements.
If you’re looking to add a personal touch to your wardrobe or want to try your hand at a fun and easy craft project, making your own bandanas is a fantastic idea. In this DIY guide, we’ll walk you through the step-by-step process of creating a bandana using simple materials and techniques.
Why Should You Make A DIY Bandana?

Making a DIY bandana offers several advantages that make it worth your time and effort.
- Creating your own bandanas allows you to customize it according to your preferences, ensuring that it reflects your unique style. You can choose a fabric that you like and feel comfortable with.
- DIY bandanas are cost-effective compared to store-bought ones. By using affordable materials and following this simple guide, you can save money while still enjoying a trendy accessory.
- This gives you a sense of accomplishment and satisfaction, knowing that you have crafted something useful and fashionable with your own hands.
- With a DIY bandana, you can create any design you want. You can include your name, favorite color, or any design you want.
Materials Needed:
To create your homemade bandanas, you’ll need the following materials:
- Fabric: Choose a lightweight cotton fabric of your desired color or pattern. Approximately 22 inches by 22 inches is a standard size for a bandana, but you can adjust it to your preference.
- Scissors: A pair of sharp fabric scissors for cutting the fabric.
- Pins: These will help secure the fabric in place while cutting and sewing.
- Sewing machine or needle and thread: Use a sewing machine for quicker results, but if you don’t have one, you can hand sew it.
Let’s Start Making A Bandana:
Now that you have all the required materials follow the step-by-step guide below to make a bandana:
- Step 1: Choosing and Preparing the Fabric
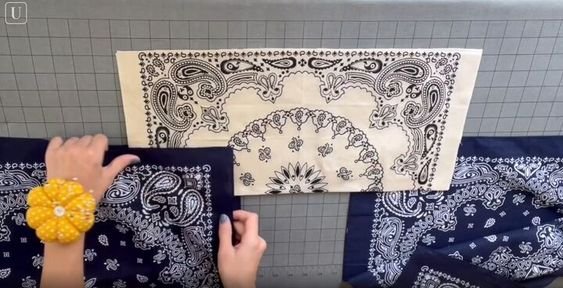
- Pre-wash the fabric: It’s essential to pre-wash the fabric to prevent any shrinkage after making the bandana. Follow the fabric’s washing instructions before moving on to the next step.
- Step 2: Cutting the Fabric
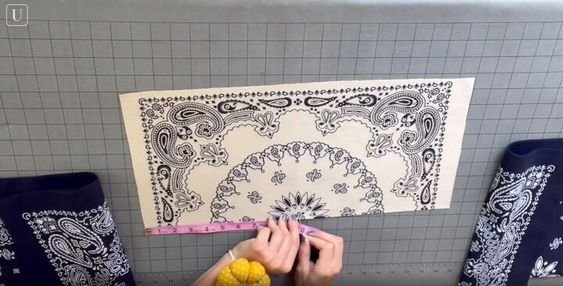
- Spread out the fabric: Lay the fabric flat on a clean, smooth surface. It’s preferable to use a table.
- Measure and mark: Using a ruler or measuring tape, measure a square that is approximately 22 inches by 22 inches on the fabric.
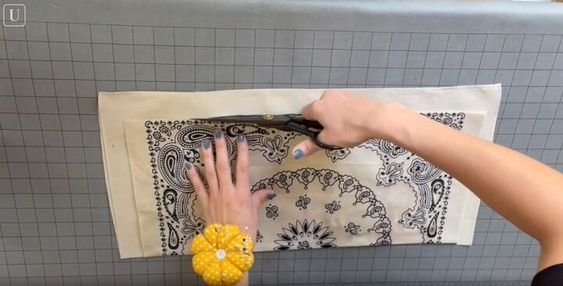
- Cut the fabric: Using the fabric scissors, carefully cut along the marked lines to create your bandana.
- Step 3: Hemming the Edges
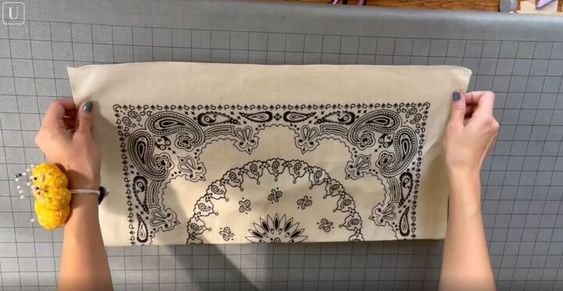
- Fold the edges: Take one side of the fabric and fold it over by about a cm. Pin it in place.
- Repeat for all sides: Fold and pin the remaining three sides of the fabric, ensuring that each fold is consistent in width.
- Sew the hems: Using a sewing machine or needle and thread, stitch along the folded edges, removing the pins as you go. This will secure the hems and prevent fraying.
- Step 4: Final Touches
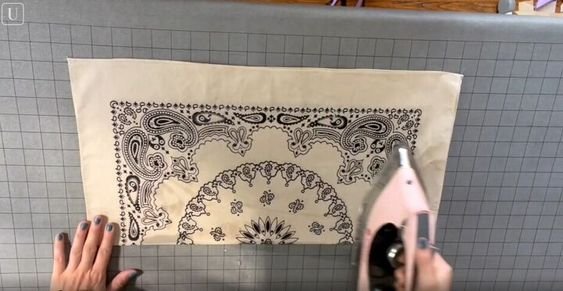
- Iron on: If needed, iron the bandana to remove any creases and give it a neat appearance.
- Cut any loose threads: Carefully inspect your bandana and cut any loose threads for a clean finish. Do not pull any threads.
* You can also watch this video for more making details.
And You Are Done:
Congratulations! You have successfully created your very own bandana. Making a bandana at home is an enjoyable and rewarding DIY project that allows you to express your creativity while adding a personalized touch to your style. Remember, the beauty of a bandana lies not only in its vibrant colors or patterns but also in its versatility and functionality. Whether you choose to wear it as a headband, neck scarf, or face covering, your handmade bandana is sure to make a fashion statement.
If you want to skip the hassle of creating a DIY bandana. Visit FastPrintStar today and shop for our custom bandanas and make a fashion statement today!


